
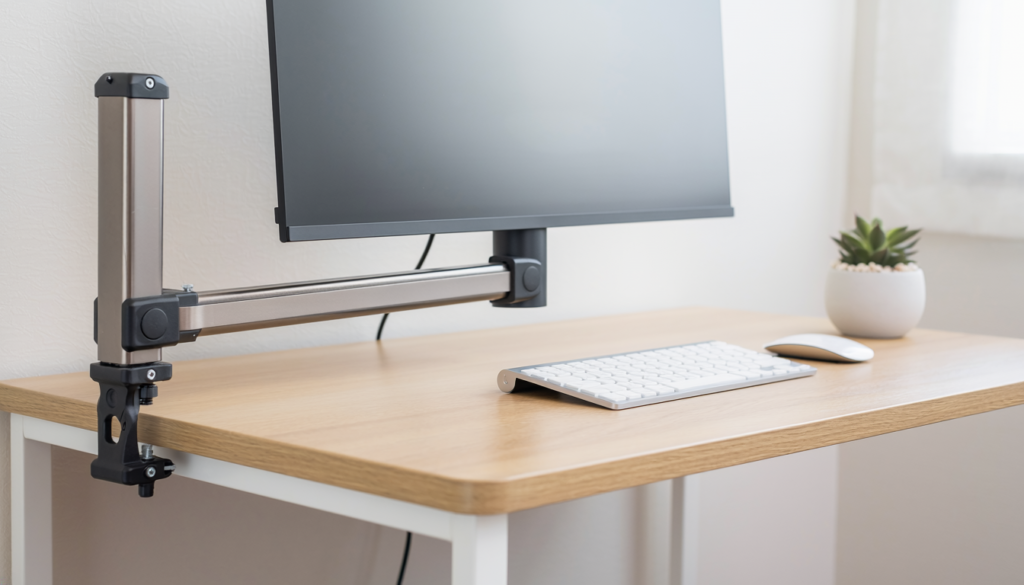
home office

Adjustable monitor arm mounted to a compact home office desk
Bedroom & Comfort

Best Monitor Arm for a Small Desk

Disclosure: As an Amazon Associate, My Indoor Space may earn from qualifying purchases made through links in this guide, at no extra cost to you.

A monitor arm can reclaim desk space and improve screen positioning, but only when the display, mount, clamp, and desktop are compatible. The most common mistake is buying from screen size alone while ignoring weight, VESA pattern, desk thickness, and rear clearance.

Quick verdict

For most small desks, choose a single gas-spring arm with a strong edge clamp, verified support for the monitor’s weight without its stand, standard VESA compatibility, smooth height adjustment, and a short enough rear reach to avoid hitting the wall.

Who it is for—and who should skip it

A monitor arm suits small workstations, sit-stand desks, shared desks, and anyone who needs to move the display between reading, video calls, and focused work. It also clears the bulky factory stand from the work surface.

Skip a clamp mount on glass, thin hollow-core furniture, damaged particleboard, rounded edges, or a desk whose maker prohibits concentrated loads. A monitor riser or wall mount may be safer.

Compare the main mount styles

Style Best for Main trade-off
Gas-spring arm Frequent movement Needs correct tension and weight range
Pole mount Simple height adjustment Less flexible after setup
Dual monitor arm Matched two-screen layouts More leverage on the desk
Wall mount Maximum desk clearance Permanent placement and wall requirements
Freestanding base Desks that cannot be clamped Still consumes surface space

Best value: single gas-spring arm

A single arm offers the best combination of space savings and flexibility. Look for a published weight range that includes the monitor itself, not the shipping weight or weight with the original stand.

The arm should tilt without drifting, rotate for portrait use if needed, and lower far enough for a comfortable eye line. A quick-release VESA plate makes installation easier.

Upgrade worth it: heavy-duty arm

A heavy-duty arm is worth paying for with a large ultrawide or heavy professional display. Stronger joints and a broader weight range reduce sagging when the monitor sits extended.

Higher capacity does not automatically mean better for a light monitor. Gas springs need the display within their working range, or the arm may rise instead of staying down.

Check VESA and weight

Look for the four threaded mounting holes on the back of the monitor and confirm the exact pattern, commonly measured in millimetres. Some recessed mounts need spacers or longer manufacturer-approved screws.

Use only screws of the correct diameter and length. Screws that are too long can damage the display; screws that are too short may not hold securely.

Measure the desk clamp area

Measure desktop thickness, the flat underside area, rear apron depth, cable tray position, and distance to the wall. A clamp may fit the edge but collide with a support rail underneath.

Small desks pushed against a wall need an arm that can position the monitor without swinging far behind the desktop. Side-mounted placement can preserve rear clearance.

Desk strength and load spreading

A monitor arm concentrates force at the clamp. Solid wood and sturdy engineered desktops handle this better than thin hollow panels. A reinforcement plate can spread the load when approved, but it cannot repair weak or damaged furniture.

Tighten the clamp firmly according to the instructions, not excessively. Recheck it after the first few days and whenever the desk moves.

Range of motion

Consider minimum height, maximum extension, tilt, rotation, and how the elbow folds. Product photos often show maximum reach, not the compact position needed on a shallow desk.

Set the screen so the upper portion is near a comfortable eye line, then adjust distance based on screen size, vision, and work. Comfort matters more than copying a universal measurement.

Cable management

Leave enough cable slack for full movement without pulling connectors. Route power and display cables through the arm’s clips, but avoid tight bends or pinching at joints.

A docking station or power strip mounted nearby can reduce the number of cables stretching across the desk.

Common buying mistakes

  • Matching by screen inches instead of weight and VESA pattern.
  • Ignoring a desk apron or cable tray under the clamp.
  • Mounting to weak glass or hollow furniture.
  • Buying an arm that swings into the wall.
  • Using the wrong screw length.
  • Routing cables with no movement slack.

Frequently asked questions

Will a monitor arm damage my desk?

It can if the surface is weak, unsuitable, overtightened, or overloaded. Confirm desk construction and use an approved reinforcement solution when needed.

What does VESA mean?

It describes the standardized spacing of mounting holes on the monitor. The arm and display must support the same pattern.

Is a gas-spring arm better?

It is better for frequent repositioning. A pole mount is simpler and may feel more rigid if the screen rarely moves.

Can I mount two monitors on one arm?

Use a purpose-built dual system rated for both screens and the desk. Two monitors create more total weight and leverage.

Final winner

The best monitor arm for most small desks is a compact single gas-spring model with verified VESA and weight compatibility, a strong clamp, smooth tension adjustment, and limited rear swing. Correct fit and desk strength matter more than maximum extension.

Finish the workstation with our home-office desk lamp guide and smart power strip guide.
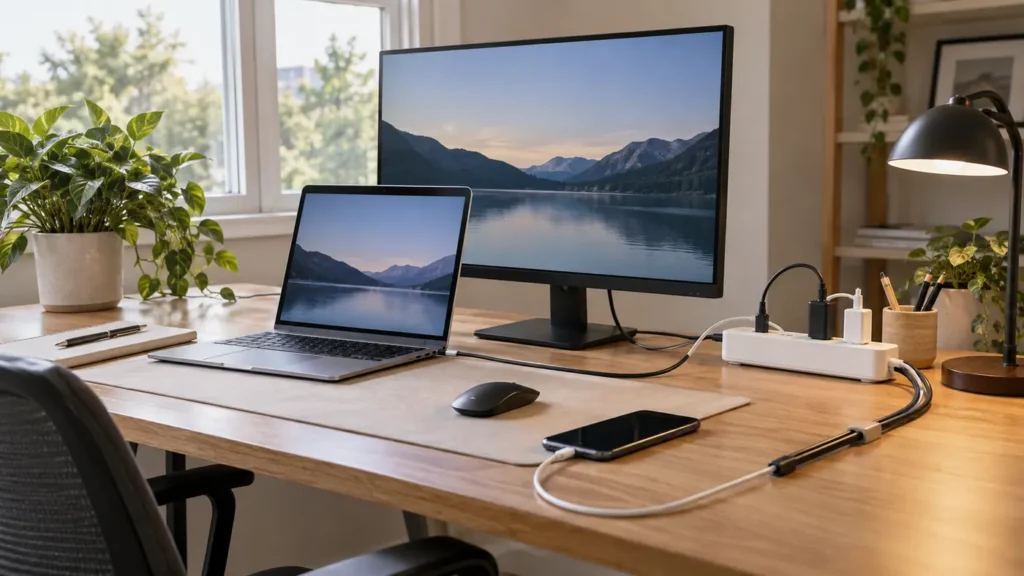
Smart power strip organizing devices and cables in a home office
Smart Home

Best Smart Power Strip for a Home Office

Disclosure: As an Amazon Associate, My Indoor Space may earn from qualifying purchases made through links in this guide, at no extra cost to you.

A smart power strip can schedule lamps, cut standby power, and control selected office devices without crawling under a desk. The useful part is not the word smart; it is having independently controlled outlets, reliable local buttons, and electrical protection appropriate for the equipment connected.

Power strips are not universal solutions. High-draw appliances, space heaters, and equipment that a manufacturer says must connect directly to a wall outlet do not belong on an ordinary smart strip. Start with the electrical limits, then compare app features.

Quick verdict

Choose a certified strip whose amperage, voltage, and total wattage match your circuit and connected equipment. Look for individually controlled outlets, always-on sockets for devices that should not be switched off, a physical power button, clear surge information, and an app that supports the automations you will actually use.

What to compare first

Feature Why it matters Practical target
Electrical rating Sets the safe total load Match voltage, amps, and watts
Outlet control Determines useful automation Individual control plus manual buttons
Surge protection Helps manage transient spikes Published joule rating and status light
Connectivity Affects reliability Compatible Wi-Fi and current app support

Start with electrical safety

Read the strip’s maximum current and wattage, then total the loads of every connected device. A power strip increases outlet count; it does not increase the capacity of the branch circuit. Stop using any strip that becomes hot, discolored, cracked, or loose.

Choose a product certified by a recognized testing organization for your market and follow its placement instructions. Do not daisy-chain power strips, run them under rugs, or use indoor models in damp locations.

Decide which outlets need smart control

Individually controlled AC outlets provide the most flexibility. You might schedule a desk lamp while leaving a computer, router, or network storage device on an always-on outlet. Group control is simpler but may shut down equipment unintentionally.

USB ports are convenient for charging, yet they may not be switchable separately. Check output standards and power-sharing behavior if you plan to charge a laptop, tablet, or several devices at once.

Check Wi-Fi and platform compatibility

Many smart strips use 2.4 GHz Wi-Fi rather than 5 GHz. Confirm compatibility with your router, phone operating system, and preferred voice or automation platform before purchase.

Cloud-dependent features may stop working during an internet outage or after the manufacturer ends support. Physical buttons provide an important fallback. If local control matters, look for products that explicitly support it rather than assuming.

Use schedules and energy features thoughtfully

Schedules can turn task lighting or accessories off after work hours. Countdown timers are useful for devices that should run briefly. Energy monitoring can help identify standby consumption, although measurements may be estimates rather than laboratory-grade readings.

Avoid automating a computer, external drive, printer during an active job, or any device that requires a controlled shutdown. A smart strip should support safe routines, not abruptly remove power from sensitive electronics.

Understand surge protection claims

A surge-protected model should publish a joule rating and show whether protection is still active. The rating helps compare capacity, but no plug-in strip can protect against every event, especially a direct lightning strike.

Surge components wear over time. Replace the strip after a major surge or when the protection indicator goes out, following the manufacturer’s guidance. Important data still needs backups.

Plan the physical layout

Check plug spacing for bulky adapters, cord length, plug orientation, and mounting slots. A flat wall plug may help behind furniture, while widely spaced outlets keep adapters from blocking neighbors.

Mount the strip where air can circulate and where its status lights and buttons remain visible. Keep cords supported so their weight does not pull plugs partly out of the sockets.

Review privacy and account requirements

Smart strips may require an account, location permission for setup, or integration with a voice assistant. Review the app’s permissions, update history, and account security options before connecting it to your home network.

Use a unique password, enable multi-factor authentication when available, and install firmware updates. Retire a device if the app is abandoned or known security support ends.

Common buying mistakes

  • Choosing by outlet count without checking the total electrical rating.
  • Connecting heaters or other high-draw appliances against manufacturer guidance.
  • Daisy-chaining the strip or covering it with rugs or furniture.
  • Scheduling equipment that needs a proper software shutdown.
  • Assuming surge protection remains effective forever.

Frequently asked questions

Can I plug a computer into a smart power strip?

Usually, if the electrical ratings permit it, but avoid automations that cut power before the computer shuts down normally. An uninterruptible power supply may be more appropriate for outage protection.

Does a smart power strip work without Wi-Fi?

Physical buttons should still operate on many models, but schedules and app controls vary. Check whether automations are stored locally or depend on the cloud.

Can I connect a space heater?

Do not connect one unless both the heater and strip manufacturers explicitly allow it. Many space heaters should plug directly into a wall outlet because of their sustained high load.

What does a joule rating mean?

It is one measure of how much surge energy the protection components can absorb over time. Compare it alongside certification, status indicators, and warranty terms.

Are USB ports on a smart strip individually controlled?

Sometimes, but often all USB ports act as one group or remain always on. Read the outlet-control diagram in the specifications.

Who should buy it—and who should skip it

Buy it if: your desk has several low-power devices and you want one controllable strip for schedules, voice control, or shutting down standby loads.

Skip it if: a standard surge protector already meets your needs or the equipment should not be switched remotely.

Best value

A certified strip with individually controlled outlets, usable USB charging, and a physical power button is the best value for most home offices.

When the upgrade is worth it

Pay more for better energy monitoring, stronger platform support, and reliable local controls when you will use them. More outlets are not an upgrade if the strip becomes crowded or unsafe.

Final answer

The best home-office smart power strip is first a correctly rated, certified electrical device and second an automation accessory. Select the right outlet layout, keep essential equipment off unsafe schedules, and retain manual control. Good cable placement and sensible automations will matter more than a long list of app features.

Compare this with our smart plugs for beginners guide and charging station buying guide.

Scroll to Top