small kitchen

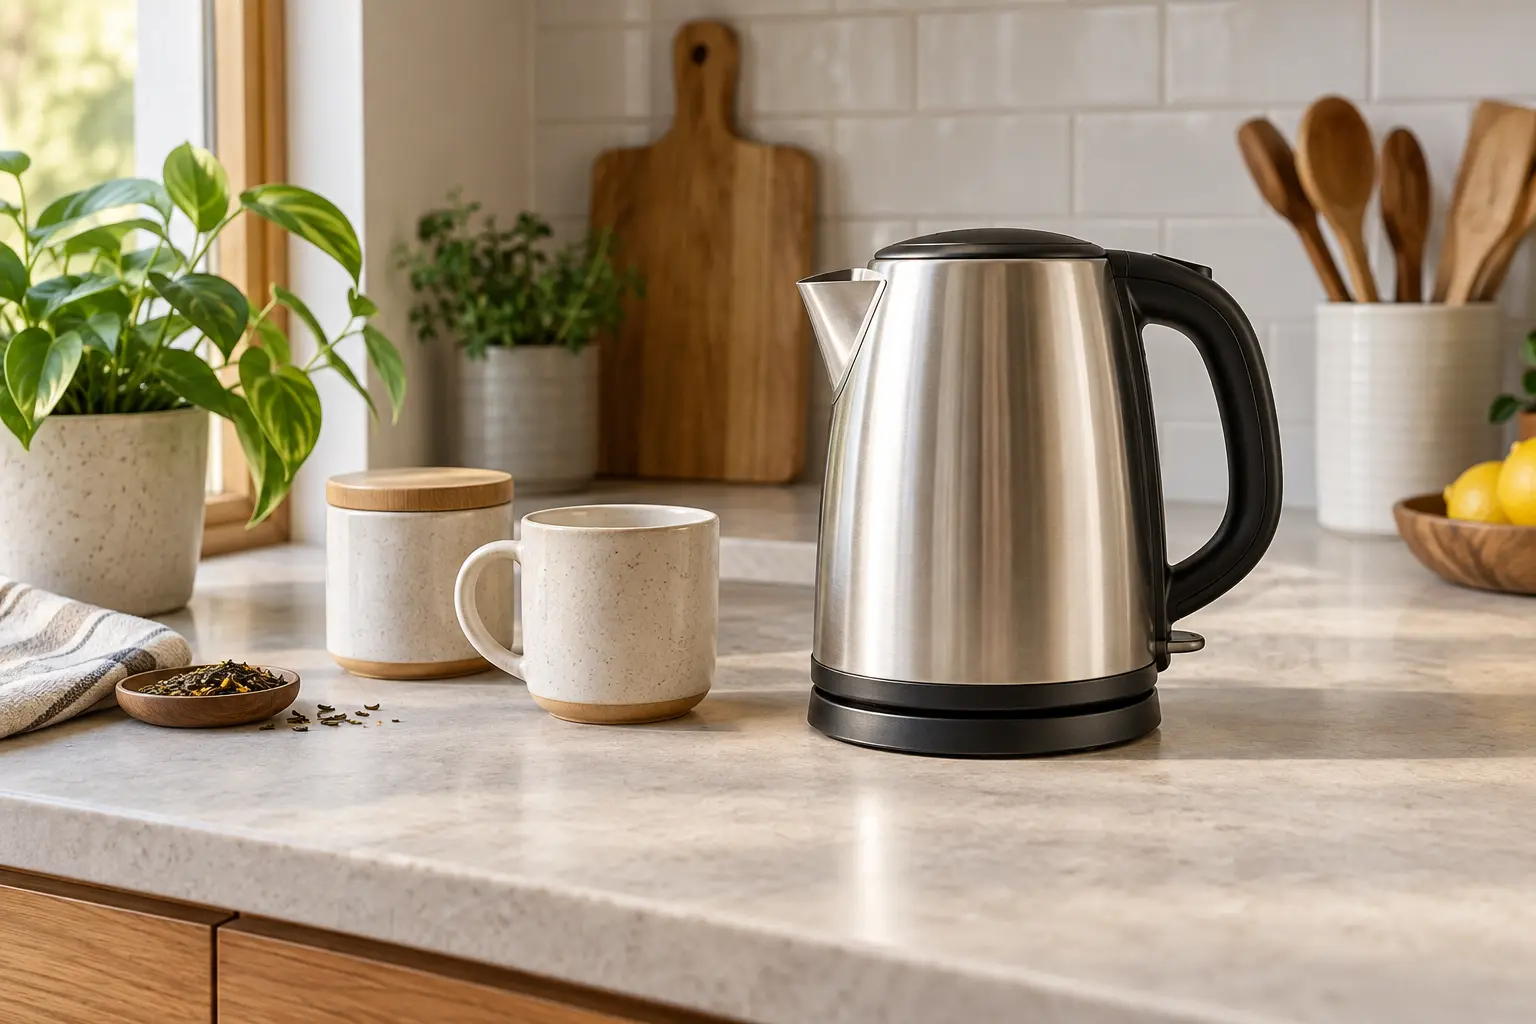
Unbranded stainless steel electric kettle on a bright apartment kitchen counter
Kitchen & Dining

Best Countertop Water Filter

Disclosure: As an Amazon Associate, My Indoor Space may earn from qualifying purchases made through links in this guide, at no extra cost to you.

A countertop water filter can reduce specific substances and improve taste without permanent under-sink installation. The important word is specific: no filter removes everything, and performance depends on independent certification, the water source, correct use, and timely cartridge replacement.

Quick verdict

For most small kitchens, choose a compact gravity dispenser or faucet-connected countertop filter certified for the substances relevant to your local water. Compare the complete replacement-filter cost and usable footprint before paying for extra stages or dramatic claims.

Who it is for—and who should skip it

A countertop unit suits renters, small households, and kitchens where an under-sink system is not practical. It also works for people who want more capacity than a pitcher without changing plumbing.

Skip a general consumer filter when water is under a boil-water or do-not-consume advisory, comes from an untested private source, or has a known problem the product is not certified to address. Follow local public-health guidance and use appropriate treatment.

Compare countertop filter types

Type Best for Main trade-off
Gravity dispenser Simple renter-friendly use Needs filling and counter space
Faucet-connected unit On-demand filtered water Faucet compatibility varies
Countertop reverse osmosis Broad reduction when certified Higher cost, wastewater, and cleaning
Large pitcher Low cost and refrigerator use Smaller capacity and slower refill cycle

Best value: certified gravity dispenser

A gravity dispenser offers the simplest value because it needs no hose, electricity, or permanent connection. A narrow rectangular shape can sit against a wall while leaving working space in front.

Look for a clear certification listing that names the exact model and contaminant-reduction standard. A generic statement that components were “tested” is not the same as whole-system certification.

Upgrade worth it: countertop reverse osmosis

A countertop reverse-osmosis system may be worthwhile when its certified reductions match your water concern and permanent installation is impossible. These machines often include pumps, tanks, displays, and multiple cartridges.

Before upgrading, compare wastewater ratio, refill routine, electrical needs, cleaning steps, cartridge availability, and the price of every replacement stage. More stages do not automatically mean better value.

Start with your water report

Municipal customers can review the local water-quality report and advisories. Private-well users need appropriate testing. Choose filtration to address identified substances rather than buying from fear-based marketing.

Certification standards cover different claims, including aesthetic effects such as chlorine taste and health-related reductions for named substances. Confirm the exact model in the certifier’s database when possible.

Capacity and flow

Advertised capacity may describe total reservoir size rather than the amount available at the tap. Measure how much water your household drinks and uses for coffee or cooking each day.

Gravity filters slow as the upper reservoir empties or the cartridge loads. Faucet-connected systems may reduce flow. A larger unit is convenient but becomes heavy to lift and consumes valuable counter depth.

Filter cost is the real price

Calculate annual cost using the certified or manufacturer-stated cartridge life, your water usage, and local filter price. Water conditions can shorten life, while low use does not eliminate time-based replacement or sanitation requirements.

Check whether replacement cartridges are consistently available in Canada or the United States. A cheap machine can become useless when proprietary filters disappear.

Cleaning and hygiene

Wash reservoirs, spigots, drip trays, and removable parts on the schedule in the manual. Keep hands and utensils away from the clean-water side and do not let filtered water sit beyond the recommended period.

Prime and flush new cartridges exactly as instructed. Replace cracked seals, damaged tanks, and worn tubing rather than improvising repairs.

Common buying mistakes

  • Choosing by the number of stages instead of certified reductions.
  • Assuming filtered water is sterile.
  • Ignoring annual cartridge cost and availability.
  • Buying a faucet unit without checking the aerator and threads.
  • Forgetting the open-lid and refill clearance under cabinets.
  • Using a consumer filter during an advisory it is not approved to address.

Frequently asked questions

Does a countertop filter remove everything?

No. Each system targets specific substances under stated test conditions. Read the performance data sheet and certification listing.

Is reverse osmosis always better?

No. It can reduce a broad range of dissolved substances when properly designed and certified, but costs more, creates wastewater, and requires more maintenance.

How often do filters need changing?

Follow the cartridge’s volume and time limits, whichever comes first, and replace sooner if the manufacturer identifies signs of reduced performance.

Can renters use a faucet-connected model?

Often, if the faucet is compatible and the lease permits it. Keep original aerator parts and inspect temporary connections for leaks.

Final winner

The best countertop water filter for most small kitchens is a certified gravity dispenser with a compact footprint, easy-clean reservoirs, available replacement cartridges, and reduction claims matched to local water. A countertop reverse-osmosis unit wins only when its added performance addresses a real, verified need.

Complete your drink station with our electric kettle buying guide, and keep supplies tidy with our small-kitchen pantry organizer guide.
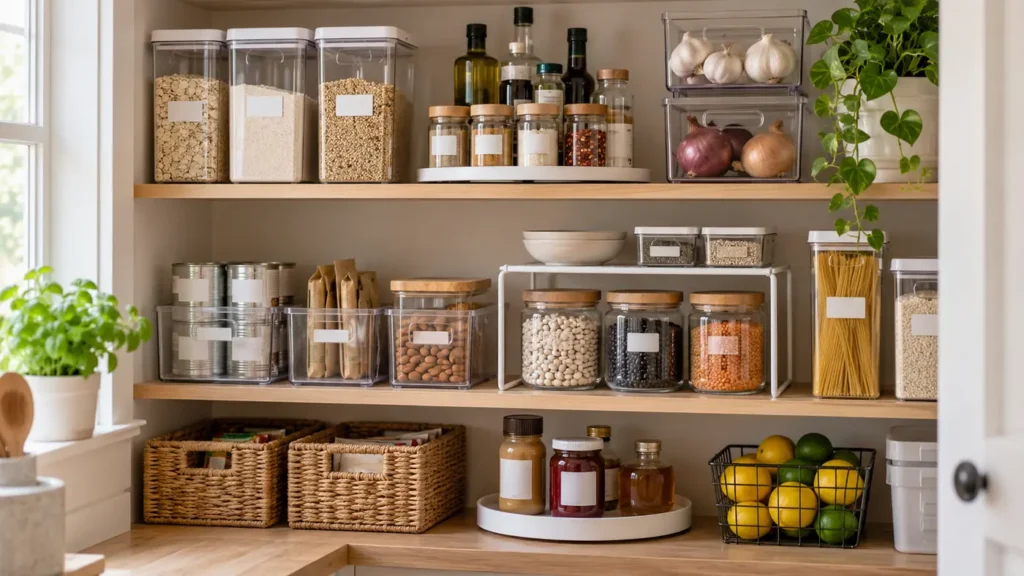
Organized small kitchen pantry with bins, turntable and shelf riser
Home Organization

Best Pantry Organizers for a Small Kitchen

Disclosure: As an Amazon Associate, My Indoor Space may earn from qualifying purchases made through links in this guide, at no extra cost to you.

A small pantry becomes frustrating when every shelf is packed but useful food still disappears behind taller packages. The best organizers do not simply add containers; they make everyday items visible, reachable, and easy to return to the right place.

Before buying a matching set, measure the actual shelf opening, depth, and vertical clearance. Then organize around what you store most often. A few correctly sized pieces usually outperform a large bundle of bins that leaves awkward gaps.

Quick verdict

Start with clear open-front bins for categories, a turntable for bottles, and one adjustable shelf riser for cans or jars. Add airtight containers only for foods that benefit from a seal. Choose pieces that fit the shelf and your habits, not a staged pantry photo.

What to compare first

Feature Why it matters Practical target
Open-front bins Keep packets and snacks grouped Handles plus straight sides
Turntable Makes bottles in a corner reachable Raised rim and non-slip base
Shelf riser Uses vertical space above short items Stable, adjustable width
Airtight container Protects selected dry foods Simple seal and wide opening

Measure before you shop

Measure shelf width, depth, height, and the narrowest point at the door frame. Note hinges, shelf supports, and any lip that reduces usable space. Leave enough clearance to lift a bin or open a lid without scraping the shelf above.

Sketch each shelf and assign a purpose before choosing products. Repeating a few modular widths makes the layout easier to change later, while unusually shaped organizers can create wasted strips of space.

Choose visibility over perfect matching

Clear bins help you see remaining stock, but perfectly transparent containers are not essential for every category. Open bins with simple labels can work better for packets, baking supplies, lunch items, and snacks because nothing needs to be decanted.

Avoid deep bins for tiny items unless they include dividers. If products stack in multiple layers, the organizer has recreated the same hidden-item problem it was meant to solve.

Use turntables in difficult corners

A turntable is useful for oils, vinegars, condiments, and jars that would otherwise be pushed to the back. A raised edge helps prevent narrow bottles from tipping when the tray rotates.

Check diameter carefully. A turntable that is too large may hit the wall or shelf frame; one that is too small wastes the corner. Divided models can help, but fixed sections may limit what fits.

Add vertical storage carefully

Shelf risers create a second level for cans, mugs, jars, or short food boxes. Adjustable models are helpful when shelf widths differ, but the expanded center should remain rigid under the expected load.

Tiered steps improve label visibility, although they consume more depth than a flat riser. Keep heavier containers on the lowest level and do not stack glass where it can be knocked forward.

Decide what really needs an airtight seal

Flour, sugar, rice, cereal, and some snacks may benefit from airtight storage when humidity, pests, or stale food are concerns. The lid should seal consistently, come apart for cleaning, and be easy to operate with dry or slightly damp hands.

Decanting everything creates work and can hide cooking instructions or best-before dates. Keep labels or write the product name and date on the container. Do not mix new food into an old batch before washing and drying the container.

Plan for cleaning and maintenance

Smooth corners and removable parts make organizers easier to clean. Confirm whether a product is dishwasher-safe; many large bins and lids should be hand-washed to avoid warping.

Wipe spills promptly and let containers dry completely before refilling them. Once a month, bring older items forward and remove empty packages so the system continues to save space.

Build zones that match your routine

Place breakfast, baking, snacks, or dinner staples together based on how your household cooks. Store daily items between waist and eye level, with bulk refills and rarely used supplies higher or lower.

A small back-stock limit prevents overbuying. If a category no longer fits its bin, use what you have before adding more storage. The organizer should set a useful boundary rather than justify extra clutter.

Common buying mistakes

  • Buying a large set before measuring every shelf.
  • Using tall sealed containers for foods that are already convenient in their packaging.
  • Choosing bins with heavily tapered sides that waste shelf width.
  • Packing organizers so tightly that none can be removed easily.
  • Ignoring dates and care instructions after decanting food.

Frequently asked questions

Are clear pantry bins worth it?

They are useful when visibility prevents duplicate purchases and forgotten food. Open-front or handled bins are often more practical than lidded boxes for items used every day.

Should pantry containers be airtight?

Use airtight containers for foods that benefit from moisture and pest protection. Packets, cans, and frequently used snacks may only need an open category bin.

What is the best organizer for a deep pantry shelf?

Use a pull-out bin, turntable, or clearly defined front-and-back zones. Avoid placing small loose items in the rear where they cannot be seen.

How much space should I leave around bins?

Leave enough room to grip and lift each bin without rubbing neighboring pieces. A small amount of clearance also makes cleaning easier.

Can I organize a pantry without decanting food?

Yes. Group original packages in bins, use shelf risers for cans, and add labels to zones. Decant only where it provides a real freshness or visibility benefit.

Who should buy them—and who should skip

Buy organizers if: pantry items are hard to see, deep shelves waste space, or food repeatedly expires because it gets buried.

Skip them if: the pantry already works well and adding bins would reduce usable space or hide labels.

Best value

Start with a few clear bins or turntables sized to the shelves and the foods you buy most. A small targeted setup is better value than filling every shelf with containers.

When the upgrade is worth it

Pay more for sturdy stackable bins, smooth turntables, or pull-out systems when they solve deep-shelf access. Decorative matching sets are not worth extra if they reduce flexibility.

Final answer

The best small-kitchen pantry system begins with accurate measurements and a few flexible tools. Prioritize access, visibility, stable construction, and easy cleaning. A simple arrangement of bins, a turntable, and a shelf riser is usually easier to maintain than a complicated wall of matching containers.

For more practical kitchen storage ideas, see our food storage container guide and kitchen habits for clear counters.

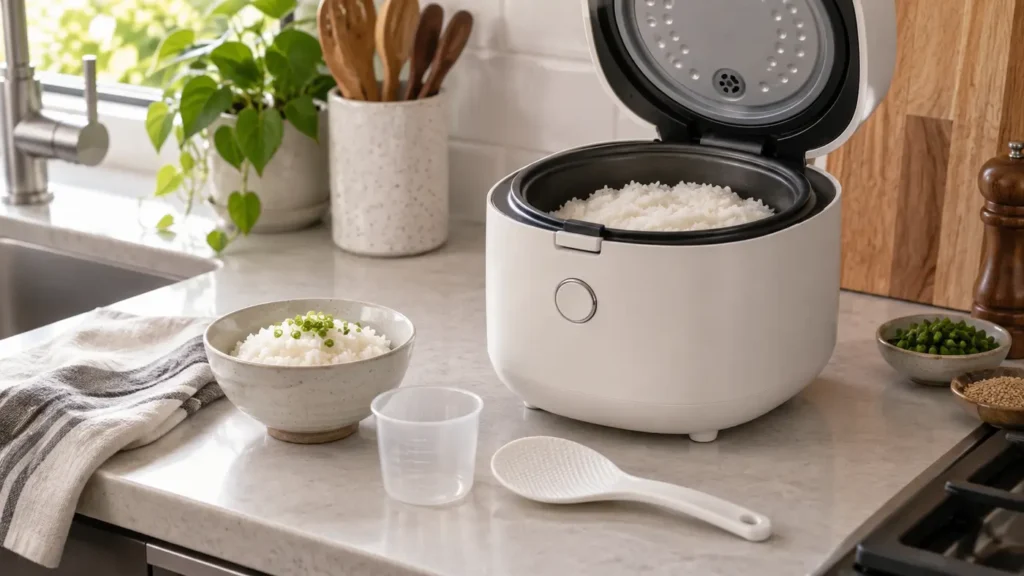
Compact rice cooker open with cooked rice on a modern kitchen counter
Kitchen & Dining

Best Rice Cooker for a Small Kitchen: Size and Features Guide

Disclosure: This post contains affiliate links. If you buy through one of our links, we may earn a commission at no extra cost to you. Follow the appliance instructions for measuring, steam release, food holding, cleaning and electrical safety.

A rice cooker can turn a basic side dish into a dependable part of meal preparation. Add measured rice and water, start the cycle and let the appliance switch to warm when cooking is complete. The challenge is choosing a cooker that matches your household without occupying more counter space than it earns.

Capacity labels can be confusing, fuzzy logic is not essential for everyone, and a long menu of programs can hide awkward cleaning. This guide focuses on practical size, bowl quality, controls and keep-warm performance.

Quick verdict

For one or two people, a compact three-cup cooker is usually enough; larger households and batch cooks often suit a five- or six-cup model. Choose a removable inner lid or easy-to-clean lid area, a clearly marked bowl and controls you will use. A simple one-touch cooker is excellent value for white rice, while fuzzy-logic models better suit several rice types and people who want more automatic adjustment.

Rice cooker types

Type Best for Advantages Tradeoffs
Basic switch cooker White rice and simple meals Affordable, quick to learn, few controls Less adjustment for different grains
Fuzzy-logic cooker Several rice varieties Adjusts time and temperature during the cycle Higher cost and longer programs
Pressure or induction cooker Enthusiasts seeking texture control Advanced heating and specialized programs Expensive, heavier and more complex
Multi-cooker Homes replacing several appliances Rice plus pressure, slow-cook or steam functions Larger footprint and more complicated interface

Understand the cup measurement

Many rice cookers include a small measuring cup that is not the same as a standard North American cup. Capacity is commonly stated in uncooked rice using the supplied cup. The cooked amount becomes much larger.

Use the included cup and the bowl’s matching water lines unless the recipe or manual says otherwise. Replacing it with a standard kitchen cup while following the same markings can produce poor results. Keep the supplied cup with the cooker or note its volume before it disappears into a drawer.

Choose capacity from real meals

A small cooker is easier to store and may handle small portions better. An oversized cooker can perform poorly below its minimum quantity and wastes counter space. Think about the largest normal batch, not a once-a-year gathering.

  • One or two people: a compact three-cup uncooked capacity is a practical starting point.
  • Three or four people: five to six cups offers room for leftovers.
  • Batch cooking: choose enough capacity for several meals, but confirm storage and minimum batch size.

Marketing varies, so compare the stated uncooked and cooked capacities as well as the physical dimensions.

Inner bowl materials and coatings

Most household rice cookers use an aluminum-based bowl with a nonstick coating. These release rice easily but should be used with the supplied plastic or silicone paddle. Replace a bowl when its coating is deeply scratched, peeling or damaged.

Stainless-steel bowls avoid a nonstick coating but can require more careful water ratios and cleanup. Ceramic-coated bowls may feel substantial, though they can still chip or wear. Check whether replacement bowls are sold before choosing an expensive model.

Keep-warm quality matters

Automatic keep-warm is convenient, but it is not a license to leave rice indefinitely. Good models hold an even temperature without drying the top or browning the bottom too quickly. The safe and recommended holding time depends on the appliance and food-safety guidance.

If you usually serve rice immediately, a basic warmer is enough. If family members eat at different times, look for an elapsed-time display, an easy reheat function and owner feedback about texture after several hours.

Programs you may actually use

  • White rice: the everyday standard.
  • Brown rice: uses a longer hydration and cooking cycle.
  • Quick cook: useful when texture can be slightly less refined.
  • Porridge: designed for higher water ratios and longer cooking.
  • Steam: can cook vegetables or proteins in a basket, subject to the manual.
  • Reheat: restores warm rice more gently than starting a full cycle.

Cake, yogurt and specialty programs add value only when you plan to use them. A clear interface with four useful modes beats a confusing panel with fifteen.

Lid design and cleaning

Steam carries starch into the lid and vent. A removable inner lid and detachable steam cap make thorough cleaning easier. Fixed lids can still work well if the accessible surfaces are smooth and the condensation collector is simple to empty.

Wash the bowl and accessories as directed, wipe the heating plate after it cools and keep the temperature sensor free of rice grains. The outside of the bowl should be dry before it returns to the cooker. Never immerse the main body.

Counter space and cord storage

Measure the cooker with the lid fully open. Steam needs clearance from upper cabinets, and the lid should not hit a shelf. A retractable or detachable cord can make storage easier, while a carrying handle is useful if the cooker moves between a cupboard and counter.

Place the cooker on a stable, heat-resistant surface away from a wall that could be damaged by repeated steam. Do not operate it beneath a closed shelf without the clearance required by the manual.

Common buying mistakes

  • Confusing the supplied rice cup with a standard measuring cup
  • Buying capacity for rare events instead of normal meals
  • Ignoring the minimum batch size
  • Choosing many programs with a difficult interface
  • Using metal utensils in a coated bowl
  • Forgetting to clean the inner lid, vent and condensation collector
  • Assuming keep-warm means unlimited safe storage

Getting better rice

  1. Measure with the supplied cup.
  2. Rinse only as appropriate for the rice type and package directions.
  3. Use the matching bowl line or recommended water ratio.
  4. Level the rice before cooking.
  5. Keep the outside of the bowl clean and dry.
  6. After the cycle, rest the rice as directed, then fluff with the proper paddle.

Freshness, rice variety, altitude and water hardness can change the ideal ratio. Make small adjustments and record what works instead of changing several variables at once.

Frequently asked questions

Is a three-cup rice cooker enough for two people?

Usually, yes. Confirm whether the rating refers to uncooked rice and compare it with your normal serving size and desire for leftovers.

Is fuzzy logic worth it?

It is useful when you cook several rice types or want the cooker to compensate for small measuring differences. For basic white rice, a simple model can be excellent.

Can I cook quinoa or oatmeal?

Many cookers can handle other grains, but ratios and foaming behavior vary. Use a program and recipe approved for the model.

Can I leave rice on warm overnight?

Do not assume so. Follow the manufacturer’s holding-time guidance and food-safety recommendations. When in doubt, cool leftovers promptly and refrigerate them.

Why does rice stick to the bottom?

Possible causes include an unsuitable ratio, damaged coating, incorrect program, very long warming or starch buildup. Check the bowl and repeat the manual’s standard method.

Shop rice cookers

Compare true uncooked capacity, minimum batch, bowl replacement, removable lid parts, keep-warm controls and lid-open dimensions.

Shop Amazon USA
Shop Amazon Canada

Who should buy it—and who should skip it

Buy it if: you cook rice regularly and want repeatable results with less stove attention.

Skip it if: you rarely make rice, already get consistent stovetop results, or do not have storage room for another appliance.

Best value

A compact three-cup class cooker with dependable keep-warm performance is the best value for one or two people.

When the upgrade is worth it

Pay more for better fuzzy-logic control, useful grain settings, a removable lid, and easier cleaning when rice is a frequent staple. Large capacity is not an upgrade for a small household.

Final answer

Pick the smallest rice cooker that comfortably handles your normal largest batch. A simple three-cup model is strong value for one or two people, while a five- or six-cup fuzzy-logic cooker suits families and multiple rice types. Prioritize easy lid cleaning, a replaceable bowl and useful keep-warm controls over a long program list.

Organize the results with our food storage container guide, and compare another compact appliance in our immersion blender guide.

Unbranded stainless steel electric kettle on a bright apartment kitchen counter
Kitchen & Dining

Best Electric Kettle: 7 Features to Look For

Disclosure: This article contains affiliate links. If you buy through them, My Indoor Space may earn a commission at no extra cost to you.

Unbranded stainless steel electric kettle on a bright apartment kitchen counter

The best electric kettle is not automatically the most expensive one. For most kitchens, a dependable kettle with automatic shutoff, boil-dry protection, a comfortable handle and an easy-to-clean interior delivers better everyday value than a complicated model filled with settings you may never use.

Quick Verdict

Best choice for most homes: a 1.5- to 1.7-litre cordless kettle with a wide lid, clear water-level markings, automatic shutoff and boil-dry protection.

Best upgrade: a variable-temperature kettle if you regularly prepare green tea, delicate tea, French-press coffee or pour-over coffee.

Best for a small kitchen: a compact 1-litre model with a small base and cord storage. It heats only the water you need and gives more counter space back.

Who an Electric Kettle Is Best For

  • Tea and instant-coffee drinkers who heat water several times a day.
  • Anyone who wants hot water without using a saucepan or microwave.
  • Small households that value speed and a compact countertop footprint.
  • People who prepare oatmeal, soup cups, hot chocolate or pour-over coffee.

Who May Want to Skip It

  • Homes that already have an instant hot-water dispenser.
  • Anyone who rarely heats water outside normal cooking.
  • Very small kitchens where even a compact appliance would remain unused.
  • People who need a travel appliance; a full-size household kettle may not suit different voltages or hotel rules.

Choose the Right Type

Kettle typeBest forMain trade-off
Basic boil-onlyEveryday tea, instant coffee and simple valueNo temperature control
Variable temperatureDifferent teas and specialty coffeeHigher price and more controls
GooseneckControlled pour-over coffeeUsually slower to pour for general kitchen use
Compact 1-litreOne or two people and small countersMore refills for guests
Large 1.7-litreFamilies, entertaining and batch useLarger footprint and heavier when full
Double-wallHeat retention and a less-hot outer surfaceHeavier and harder to see the water level

Seven Features Worth Paying For

1. Automatic Shutoff and Boil-Dry Protection

These are the first features to check. Automatic shutoff turns the kettle off after the water boils. Boil-dry protection stops heating when there is too little water. Neither replaces careful use, but both are more important than decorative lights or app controls.

2. The Right Capacity

A 1-litre kettle is usually enough for one or two people and roughly three or four generous mugs. A 1.5- to 1.7-litre kettle makes more sense for a family, a home office with frequent refills or anyone who serves guests. Buying a kettle much larger than you need takes more space and encourages overfilling.

3. A Comfortable Handle and Controlled Pour

A good handle should feel balanced when the kettle is full and keep your hand comfortably away from the body and lid. The spout should pour in a clean stream without dribbling. If grip strength is a concern, compare the empty weight as well as the capacity.

4. An Easy-to-Clean Interior

Look for a lid that opens wide enough for cleaning and a concealed heating element that leaves a smoother base inside. A removable scale filter at the spout is also useful, especially in areas with hard water. Complicated seams and narrow openings make mineral buildup harder to remove.

5. Useful Water-Level Markings

Clear markings help you boil only what you need. Check whether the scale is visible from the side you naturally use. Some handsome kettles hide the window behind the handle, which can make filling less convenient.

6. A Stable Cordless Base

A 360-degree base lets you return the kettle from either direction, which is helpful for left- and right-handed users. A broad, non-slip base and cord storage keep the appliance steadier and the counter neater. Measure the full base, not just the kettle body, before buying for a narrow counter.

7. Recognized Electrical Certification and a Clear Warranty

Choose a model intended for your country and look for recognized electrical certification for your market. Check the warranty length, return policy and whether the company provides replacement filters or other small parts. A bargain is less appealing if support disappears when the lid or base develops a problem.

Is Variable Temperature Worth It?

Variable temperature is worthwhile when the drink changes with the day. Delicate teas can taste harsh when the water is too hot, while black tea and many instant foods benefit from hotter water. Coffee drinkers may also prefer control below a full rolling boil.

If you simply want boiling water for ordinary tea, instant coffee or cooking, one-button operation is faster to understand, easier to live with and usually less expensive. Temperature presets are a genuine upgrade only when you will use them.

Stainless Steel, Glass or Plastic?

Stainless steel is durable, hides mineral marks and suits most kitchens. Single-wall metal can become very hot, so keep hands on the handle.

Glass makes the water level easy to see and can look attractive on the counter. It also shows scale quickly and is heavier and more breakable.

Plastic keeps weight and price down. Look for a well-made model from a reputable seller and check which surfaces contact the water if material choice matters to you.

What About Speed and Wattage?

Higher-wattage kettles generally heat water faster, but the result also depends on household voltage, water quantity and starting temperature. In a North American kitchen, a good full-size kettle is often designed to use much of the power available from a standard outlet. Avoid sharing an overloaded circuit with other high-draw countertop appliances.

Small-Kitchen Buying Checklist

  1. Measure the counter area, including the base and handle.
  2. Check the height beneath upper cabinets with the lid fully open.
  3. Decide whether one litre is enough for normal use.
  4. Choose a cord length that reaches without crossing a sink or walkway.
  5. Make sure steam will not vent directly onto a cabinet or wall.
  6. Pick a finish you will be comfortable leaving visible every day.

If your counters already feel crowded, combine the kettle with the simple habits in The Small Kitchen Habits That Keep Counters Looking Clean. A defined appliance zone can also make a kitchen feel more intentional without a renovation.

Best Value vs. Upgrade Worth Buying

Best value: a straightforward cordless kettle with automatic shutoff, boil-dry protection, a wide lid and a removable scale filter. This covers the needs of most households without adding controls that complicate a basic job.

Upgrade worth buying: a variable-temperature model with a simple display and keep-warm function if you prepare several types of tea or coffee throughout the day.

Upgrade most people can skip: app control. Heating water is quick, and the kettle still needs to be filled before use. Reliable physical controls usually matter more.

Use It Safely

  • Place the base on a dry, level surface away from the sink and counter edge.
  • Do not fill above the maximum line.
  • Keep the spout pointed away from cabinets, people and pets.
  • Never immerse the kettle, base, plug or cord in water.
  • Descale according to the manufacturer’s instructions.
  • Stop using the kettle if the cord, plug, lid or base is damaged.
  • Follow the manual for outlet, cleaning and extension-cord guidance.

Frequently Asked Questions

Is a 1-litre kettle big enough?

For one or two people, usually yes. It saves counter space and is lighter to lift. A larger kettle is more convenient when several people want hot drinks at the same time.

Does a keep-warm function use a lot of electricity?

It uses additional energy because the kettle reheats or maintains temperature. The exact amount varies by model and duration. If you rarely return for a second drink, boil fresh water instead.

How often should an electric kettle be descaled?

There is no single schedule for every home. Hard water and frequent use create scale faster. Inspect the interior regularly and follow the cleaning interval and method in the manual.

Is a gooseneck kettle better?

It is better for slow, controlled pouring over coffee grounds. For filling a teapot, soup cup or saucepan, a conventional spout is often quicker and more practical.

Availability, prices and specifications change. Confirm the current capacity, safety features, electrical certification and warranty on the retailer’s page before purchasing.

Building a compact coffee setup? Compare AeroPress Original and XL sizes, then use our kitchen scale guide to decide whether your existing scale is enough.

Final Answer

For most kitchens, the winner is a simple 1.5- to 1.7-litre cordless kettle with automatic shutoff, boil-dry protection, a comfortable handle and a wide opening for cleaning. Choose a compact 1-litre version if counter space matters more than serving a crowd. Pay extra for variable temperature only when different teas or specialty coffee are part of your normal routine.

Scroll to Top