Kitchen & Dining

Practical ideas and products for cooking, dining and everyday kitchen life.

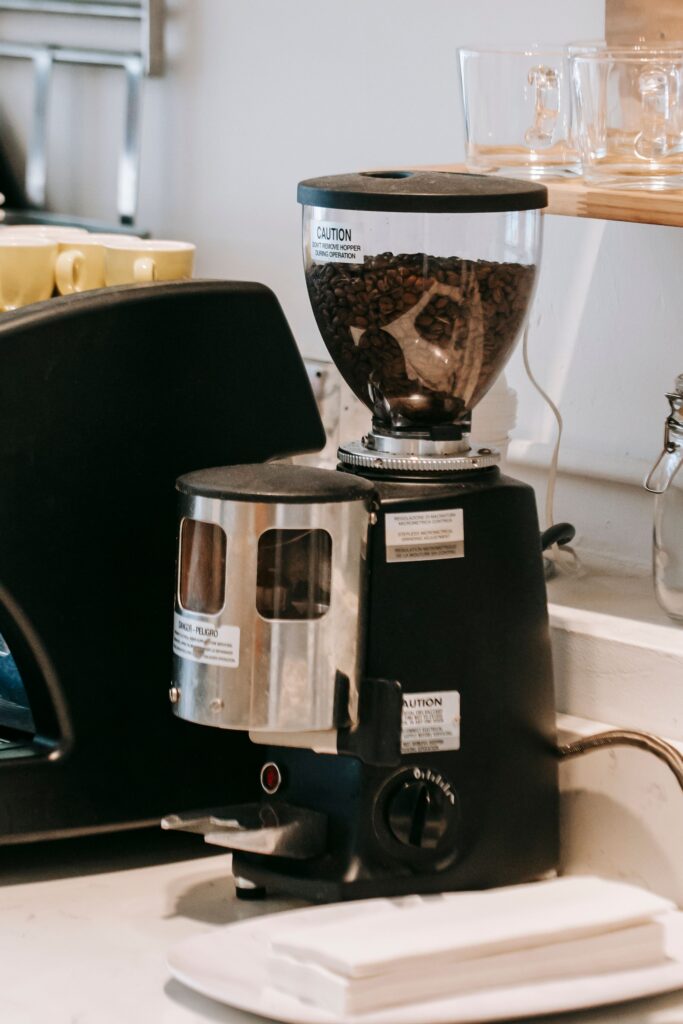
Modern coffee grinder on a kitchen counter
Kitchen & Dining

Baratza Encore vs Encore ESP: Which Coffee Grinder Fits?

Disclosure: As an Amazon Associate, My Indoor Space may earn from qualifying purchases through links in this article, at no extra cost to you.

The ordinary Baratza Encore and the Encore ESP look like close relatives, but their most useful difference appears when you try to dial in espresso. If you brew drip coffee, pour-over, or French press at home, the standard Encore is the sensible starting point. If a non-pressurized espresso machine is part of your setup, pay attention to the ESP.

Quick verdict

Buy the Encore for filter coffee. Its straightforward hopper adjustment covers the typical home brewing range. Buy the Encore ESP if you also make espresso. Baratza divides the ESP’s 40 numbered positions into a finer-adjustment espresso range (1–20) and a broader filter range (21–40). That extra control solves a specific problem: a small grind change can alter espresso flow markedly. This is a research-based comparison of manufacturer specifications, not a claim of hands-on testing.

Where the upgrade matters

Your brewing routine Better fit Why
Drip, pour-over, French press Encore Pay for a solid filter grinder without an espresso-focused adjustment range.
Espresso with a non-pressurized basket Encore ESP Smaller changes in its espresso range make dialing in practical.
Espresso plus filter coffee Encore ESP One grinder covers both ranges; expect to change settings and purge some grounds between brews.
Pre-ground coffee only Neither Buy a grinder once grinding fresh beans becomes part of the routine.

Who should buy and who should skip

Choose the standard Encore when you mainly brew a pot, a single pour-over, or a French press. Skip its apparent saving if you are actively buying an espresso machine that needs fine adjustment. Choose the ESP if you plan to tune shots by grind size. Skip the upgrade if your coffee maker never uses its finer control; the extra features then do little work.

Do not confuse the number of settings with the result

Both grinders have 40 marked positions. The numbers alone do not tell you how finely each step changes the grind. Baratza describes the ESP positions 1–20 as its higher-resolution espresso section. Its positions 21–40 serve filter and coarser methods. The standard Encore is marketed primarily for filter brewing, despite a broad 40-setting range. A manufacturer’s mention of “espresso fine” on a general grinder does not make it equally easy to dial in a non-pressurized shot.

Counter space and daily cleanup

Measure the clearance below your cabinets with room to lift the hopper lid, and plan where the grounds container will sit during filling. The ESP includes a dosing cup for an espresso workflow. Both machines require occasional burr and chute cleaning; beans leave residue, and a clogged chute can change how much coffee reaches the cup. Consult the manual for the exact cleaning and burr-removal steps rather than washing electrical parts.

Best value and when to pay more

For a filter-only household, the Encore is the better value because the ESP’s main advantage goes unused. For a household moving into non-pressurized espresso, buying the ESP once can be more useful than saving on a filter grinder and replacing it later. Prices vary by seller and country, so compare the actual checkout totals and return terms rather than relying on a fixed price here.

What to check before ordering

  • Whether your espresso machine uses a pressurized or non-pressurized basket; the latter makes grind adjustment much more consequential.
  • Cabinet clearance, hopper access, and the power outlet location.
  • The exact product name in the listing: Encore and Encore ESP are separate models.
  • Availability of replacement burrs and support in your country.

Final winner

The Encore wins for filter coffee. The Encore ESP wins for a mixed filter-and-espresso setup because its espresso range gives the meaningful extra control. If you do not make espresso, keep the simpler purchase.

For another compact kitchen appliance decision, read our electric kettle guide. For accurately weighing beans, see our kitchen scale guide.

Research: Baratza Encore; Baratza Encore ESP; Baratza’s espresso and filter adjustment description.
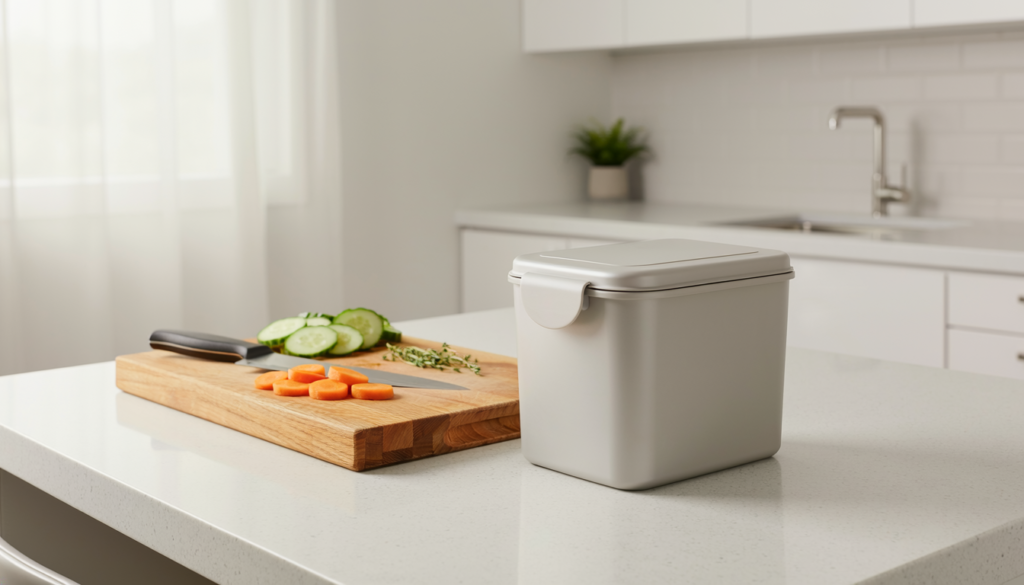
Compact food scrap bin on a small apartment kitchen counter
Kitchen & Dining

Best Food Scrap Bin for an Apartment Kitchen

Disclosure: As an Amazon Associate, My Indoor Space may earn from qualifying purchases made through links in this guide, at no extra cost to you.

A countertop “compost bin” usually holds food scraps for collection elsewhere; it does not turn them into finished compost by itself. That distinction matters in an apartment. A small container that you empty and clean regularly often works better than a large, attractive pail that holds scraps for a week.

Quick verdict

Choose a small removable bin with a smooth interior, sturdy carry handle, and lid that closes without elaborate hinges. Start with the smallest size you can empty on your normal collection schedule. Check your local organics program’s accepted materials and liner rules before buying specialty bags.

How this guide was made: a research-based comparison of product types, published maker details, and the practical fit questions below. We have not claimed hands-on testing.

Who should buy it—and who should skip

For: Apartment residents who already have a municipal organics bin, community drop-off, or another reliable destination for food scraps.

Skip: Skip a counter pail if you have no place to empty it; first find out what the local program accepts. Skip a powered countertop appliance if you only need a temporary holding container.

Compare the real alternatives

Option Best for Main trade-off
Small lidded pail Daily scraps with frequent emptying Requires a washing routine
Freezer container Holding scraps longer without odors Uses freezer space
Powered food recycler Processing some scraps at home Higher cost and electricity; output is not always compost

Match size to collection frequency

One or two people can fill a little bin surprisingly quickly when peeling vegetables. That is useful if it prompts frequent emptying. A large bin left warm and damp can become unpleasant. Measure the spot beside the cutting board or inside a cabinet and make sure the lid opens without hitting the wall.

Look for a cleanable interior and simple lid

Smooth surfaces and a removable inner bucket are easier to rinse. Charcoal filters may reduce some odors but need replacement and do not excuse storing old scraps indefinitely. A fitted lid helps contain fruit flies; a bin with trapped liquid still needs prompt cleaning.

Check the rules before buying liners

Some Canadian collection programs accept paper liners, some require certified compostable liners, and some accept loose scraps. The rules depend on where your scraps go. Follow your municipality’s actual list rather than assuming “compostable” printed on a bag makes it acceptable.

Keep the disposal route practical

Place the pail where you prepare food, then plan the transfer to the outdoor bin or drop-off. A freezer container may be a better fit when pickup is infrequent or hot weather makes a counter bin unpleasant. Do not add pet waste to a food-scrap stream unless the receiving program explicitly allows it.

Best value

A small plain lidded pail that can be fully washed is the best-value apartment choice when collection is regular.

When to pay more

Pay extra for a removable inner bucket or better handle if your daily routine benefits from it; a filter is optional and should be easy to replace.

Buying mistakes

  • Calling a holding pail an indoor composter.
  • Assuming every collection program accepts the same liners.
  • Buying a large pail without an emptying schedule.

Questions buyers ask

Does a countertop scrap pail make compost?

Usually not. It holds material until you take it to a composting program or a properly managed composter.

Are compostable bags always accepted?

No. Acceptance varies by collection program; check your local rules.

Final winner

Start with the collection route, then buy the smallest easy-clean pail that makes using that route convenient.

Related reading: small-kitchen pantry organizers; dish drying rack guide.

Research sources: U.S. EPA guide to composting at home.

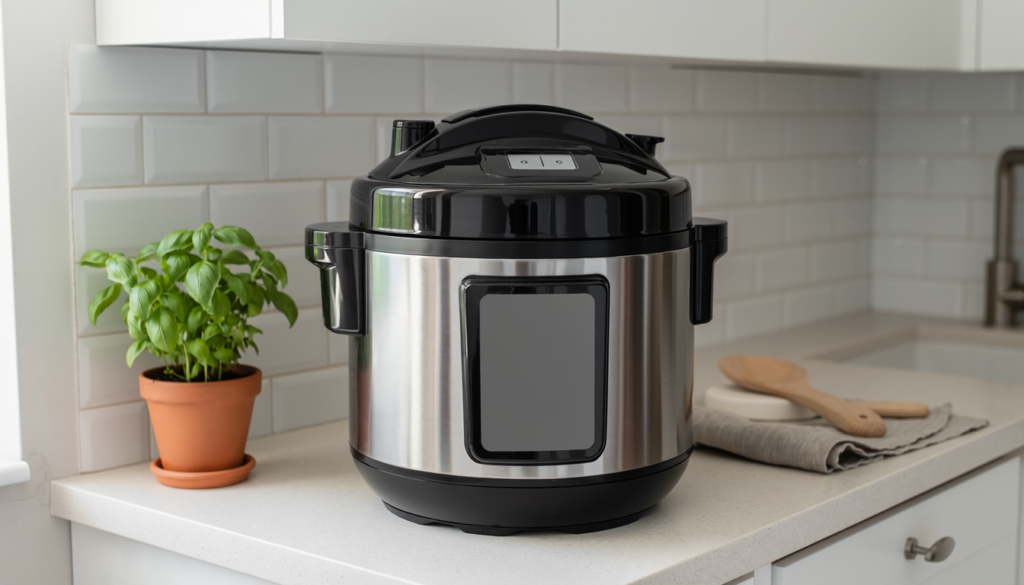
Compact electric pressure cooker on a small kitchen counter
Kitchen & Dining

Best Electric Pressure Cooker for One or Two

Disclosure: As an Amazon Associate, My Indoor Space may earn from qualifying purchases made through links in this guide, at no extra cost to you.

Pressure cookers promise fast dinners, but the cooking time on the screen is only part of the evening. Coming to pressure and releasing it take additional time, and a tiny pot can be limiting when you want leftovers. The right size comes from the dishes you cook, not the number of people alone.

Quick verdict

For one or two people who mostly cook rice, beans, small stews, or side dishes, a three-quart multi-cooker is a reasonable starting point. Instant Pot still lists a Duo Mini 3QT as a compact option. Choose a larger pot if batch cooking and freezing portions are routine. Read the current model manual for fill limits, minimum liquid, and release procedure.

How this guide was made: a research-based comparison of product types, published maker details, and the practical fit questions below. We have not claimed hands-on testing.

Who should buy it—and who should skip

For: Smaller households with limited counter space that regularly cook moist dishes and are comfortable following pressure-cooking steps.

Skip: Skip it if you already cook these meals comfortably in a saucepan and will only use the pressure setting twice a year. A small unit is also a poor fit for large roasts and weekly meal-prep batches.

Compare the real alternatives

Option Best for Main trade-off
3-quart multicooker Sides and small household meals Less room for batch cooking
6-quart multicooker Larger recipes and leftovers More counter and storage space
Stovetop pot Simple simmering without another appliance Requires stovetop heat control; no electric pressure-cooking program

Recipe size is more than pot volume

Pressure recipes need room for liquid and expansion. Dry beans and foamy ingredients often have stricter fill limits. Compare your favorite recipes with the model’s usable fill level; a three-quart label is not a promise of three quarts of finished stew.

Allow space for the lid and steam

Measure counter height under cabinets with the lid open, not only the closed appliance. Position the unit as its manual directs so the steam release does not aim at a wall cabinet, face, or hanging fabric. Keep children and pets away during release.

Check the pieces you will maintain

The sealing ring, valve, condensation collector, and removable inner pot need regular attention. Check replacement-ring availability and how the lid comes apart for cleaning. A pot with more presets is not useful if the interface hides the basic pressure and timer controls you use.

Know the time trade-off

A pressure cook cycle can be short, but heating and natural release extend the total. For a quick egg or single portion of pasta, a regular pot may finish sooner. The pressure cooker pays off when the food’s texture or the hands-off cooking suits your routine.

Best value

A straightforward three-quart model is the value pick for modest moist dishes and an occasional extra serving.

When to pay more

Pay for a larger pot if you deliberately make leftovers or recipes whose minimum batch already crowds a small inner pot; pay for extra programs only when you will use them.

Buying mistakes

  • Treating the labeled volume as the safe food fill line.
  • Ignoring preheat and release time in a quick-dinner plan.
  • Venting under a low cabinet.

Questions buyers ask

Does a three-quart unit cook rice?

Many multicookers do, but follow the appliance’s rice and liquid instructions rather than copying a stovetop ratio blindly.

Is it faster for every meal?

No. Some small or delicate dishes cook faster on the stove once pressure buildup and release are counted.

Final winner

Buy the mini size for small, recurring pressure-cooking jobs. If you want several days of leftovers, measure for the larger pot before deciding.

Related reading: small-kitchen rice cooker guide; vacuum sealer guide.

Research sources: Instant Pot Duo Mini 3QT specifications.

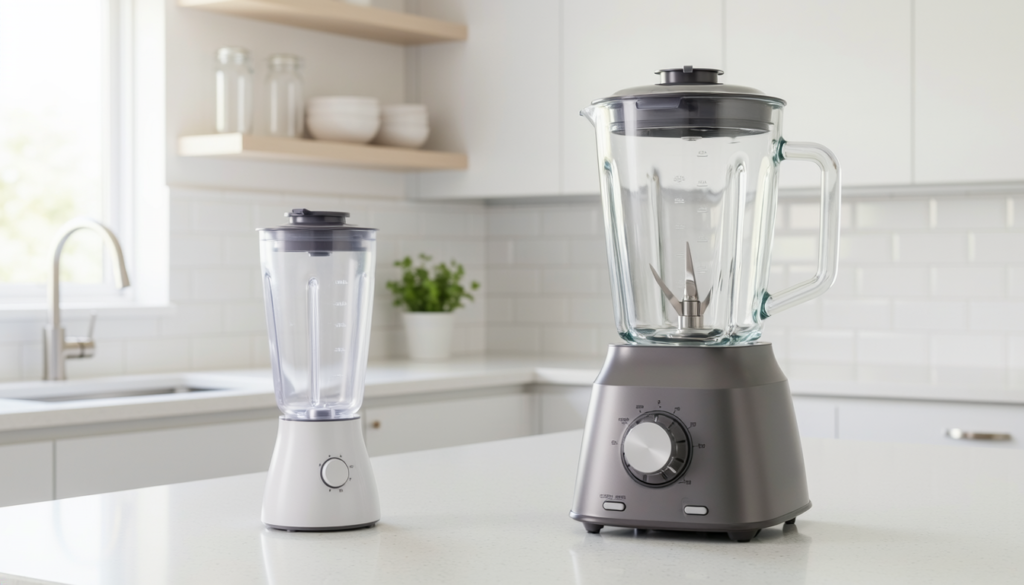
Personal blender beside a full-size blender in a small kitchen
Kitchen & Dining

Personal Blender vs Full-Size Blender for a Small Kitchen

Disclosure: As an Amazon Associate, My Indoor Space may earn from qualifying purchases made through links in this guide, at no extra cost to you.

A personal blender often looks like the obvious choice for a small kitchen until you try to make soup or a pitcher of drinks. A full-size blender looks versatile until its jar will not fit under the cabinets. Decide from the recipes you make every week rather than motor wattage alone.

Quick verdict

Pick a personal cup system for one cold smoothie at a time and fast cleanup. Pick a full-size jar when you regularly blend family portions, sauces, or larger mixtures. For perspective, Ninja markets a single-serve model with 24-ounce cups, while Vitamix offers a 48-ounce jar intended for medium batches; those capacities illustrate different use cases, not equal tested performance.

How this guide was made: a research-based comparison of product types, published maker details, and the practical fit questions below. We have not claimed hands-on testing.

Who should buy it—and who should skip

For: A personal blender suits one person making cold drinks. A full-size blender suits a household preparing batches or recipes that need room to circulate.

Skip: Skip a personal cup if you intend to blend hot soup or multiple servings unless the exact manual allows it. Skip a bulky pitcher if it will stay in storage because you only make one small smoothie.

Compare the real alternatives

Option Best for Main trade-off
Personal cup One cold drink and minimal washing Limited batch volume; hot liquids often restricted
Full-size jar Batch smoothies and sauces More height, weight, and cleanup
Immersion blender Soup in a saucepan Less suitable for ice-heavy drinks

Measure both the base and storage height

A narrow motor base does not tell you the full stored height with a jar attached. Note whether the pitcher needs to be lifted off under a cabinet before you can open its lid. A cup system may store in separate pieces, but spare cups and lids still need a home.

Match the container to the smallest regular batch

A large jar can struggle with ingredients that sit below the blade’s useful operating volume. A small cup may need several cycles for two people and can overfill quickly once frozen fruit is added. Use the minimum and maximum fill directions in each product manual.

Read the hot-liquid and cleaning instructions

Do not assume any sealed personal cup can safely blend hot ingredients; pressure and steam can be a hazard. Follow the model’s liquid temperature guidance. Check whether the blade unit, jar, gasket, and lid are dishwasher safe rather than assuming all parts share a rating.

Avoid buying by peak watts alone

Blade shape, container geometry, and how ingredients circulate all affect results. A published peak watt figure is not a smoothie texture test. Think about whether you value a travel lid, tamper, replaceable container, or quieter operation, and compare those features directly.

Best value

A well-supported personal blender with replacement cups is the best value for one cold smoothie a day.

When to pay more

A full-size blender justifies its extra cost and storage space when you repeatedly make batch recipes. Compare the complete appliance, not just a replacement jar: a container sold separately needs a compatible motor base. Check model compatibility and included parts before comparing prices.

Buying mistakes

  • Blending hot soup in a sealed cup against the manual.
  • Buying a jar too tall for the cabinet clearance.
  • Assuming peak wattage predicts drink texture.

Questions buyers ask

Can a personal blender crush ice?

Some models are designed for frozen ingredients; confirm the manufacturer’s instructions and keep the quantity within the stated limits.

Does a bigger pitcher replace an immersion blender?

It can make smooth soup, but transferring hot liquid can be less convenient and must follow the jar’s temperature instructions.

Final winner

For a daily single cold drink, keep the appliance small. For batch cooking, give the larger jar a place to live and use it often enough to justify that footprint.

Related reading: immersion blender comparison; food storage container guide.

Research sources: Ninja single-serve blender details; Vitamix 48-ounce container details.

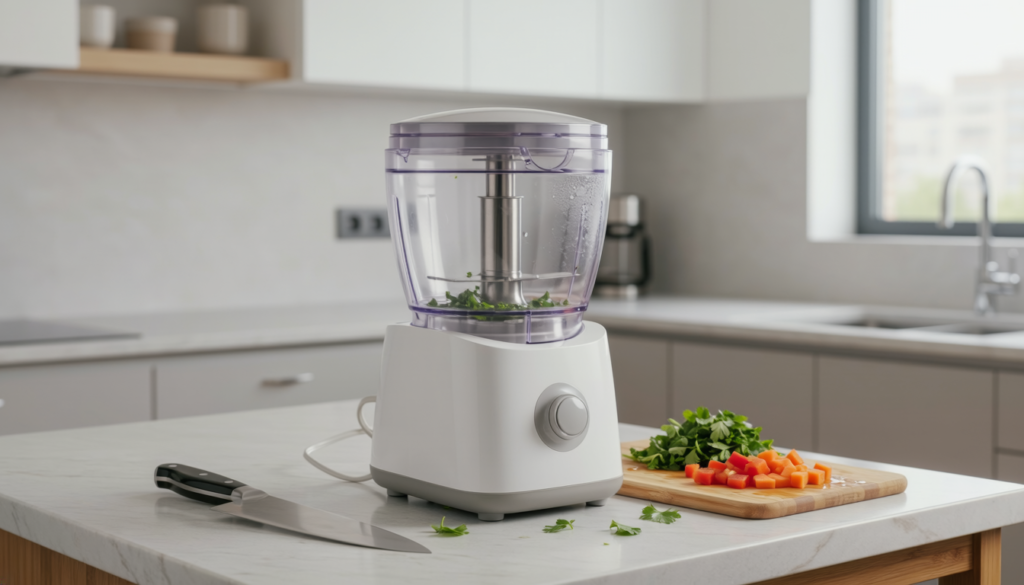
Compact mini food processor on a small kitchen counter
Kitchen & Dining

Best Mini Food Processor for a Small Kitchen

Mini food processor for a small kitchen buying guide cover

Disclosure: As an Amazon Associate, My Indoor Space may earn from qualifying purchases made through links in this guide, at no extra cost to you.

A three-cup chopper can spare a cutting board from the little jobs you do every day. It cannot replace a large food processor with a feed tube and slicing discs. The useful buying question is how often you chop small ingredients, and how quickly you can wash and put away the bowl afterward.

Quick verdict

For one or two cooks, choose a compact processor with a removable bowl, secure lid, easy-to-use controls that let you pulse in short bursts, and replacement parts you can still obtain. A three-cup design such as Cuisinart’s Mini-Prep Plus shows the category’s appeal: it suits herbs and onions while remaining small enough to store. Check the actual bowl and blade instructions before buying.

How this guide was made: a research-based comparison of product types, published maker details, and the practical fit questions below. We have not claimed hands-on testing.

Who should buy it—and who should skip

For: People who frequently mince onions, herbs, garlic, or small sauce batches and dislike hand chopping. It also fits cooks who want a small appliance that can be cleared off the counter.

Skip: Skip it if you mostly slice vegetables into uniform discs, knead dough, or prepare large batches. Those jobs call for a full-size food processor. An immersion blender is better for puréeing soup directly in the pot.

Compare the real alternatives

Option Best for Main trade-off
Mini chopper Fast small chopping jobs Small batches and few attachments
Full-size processor Slicing, shredding, larger volumes Bulkier bowl and cleanup
Immersion blender Soups and liquids in a pot Does not chop dry ingredients the same way

The fill line matters more than the headline capacity

A “three-cup” bowl does not mean you should pack it full to the lid. Look at the maximum fill advice for liquids and solids, especially if you make dressings. Overfilling tends to leave large pieces on top while the bottom becomes paste. For frequent larger batches, a full-size machine is the more honest purchase.

Check the blade, lid, and controls together

Short pulses help you stop at a coarse chop rather than a fine purée. The Mini-Prep Plus has Chop and Grind buttons; Cuisinart recommends pulsing with Chop for soft ingredients and using Grind for harder foods such as nuts. See the Mini-Prep Plus manual for ingredient quantities and operating limits. The lid should lock positively and be easy to align without excessive force. Remove and clean the blade carefully; a small bowl with a difficult blade latch can erase the time you saved on chopping.

Count the pieces you will wash

Compare dishwasher instructions for the bowl, blade, and lid separately. Cuisinart says the removable parts on its Mini-Prep Plus are dishwasher safe, but that claim is model-specific. A smooth bowl interior and a lid without many narrow crevices matter more than a long preset list.

Store it where you will use it

Measure the cabinet height with the bowl and lid assembled. If the base lives deep in a cupboard, a smaller unit may be used more often than a powerful machine that needs a full counter reset. Confirm that the cord can be wrapped without stressing its connection.

Best value

A simple three-cup pulsing chopper is the best value for recurring small prep work; spend the savings on a good knife if you only chop occasionally.

When to pay more

A larger processor earns its cost only when you regularly need slicing discs, bigger batches, or dough capacity. More power on a tiny bowl will not create more usable volume.

Buying mistakes

  • Buying a small bowl for full-size batch recipes.
  • Assuming every detachable part is dishwasher safe.
  • Treating a mini chopper as a replacement for a slicing processor.

Questions buyers ask

Can it grind nuts?

Some can handle small quantities, but follow the model’s blade and fill instructions; stop before nut butter builds up if the machine is not intended for it.

Is it better than an immersion blender?

For chopped solids, usually. For smooth soup already in a pot, an immersion blender is often more convenient.

Final winner

Buy the compact chopper for the jobs it does frequently and well. If the task list includes slicing and large batches, choose a bigger processor instead.

Related reading: immersion blender guide; ergonomic kitchen tools.

Research sources: Cuisinart Mini-Prep Plus product details.

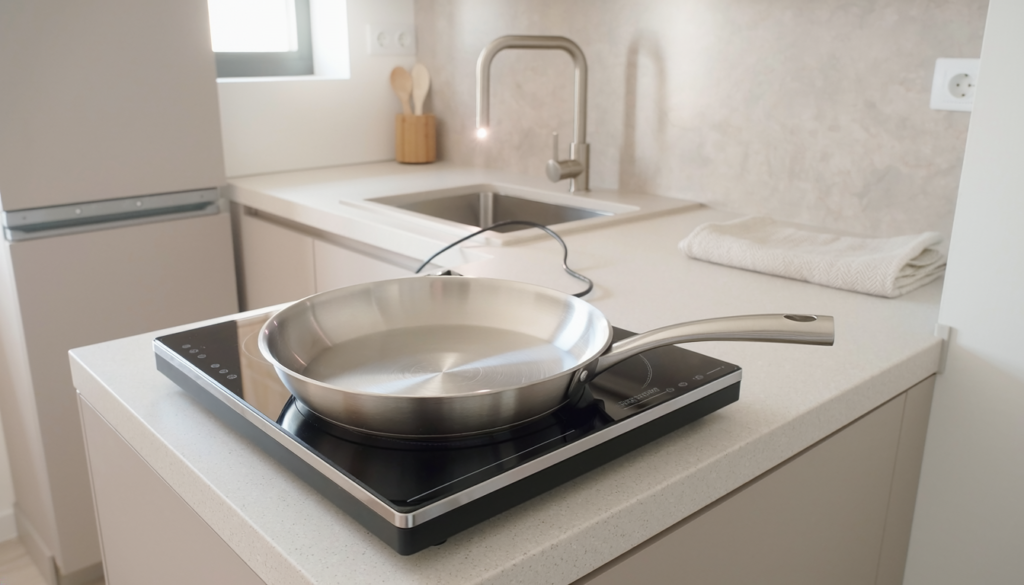
Portable induction cooktop on a small modern kitchen counter
Kitchen & Dining

Best Portable Induction Cooktop for a Small Kitchen

Disclosure: As an Amazon Associate, My Indoor Space may earn from qualifying purchases made through links in this guide, at no extra cost to you.

A portable induction burner can add a cooking zone to a cramped kitchen or keep a pot going when the main stove is busy. It heats compatible cookware through induction, so your favorite pan may decide whether the purchase makes sense. Check the kitchen’s electrical setup and the product manual before buying.

Quick verdict

For most small kitchens, a single-burner unit with clear power controls, a stable surface, a timer, and a cooking zone matched to your usual pan is the best fit. Test cookware with a magnet first. Choose the countertop placement based on ventilation and clearance requirements in the manual.

Who this is for—and when to skip it

Buy it for: A small kitchen that needs one extra cooking zone and already has compatible pans, a suitable outlet, and the required counter clearance.

Skip it when: Your existing stove handles your meals, your pans are incompatible, or the burner cannot be placed and powered according to its manual. Keeping the stove you have is the lower-cost choice when you do not need another cooking zone.

How this guide was made: a research-based buying guide using the Department of Energy explanation linked below and practical compatibility checks. It does not claim hands-on testing of a particular cooktop.

Which type fits your home?

Type Best for Trade-off
Single-burner induction Occasional extra cooking zone Only one pan at a time
Dual-burner induction Regular multi-pan cooking Takes more counter space and demands electrical planning
Portable resistance burner Nonmagnetic cookware Different heat response and surface behavior
Existing stovetop No extra appliance or storage No extra cooking zone

Confirm pan compatibility

Induction relies on cookware with a magnetic base. The U.S. Department of Energy suggests a simple magnet check: if a magnet sticks to the bottom, the pan can generally work. Still compare the pan’s flat base diameter with the cooktop’s specified cooking area; very small or warped pans may not work reliably.

Power controls matter at low heat

Some units offer many numeric settings while cycling power at the lower end. Read the manual or independent owner feedback for how it behaves when simmering sauce, not just when boiling water. A dedicated power setting and separate temperature setting can be useful, but labels alone do not guarantee fine control.

Check the kitchen’s electrical setup

Portable units are designed for a suitable household outlet according to their own rating and instructions. Do not assume an extension cord, shared power strip, or loaded circuit is appropriate. Follow the manufacturer on clearances and never use the burner near hanging fabric or water.

Storage, cleanup, and heat

The glass top wipes more easily after it cools, but the hot pan transfers heat back into the surface. A residual heat warning is useful. Compare full exterior dimensions, fan noise, and the cord route with where the unit will actually sit and be stored.

Best value

A simple single-burner model with a clear display and timer is the best value when you occasionally need one additional cooking zone.

When the upgrade earns its price

Pay for a model with verified finer low-heat control if you cook sauces or simmer regularly; extra advertised power alone is less useful in that situation.

Buying mistakes to avoid

  • Buying before checking the pans with a magnet.
  • Judging suitability only by peak wattage.
  • Running a high-power cooker through an unsuitable power strip.

Common questions

Will all stainless-steel pans work?

No. Stainless cookware varies; check that a magnet sticks firmly to the base and compare the manual’s pan size range.

Does the glass surface stay cool?

The burner heats the pan directly, but the hot pan can warm the glass. Let it cool before cleaning.

Final pick

A well-controlled single burner is the practical starting point for occasional extra cooking. Check your pans, countertop, and outlet before comparing bonus features.

Keep comparing with our basket versus oven air fryer comparison, small-kitchen electric kettle guide.

Further reading: U.S. Department of Energy: Induction Cooktops.

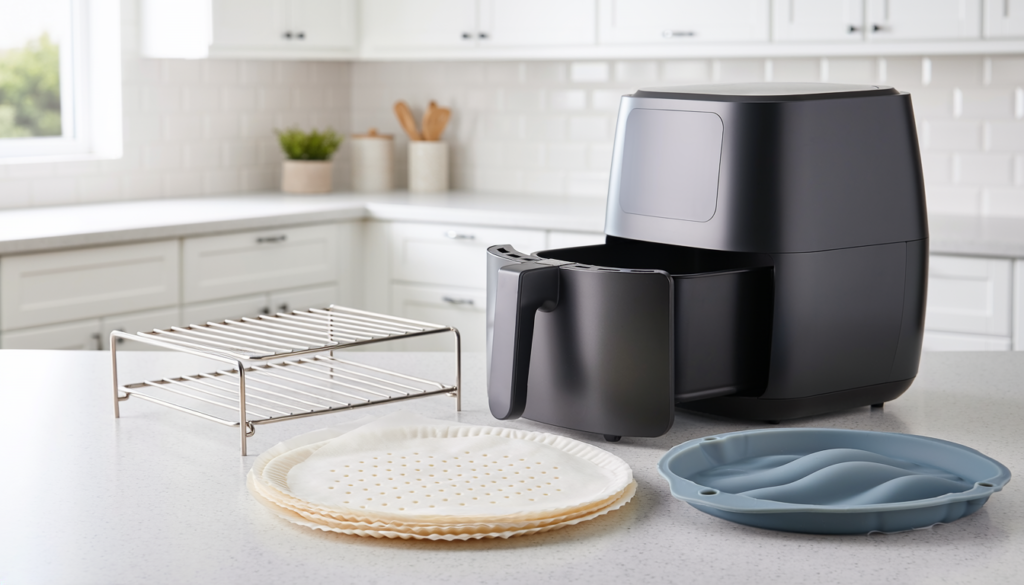
Useful air fryer accessories arranged beside a basket air fryer
Kitchen & Dining

Best Air Fryer Accessories Worth Buying

Disclosure: As an Amazon Associate, My Indoor Space may earn from qualifying purchases made through links in this guide, at no extra cost to you.

Accessory bundles promise to turn an air fryer into a kitchen toolkit, but a drawer full of ill-fitting inserts is easy to accumulate. Start with the size and shape of your actual basket or oven. Then buy only the piece that makes a dish easier to cook, lift, or clean.

Quick verdict

For most owners, silicone-tipped tongs and a food-safe rack or heat-safe pan matched to the specific cooker are more useful than a large bundle. Perforated parchment can reduce cleanup for messy foods, but it must be weighed down by food and used only as the manufacturer’s directions permit.

Who this is for—and when to skip it

Buy it for: A recurring cooking task the supplied basket does not handle conveniently, after checking accessory fit and the cooker’s instructions.

Skip it when: You are still learning a new fryer or already own suitable tongs and cookware. A large bundle is poor value if most pieces will stay in the drawer.

How this guide was made: a comparison of accessory functions, fit, and cleaning trade-offs, without hands-on testing claims. Compatibility is model-specific; consult your cooker’s manual. Ninja owners can find model guides in the official Ninja manual library.

Which type fits your home?

Type Best for Trade-off
Silicone-tipped tongs Turning and lifting food Choose heat rating and grip carefully
Perforated parchment Messy foods and easier cleanup Can restrict airflow or blow toward the heater
Silicone liner Sticky recipes Adds a surface that needs washing
Cooking rack Keeping food above drippings May reduce headroom and need more attention

Fit before features

Interior width and depth matter more than the air fryer’s advertised capacity. Measure the basket at its narrowest usable point and leave room to remove the accessory without touching hot walls. In oven-style cookers, check rack height and the space below the heating element. Accessories advertised as universal often fit only some shapes.

Keep air moving

A solid liner can catch drippings but also change how air reaches the underside of food. Perforated parchment and raised racks preserve more airflow, though neither fixes an overloaded basket. Never preheat loose parchment without food on top; moving air can lift it toward a heating element.

Materials and temperature ratings

Choose food-contact materials whose stated temperature limit exceeds the cooking temperatures you use. Avoid coatings that scratch easily against a metal basket. Handles and tabs must remain reachable with oven mitts; an accessory that cannot be removed safely is not a good fit.

Cleanup and real use

A pan that saves the original basket but adds a second greasy dish may not save time. Prioritize an accessory you can easily wash, dry, and store. If you mostly cook frozen snacks, the included basket and a pair of tongs may already be enough.

Best value

A sturdy pair of silicone-tipped tongs is the best first purchase because it works across many recipes and does not block airflow.

When the upgrade earns its price

A properly sized rack or pan makes sense when you repeatedly cook a recipe that benefits from elevation or needs containment.

Buying mistakes to avoid

  • Buying a bundle before measuring the actual basket.
  • Preheating unsecured parchment near a fan and heater.
  • Using an accessory that blocks airflow or sits too close to the element.

Common questions

Are silicone liners always better than parchment?

No. Silicone is reusable but needs cleaning and can change airflow. Parchment is disposable but must be properly fitted and weighted down.

Do I need accessories for a new air fryer?

Try the included basket first; cooking habits reveal which accessory, if any, solves a real problem.

Final pick

Use the included basket for a few weeks before buying extras. When a specific recipe reveals a problem, choose one well-fitting accessory that fixes it safely.

Keep comparing with our basket versus oven air fryer comparison, air fryer size guide.

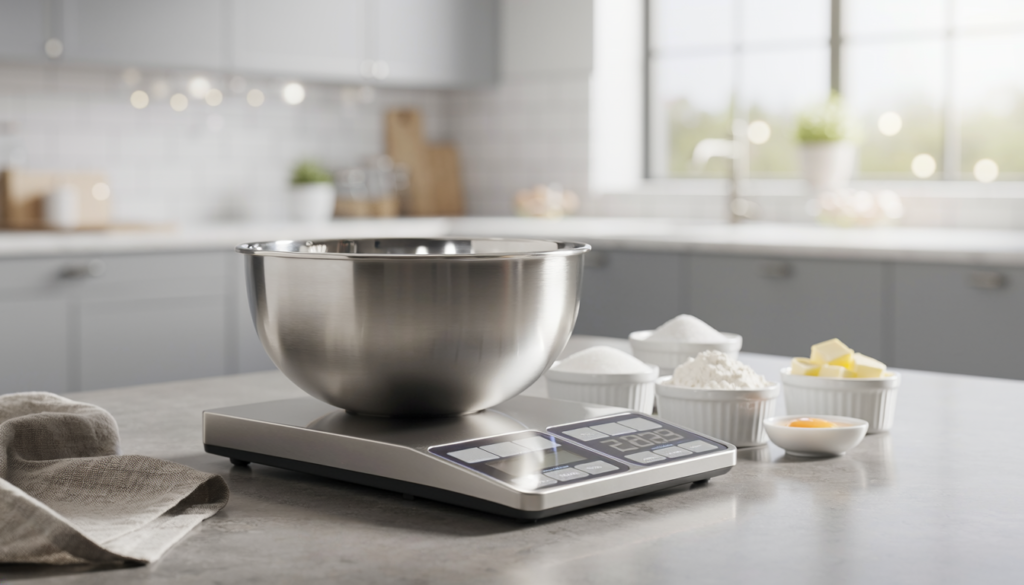
Digital kitchen scale with mixing bowl and ingredients on a kitchen counter
Kitchen & Dining

Best Digital Kitchen Scale for Everyday Cooking

Disclosure: As an Amazon Associate, My Indoor Space may earn from qualifying purchases made through links in this guide, at no extra cost to you.

A scale earns its space when it makes cooking simpler: set down a bowl, zero it, pour, and stop at the target weight. The most expensive model is rarely necessary. A clear display, reliable tare function, sensible capacity, and a platform you can wipe clean do more for everyday cooking than an app full of rarely used features.

Quick verdict

Buy a compact digital scale that measures in grams, has a responsive tare button, remains readable with your largest bowl in place, and supports the combined weight of that bowl and your ingredients. A flat stainless-steel platform is a practical default if it is easy to wipe around the edges.

Who this is for—and when to skip it

Buy it for: Recipes written by weight, repeated baking batches, or meal preparation where measuring into one bowl makes the work easier.

Skip the upgrade when: Your existing scale gives stable readings, holds your usual bowl, and remains easy to read. App features and a higher capacity add little if you will not use them; tiny ingredient quantities may need a separate precision scale.

How this guide was made: a comparison of scale features and practical kitchen fit, without measured accuracy tests or hands-on product rankings. Check the chosen model’s capacity and minimum load in its manual.

Which type fits your home?

Type Best for Trade-off
Flat platform Baking and meal prep Large bowls can hide the screen
Raised platform Reading the screen behind a bowl Takes more storage space
High-capacity scale Big batches and heavy pots May be less convenient for tiny quantities
Pocket scale Small precise amounts Too small for mixing bowls

Capacity includes the bowl

A stated maximum includes the container, not just what you add to it. Weigh your typical mixing bowl or heavy saucepan before choosing a scale. A compact model can be perfect for baking ingredients but frustrating when a large pot consumes most of the available range.

Check display placement and timeout

Place the bowl you actually use on a similar platform and imagine adding ingredients. If it would hide the digits, seek a forward-facing or detachable display. Auto-off saves batteries, but a very short timeout can interrupt slow measuring or dough work. A hold function is useful when a wide tray covers the readout.

Tare should be quick and predictable

Tare resets the displayed weight to zero so you can add the next ingredient to the same bowl. Try to find a clearly labeled, responsive control with enough separation from the unit-switch button. Switching accidentally from grams to ounces in the middle of a recipe creates avoidable errors.

Accuracy in the kitchen is about repeatability

For ordinary baking, stable readings on a level counter are more helpful than a marketing claim about ultra-fine precision. Small seasoning quantities may call for a dedicated precision scale. Check the minimum measurable weight in the manual and keep the scale away from a hot pan or wet sink.

Best value

A basic flat scale with grams, ounces, tare, and an easy-to-read display covers most home recipes.

When the upgrade earns its price

Pay extra for a remote display or larger platform if big bowls routinely obscure the screen; pay for higher capacity only if you use heavy vessels.

Buying mistakes to avoid

  • Ignoring the weight of the bowl when checking capacity.
  • Choosing a platform that hides its display under a large tray.
  • Confusing a small increment claim with proven accuracy at every load.

Common questions

Do I need a special scale for coffee?

A timer and faster response can help with pour-over coffee, but a regular kitchen scale is enough for many cooking tasks.

Can I wash a digital kitchen scale?

Unless the manufacturer explicitly rates it for immersion, wipe it with a damp cloth and keep water out of the controls.

Final pick

Start with an easy-to-read gram scale and a useful tare button. Add specialty precision or a remote display only when your cooking routine gives you a reason.

Keep comparing with our rice cooker size guide, food storage containers comparison.

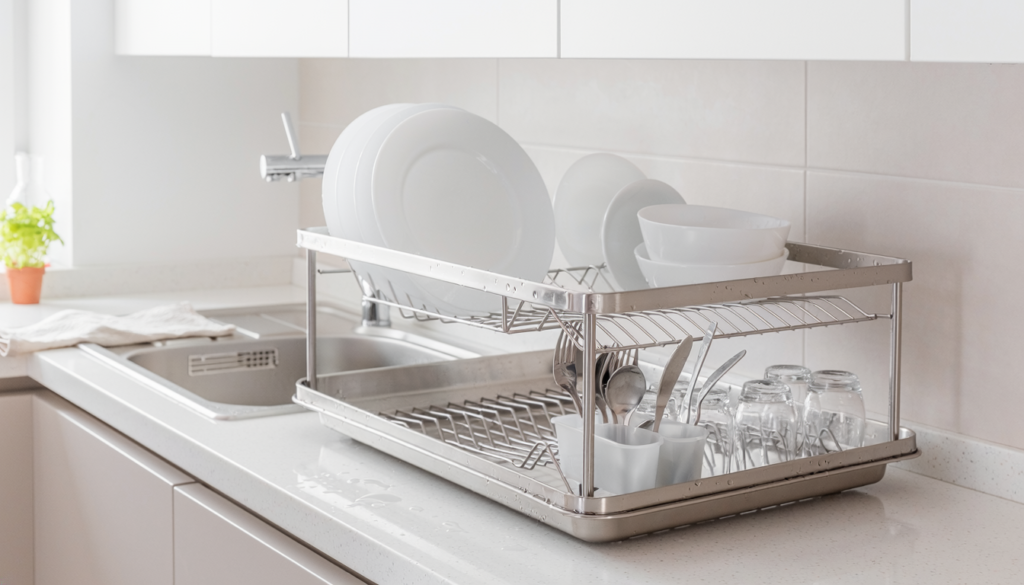
Compact dish drying rack beside a small apartment kitchen sink
Kitchen & Dining

Best Dish Drying Rack for a Small Kitchen

Disclosure: As an Amazon Associate, My Indoor Space may earn from qualifying purchases made through links in this guide, at no extra cost to you.

A dish rack can occupy more useful counter space than the dishes themselves. Before buying one for a small kitchen, decide where water will go and whether the rack can handle your largest pan, not just a few plates. The right shape matters more than a long list of accessories.

Quick verdict

For most small kitchens, a compact, open rack with a removable cutlery cup and a drain tray that directs water into the sink is the best everyday choice. Choose an over-sink model only if the sink and faucet leave enough clearance; choose a foldable mat if you wash very few items at a time.

Who this is for—and when to skip it

Buy it for: Daily hand-washing when a measured rack can hold your plates and pans while draining where you need it to.

Skip the larger rack when: A dishwasher handles most dishes and only a few items need air-drying. A mat or roll-up rack may be enough. Keep your current rack if it already drains properly and leaves adequate preparation space.

How this guide was made: a comparison of rack layouts, drainage, and small-kitchen fit. It does not claim hands-on product testing; measure your sink area and check the chosen rack’s dimensions before buying.

Which type fits your home?

Type Best for Trade-off
Countertop rack Daily dishes for one or two people Takes permanent counter space
Over-sink rack Freeing the counter completely Needs careful width and faucet measurements
Roll-up mat Occasional loads and easy storage Limited capacity for upright plates
Two-tier rack More dishes in a narrow footprint May block a window or cabinet

Measure the usable counter, not the whole counter

Measure the uninterrupted run beside the sink, then leave space for a soap bottle, food prep, and cabinet doors. A rack that technically fits may still be awkward if a plate overhangs the edge. For over-sink styles, measure the sink’s inside width, faucet height, and any ledge the rack will rest on.

Drainage decides whether the rack stays pleasant

A tray with a movable spout is useful only if its outlet reaches the basin at the angle your kitchen allows. A solid tray without a spout must be emptied and washed; a roll-up rack drains through to the sink but occupies part of the basin. Avoid designs that leave water trapped under dense wire joints.

Think about what you actually hand-wash

Wide plates need secure dividers. Cutting boards and skillets need taller, stronger support. A removable cup makes utensils easier to unload and clean, while a separate glass section protects fragile rims. If you use a dishwasher, a mat may be plenty for the few items that cannot go in it.

Materials and cleaning

Stainless steel can resist rust when properly made, but joints and lower-grade components still need drying. Coated steel can chip; plastic can hold residue in narrow channels. Look for accessible surfaces, removable parts, and feet that lift the rack above standing water. Wash the tray rather than just wiping its top.

Best value

A single-tier rack with a removable draining tray offers the best mix of capacity, cleanup, and price for a compact sink area.

When the upgrade earns its price

An adjustable over-sink system is worth the extra cost only if your measurements confirm that it fits around the faucet and does not block cabinets or a window.

Buying mistakes to avoid

  • Buying by advertised capacity without measuring pans and plates.
  • Assuming the drainage spout will line up with the sink.
  • Choosing a tall rack under a low wall cabinet.

Common questions

Are roll-up racks good for everyday use?

They work well for light loads and clear away quickly. Daily piles of dishes are easier to manage on a rigid rack.

Will a rack dry dishes faster?

Open airflow helps, but crowded items and pooled water slow drying. Leave gaps and empty the tray.

Final pick

The small-kitchen winner is the rack that fits beside your sink, drains into it, and holds the dishes you actually wash. Measure first, then buy the least complicated design that meets those needs.

Keep comparing with our compact dishwasher guide, deep drawer organizer guide.

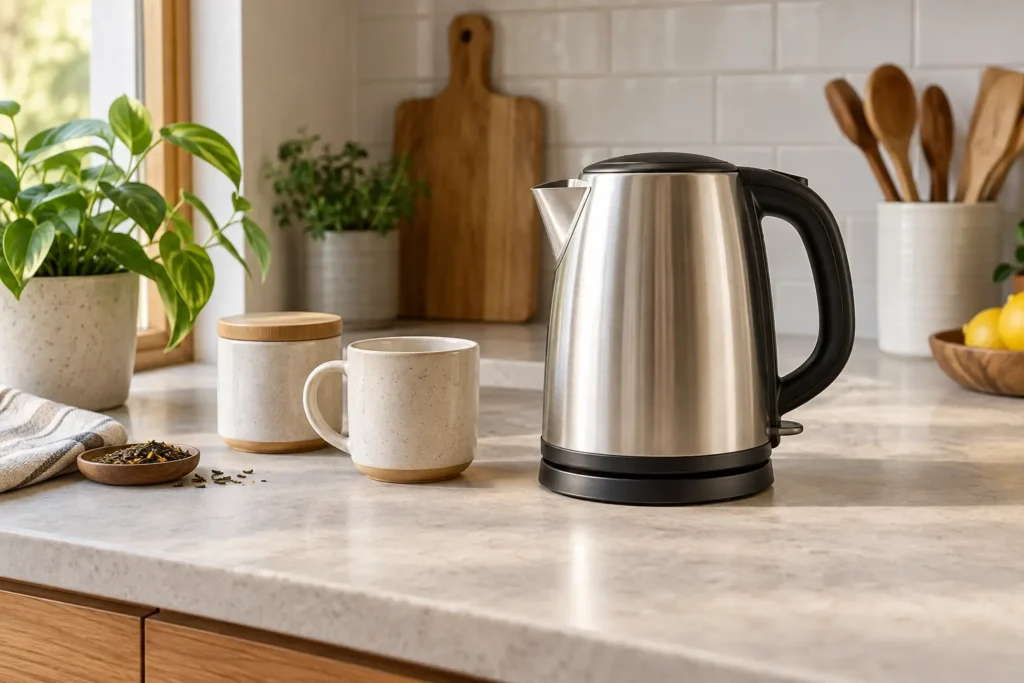
Unbranded stainless steel electric kettle on a bright apartment kitchen counter
Kitchen & Dining

Best Countertop Water Filter

Disclosure: As an Amazon Associate, My Indoor Space may earn from qualifying purchases made through links in this guide, at no extra cost to you.

A countertop water filter can reduce specific substances and improve taste without permanent under-sink installation. The important word is specific: no filter removes everything, and performance depends on independent certification, the water source, correct use, and timely cartridge replacement.

Quick verdict

For most small kitchens, choose a compact gravity dispenser or faucet-connected countertop filter certified for the substances relevant to your local water. Compare the complete replacement-filter cost and usable footprint before paying for extra stages or dramatic claims.

Who it is for—and who should skip it

A countertop unit suits renters, small households, and kitchens where an under-sink system is not practical. It also works for people who want more capacity than a pitcher without changing plumbing.

Skip a general consumer filter when water is under a boil-water or do-not-consume advisory, comes from an untested private source, or has a known problem the product is not certified to address. Follow local public-health guidance and use appropriate treatment.

Compare countertop filter types

Type Best for Main trade-off
Gravity dispenser Simple renter-friendly use Needs filling and counter space
Faucet-connected unit On-demand filtered water Faucet compatibility varies
Countertop reverse osmosis Broad reduction when certified Higher cost, wastewater, and cleaning
Large pitcher Low cost and refrigerator use Smaller capacity and slower refill cycle

Best value: certified gravity dispenser

A gravity dispenser offers the simplest value because it needs no hose, electricity, or permanent connection. A narrow rectangular shape can sit against a wall while leaving working space in front.

Look for a clear certification listing that names the exact model and contaminant-reduction standard. A generic statement that components were “tested” is not the same as whole-system certification.

Upgrade worth it: countertop reverse osmosis

A countertop reverse-osmosis system may be worthwhile when its certified reductions match your water concern and permanent installation is impossible. These machines often include pumps, tanks, displays, and multiple cartridges.

Before upgrading, compare wastewater ratio, refill routine, electrical needs, cleaning steps, cartridge availability, and the price of every replacement stage. More stages do not automatically mean better value.

Start with your water report

Municipal customers can review the local water-quality report and advisories. Private-well users need appropriate testing. Choose filtration to address identified substances rather than buying from fear-based marketing.

Certification standards cover different claims, including aesthetic effects such as chlorine taste and health-related reductions for named substances. Confirm the exact model in the certifier’s database when possible.

Capacity and flow

Advertised capacity may describe total reservoir size rather than the amount available at the tap. Measure how much water your household drinks and uses for coffee or cooking each day.

Gravity filters slow as the upper reservoir empties or the cartridge loads. Faucet-connected systems may reduce flow. A larger unit is convenient but becomes heavy to lift and consumes valuable counter depth.

Filter cost is the real price

Calculate annual cost using the certified or manufacturer-stated cartridge life, your water usage, and local filter price. Water conditions can shorten life, while low use does not eliminate time-based replacement or sanitation requirements.

Check whether replacement cartridges are consistently available in Canada or the United States. A cheap machine can become useless when proprietary filters disappear.

Cleaning and hygiene

Wash reservoirs, spigots, drip trays, and removable parts on the schedule in the manual. Keep hands and utensils away from the clean-water side and do not let filtered water sit beyond the recommended period.

Prime and flush new cartridges exactly as instructed. Replace cracked seals, damaged tanks, and worn tubing rather than improvising repairs.

Common buying mistakes

  • Choosing by the number of stages instead of certified reductions.
  • Assuming filtered water is sterile.
  • Ignoring annual cartridge cost and availability.
  • Buying a faucet unit without checking the aerator and threads.
  • Forgetting the open-lid and refill clearance under cabinets.
  • Using a consumer filter during an advisory it is not approved to address.

Frequently asked questions

Does a countertop filter remove everything?

No. Each system targets specific substances under stated test conditions. Read the performance data sheet and certification listing.

Is reverse osmosis always better?

No. It can reduce a broad range of dissolved substances when properly designed and certified, but costs more, creates wastewater, and requires more maintenance.

How often do filters need changing?

Follow the cartridge’s volume and time limits, whichever comes first, and replace sooner if the manufacturer identifies signs of reduced performance.

Can renters use a faucet-connected model?

Often, if the faucet is compatible and the lease permits it. Keep original aerator parts and inspect temporary connections for leaks.

Final winner

The best countertop water filter for most small kitchens is a certified gravity dispenser with a compact footprint, easy-clean reservoirs, available replacement cartridges, and reduction claims matched to local water. A countertop reverse-osmosis unit wins only when its added performance addresses a real, verified need.

Complete your drink station with our electric kettle buying guide, and keep supplies tidy with our small-kitchen pantry organizer guide.

Scroll to Top