Home Organization

Decluttering, storage and practical organization ideas for a calmer home.

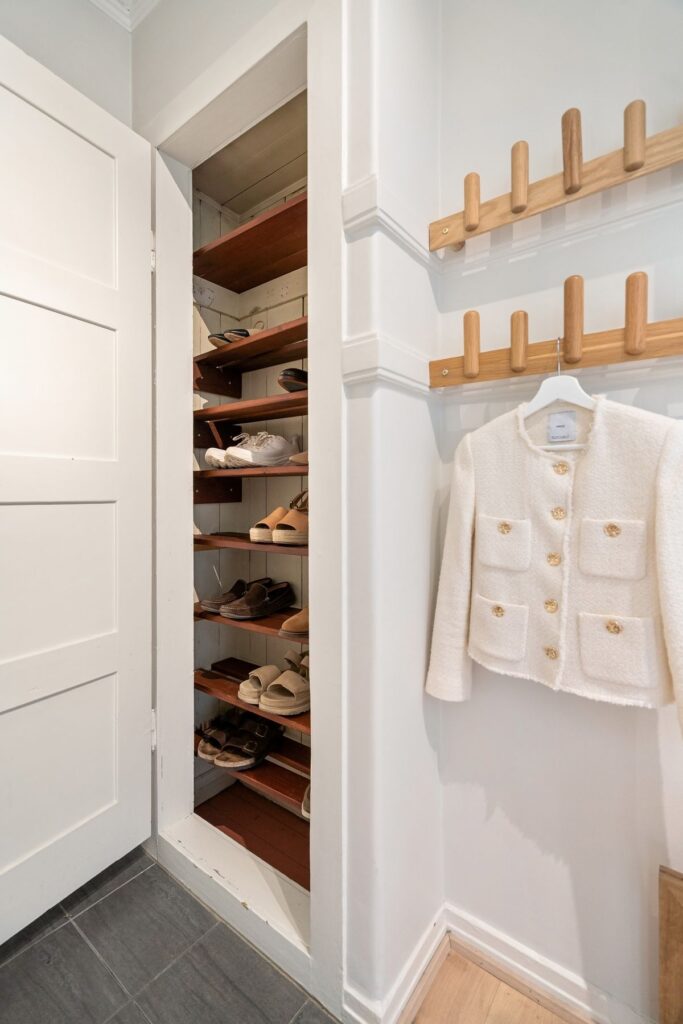
Organized shoe storage beside a clothing area
Home Organization

Shoe Cabinet vs Open Shoe Rack: Which Fits a Small Entryway?

Disclosure: As an Amazon Associate, My Indoor Space earns from qualifying purchases through links in this article, at no extra cost to you.

Quick verdict

Choose a cabinet when concealed storage and a shallow footprint justify installation. Choose an open rack for quick access and a simpler daily shoe rotation. Measure the actual shoes and moving clearances; advertised pair counts are only a starting point.

Research-based buying guide. Product information checked October 16, 2026. We have not tested these products hands-on; recommendations distinguish published features from our buying judgments.

slim shoe cabinets

open shoe racks
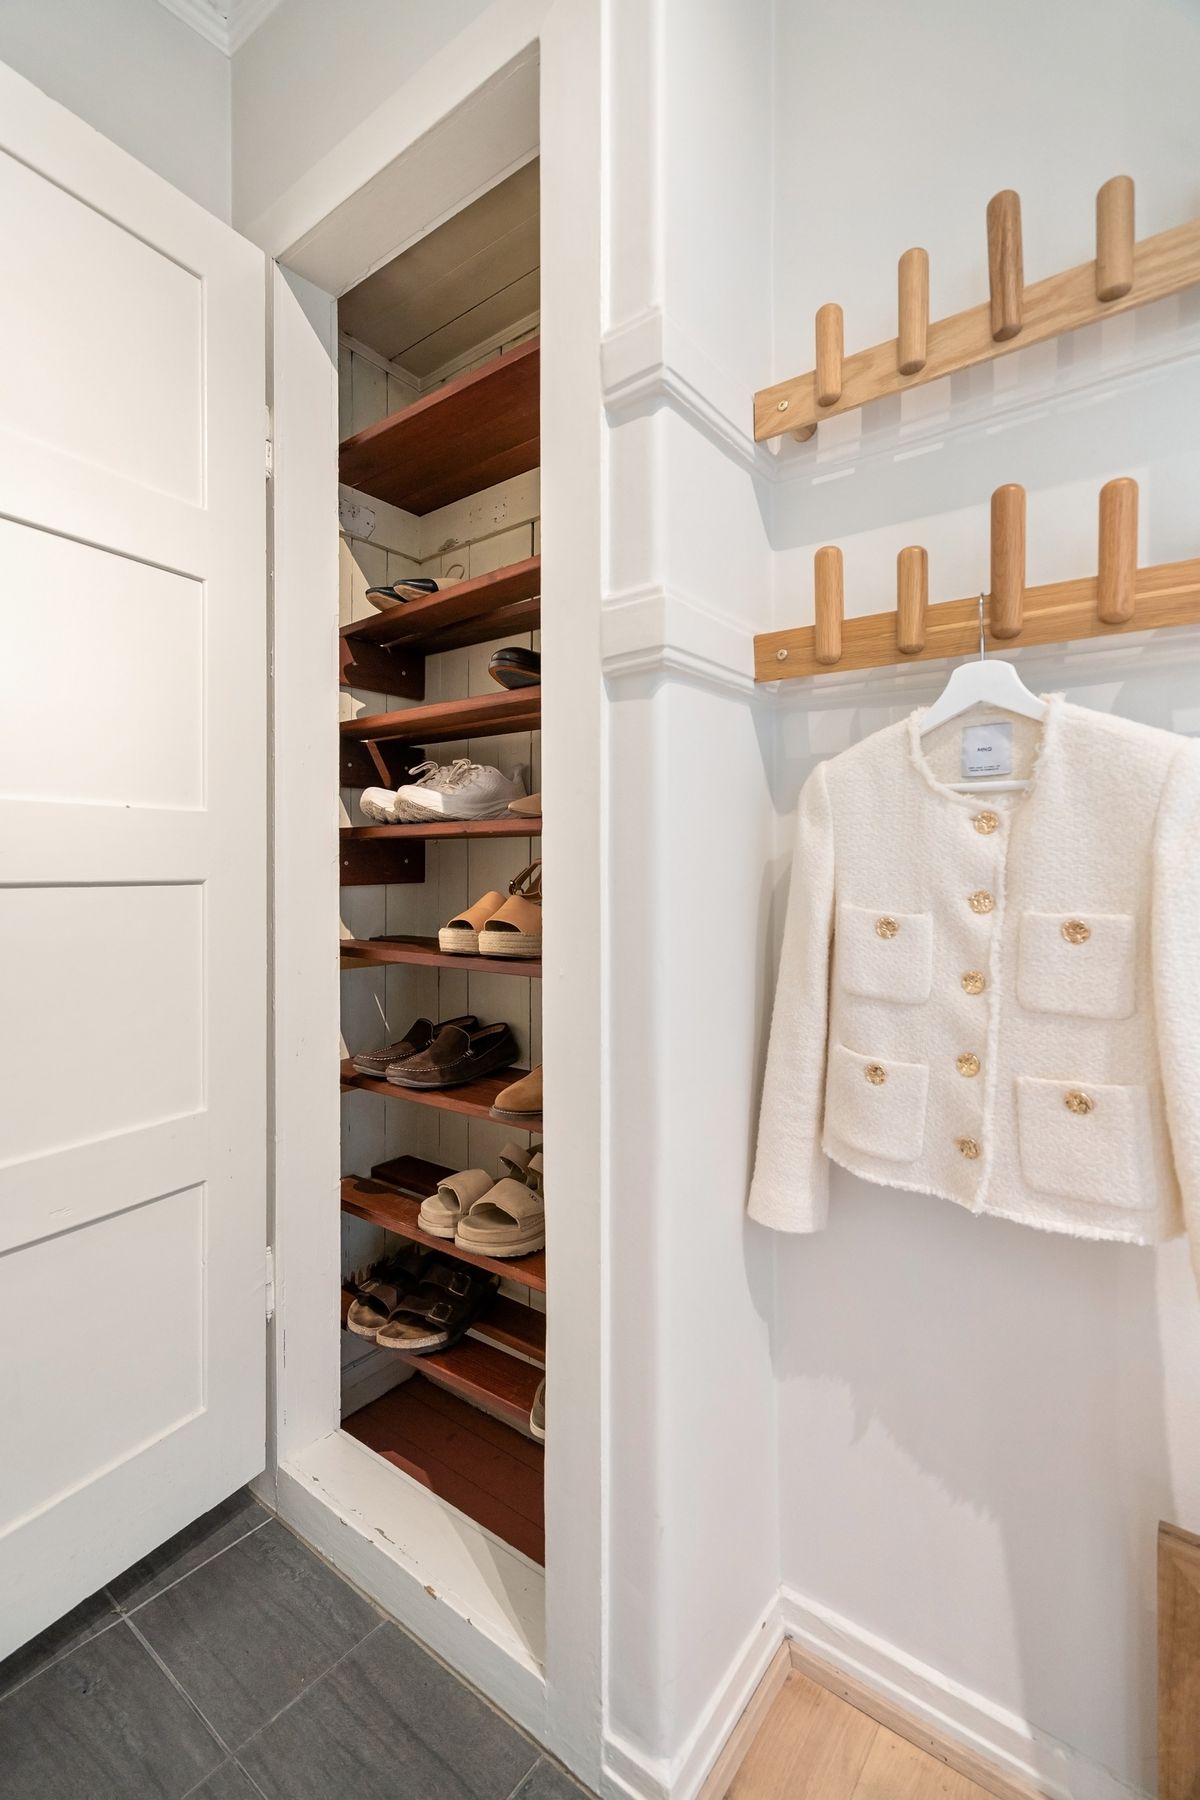
Organized shoe storage beside a clothing area
Illustrative shoe storage; not a verified example of either IKEA product. Photo: Pexels.

A narrow entryway needs space for people as well as shoes. A closed cabinet can make the area look tidier, while an open rack keeps everyday pairs visible. The best purchase is the one that fits your door movement and the shoes you really wear, including bulky winter footwear.

The practical comparison

Priority Shoe cabinet Open rack
Appearance Conceals stored footwear Keeps pairs visible
Access Needs door or tilt-out clearance Direct access to shelves
Installation Check required wall securing Check assembly and stacking rules

Measure the opening space too

A cabinet’s closed depth is not its whole operating footprint. Check how far doors or tilt-out compartments project when open. Leave room for a person to stand and use them without blocking the entrance. Skirting boards, nearby handles and outlets can also affect mounting or placement.

IKEA’s TRONES is one shallow example, listed at 52 cm wide, 18 cm deep and 39 cm high per cabinet. IKEA says these cabinets must be secured to the wall. Include suitable fasteners and rental permission in the plan. A lightweight plastic construction does not remove the anchoring requirement.

Capacity depends on your footwear

A manufacturer pair count cannot predict every shoe collection. Large trainers, high heels and tall boots occupy different shapes. Check compartment height and usable depth, then prioritize the pairs that need a home beside the door. Seasonal storage elsewhere may be more practical than an oversized entryway unit.

For comparison, IKEA’s cited GREJIG rack is 58 cm wide, 27 cm deep and 17 cm high, and lists three pairs per rack with up to three racks stacked. Those limits apply to that model; they are not permission to build an unlimited tower from any similar-looking rack. Taller boots may need a separate location.

Plan for damp and dirty shoes

A rack leaves footwear accessible while a cabinet hides it, but neither is a shoe dryer. Follow footwear care guidance and let damp items dry appropriately before closed storage. A tray or mat may help manage drips where suitable for the floor, but check whether it fits without creating a trip point.

Think about cleaning behind and beneath the unit. A cabinet with removable components may simplify access; TRONES specifies an easily removable door for interior cleaning. Open racks still need wiping and floor care, especially during muddy weather. A tidier appearance should not hide a maintenance problem.

When the cabinet upgrade is worth it

Pay for concealed storage if visible shoes are the issue and the mounted arrangement fits. Choose a basic rack when you rotate a few pairs and want immediate access. Keep an existing working system if the real problem is too many seasonal pairs in the entrance; changing furniture without reducing the load may simply move the clutter.

Compare current listings in your country

These buttons open matching Amazon search listings rather than a guaranteed in-stock offer. Confirm the exact model, seller, included parts, delivered price and return terms. Offers can differ between the United States and Canada.

slim shoe cabinets

open shoe racks

Related guides on My Indoor Space

Sources and research

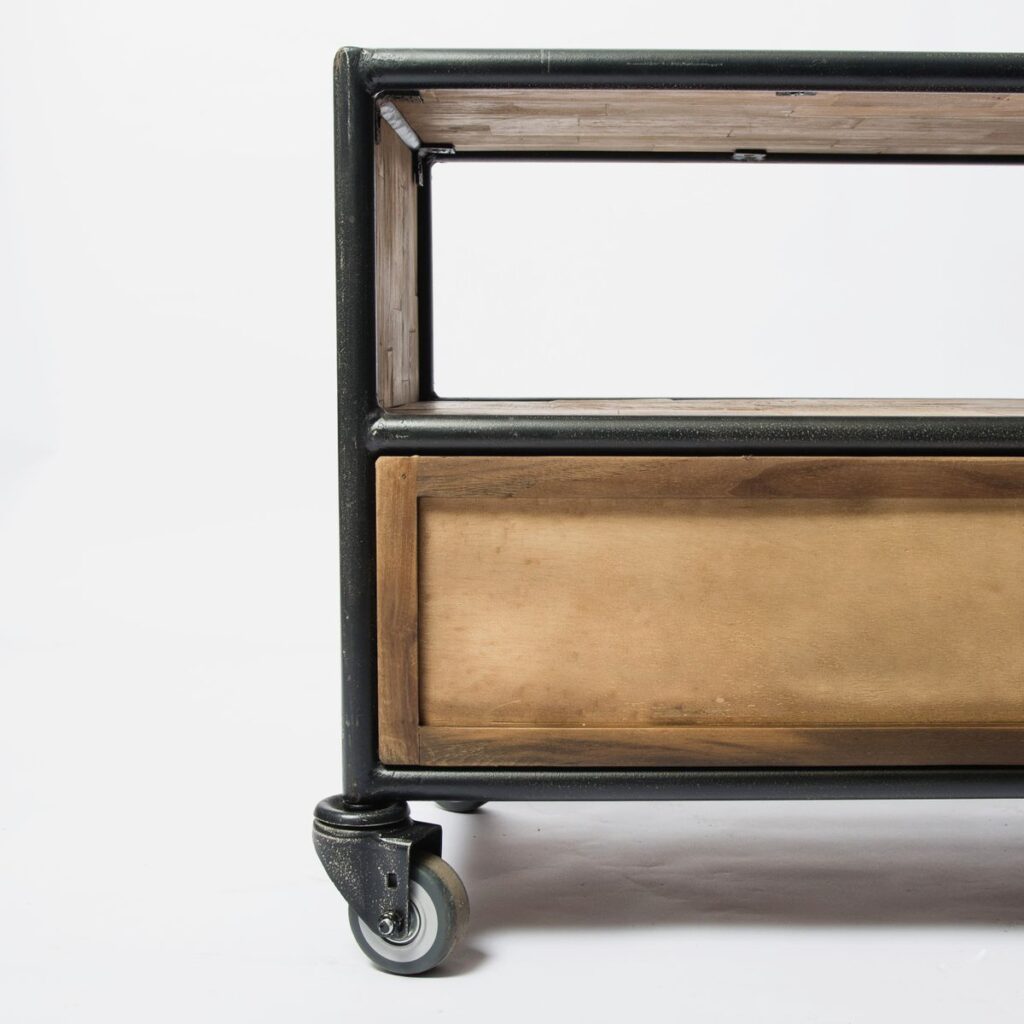
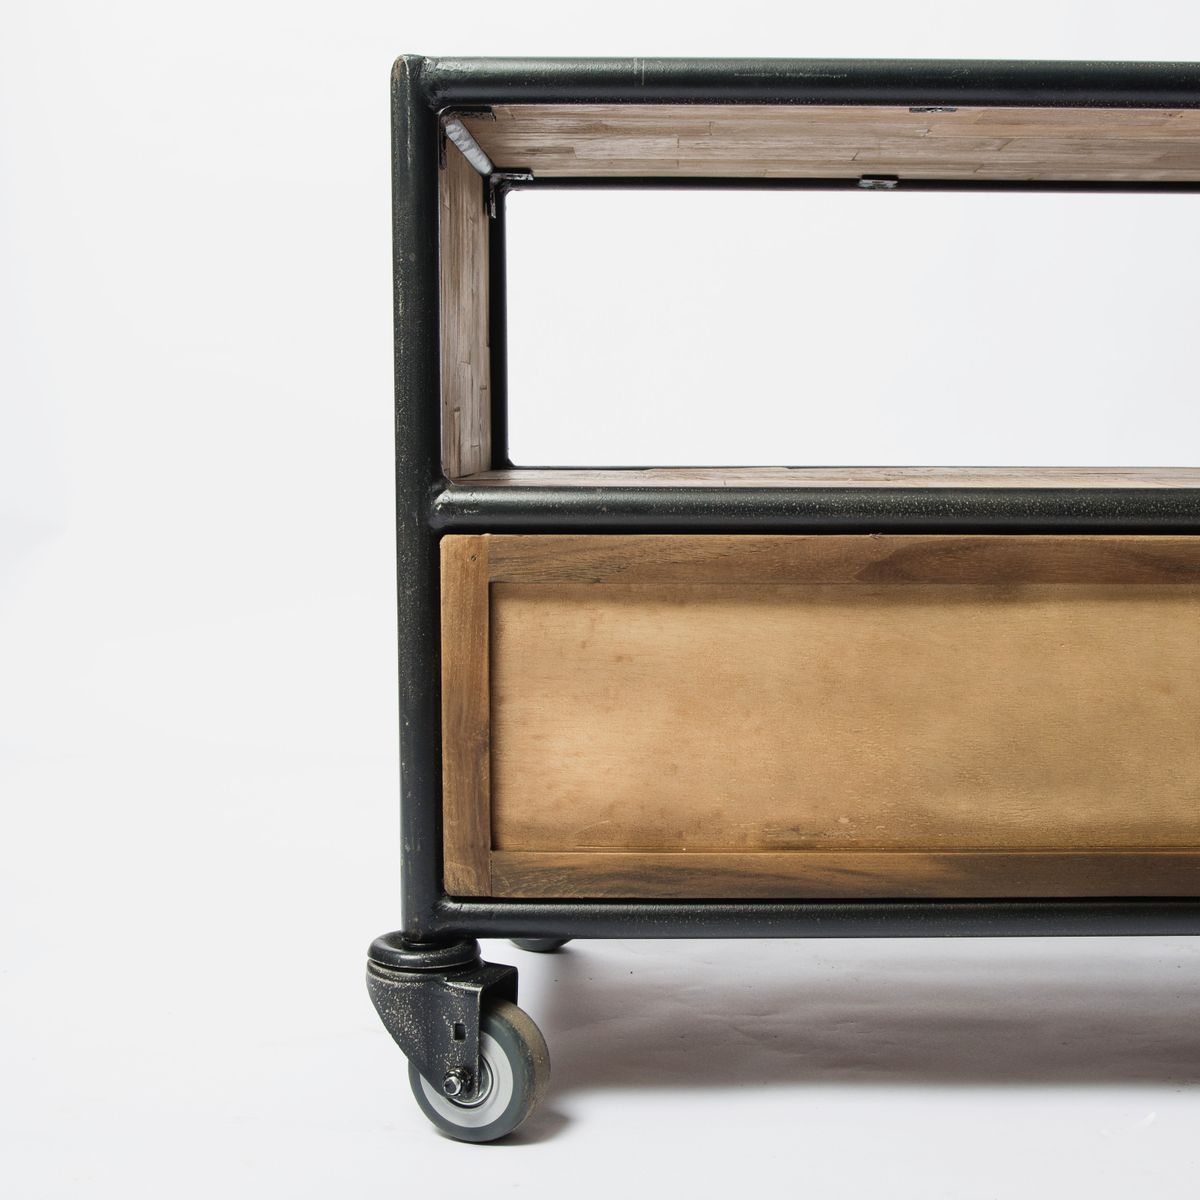
Storage cabinet on wheels with open shelving
Home Organization

Metal vs Plastic Rolling Storage Carts: Which Works Better in a Small Home?

Disclosure: As an Amazon Associate, My Indoor Space earns from qualifying purchases through links in this article, at no extra cost to you.

Quick verdict

Choose a metal cart when its rated load, tray layout and wheel design suit heavier everyday supplies. Choose a slim plastic cart when fitting a narrow gap and easy wipe-down matter more. Material alone does not establish strength, stability or durability: the exact dimensions, load rating and caster design should decide.

Research-based buying guide. Product information checked October 16, 2026. We have not tested these products hands-on; recommendations distinguish published features from our buying judgments.

Metal rolling storage carts

Slim plastic rolling storage carts

Storage cabinet on wheels with open shelving
Illustrative mobile-storage photo; not an IKEA Raskog or Vesken product. Photo: Pexels.

A rolling cart can make a small room more useful by bringing supplies where you need them. It can also become a tall stack of clutter that catches on furniture. The useful comparison starts with the route it will travel and the objects it will hold.

Which problem are you solving?

Storage need What to prioritize
Heavy craft or kitchen supplies Published load limits and stable construction
Narrow bathroom gap External width and pull-out clearance
Frequent movement Casters, thresholds and comfortable access
Spill-prone supplies Tray shape, material care and cleaning access

Use real examples carefully

IKEA’s Raskog and Vesken show how different the shapes can be. The cited metal Raskog is 35 × 45 × 77 cm, while the slim plastic Vesken cart is 54 × 18 × 71 cm. Those are different footprints as well as different materials.

There is also a smaller Raskog version. A brand or range name does not establish size. Other metal and plastic carts have their own ratings and construction, so do not apply IKEA’s specifications to an Amazon alternative that merely looks similar.

When metal is the stronger starting point

Consider a metal cart for supplies whose combined weight and daily use suit the exact rated shelves and frame. A tray with a useful lip can keep objects from shifting during gentle movement. Check whether the intended contents actually fit the tray’s internal area.

Do not assume metal automatically means rustproof, stable or safe for a large appliance. Coating damage, joints, wheel attachment and the load distribution all matter. Follow the manufacturer’s room-use and care guidance.

When plastic is the better fit

A slim plastic cart can fit a gap that a wider metal trolley cannot. It may be useful for light toiletries or cleaning supplies where the manufacturer allows the environment. Check shelf spacing with the bottles you intend to store, including pumps and handles.

Narrowness can be a compromise. A very slim cart may need a clear straight route and careful loading, and its shelves may not accept wide packages. Do not buy from the external width alone and discover that the actual tray holds very little.

Wheels decide whether it is truly mobile

Check the surface the cart must cross: smooth floor, grout lines, rugs, a doorway strip or a bathroom threshold. A cart that rolls well in a product demonstration may be awkward on your own route.

Look for brake requirements and operating instructions on the exact model. Keep heavier permitted items low and do not stack loads above the designed storage area. Never treat a cart as a seat or step, and do not use it as a support surface for something outside its rating.

Measure the working space

Allow for handles, protruding wheels and the room needed to pull the cart out. A unit fitting between a toilet and wall is not useful if there is no room to reach its shelves or roll it forward.

Sketch the route and shelf positions before ordering. For craft supplies, check whether a working surface is actually provided or whether the item is only a storage tray. For kitchen use, keep ventilation and heat clearance in mind around appliances.

When fixed shelving is better

Choose fixed storage if the cart will never move and wheels only add height or instability. A simple shelf can be more appropriate for a permanent collection of heavy items, provided it is correctly installed and rated.

Skip a new cart if it merely relocates unused products. Sort the contents first, then choose storage sized for what remains. An attractive mobile organizer does not remove the need to limit clutter.

Best value and final winner

Compare local CAD or USD totals, assembly requirements, replacement casters, return costs and the actual tray dimensions. IKEA examples may be better purchased directly when reseller prices are high; the Amazon buttons below compare other matching cart types, not guaranteed equivalents.

Metal is worth considering for the right rated working load; plastic is worth considering for a narrow, lighter-duty fit. Choose the exact cart’s dimensions, wheels and limits rather than treating the material as a complete quality score.

Compare current listings in your country

These buttons open matching Amazon search listings rather than a guaranteed in-stock offer. Confirm the exact model, seller, included parts, delivered price and return terms. Offers can differ between the United States and Canada.

Metal rolling storage carts

Slim plastic rolling storage carts

Related guides on My Indoor Space

Sources and research

Person packing clothing with storage bags
Home Organization

Fabric Under-Bed Bags vs Vacuum Storage Bags: Which Is Better for Clothes?

Disclosure: As an Amazon Associate, My Indoor Space earns from qualifying purchases through links in this article, at no extra cost to you.

Quick verdict

Choose a fabric case for clothing or bedding you access often and want to retrieve without re-compressing a bag. Choose vacuum storage for suitable bulky textiles you put away for longer periods. Measure the filled shape under the bed and follow the textile maker’s care limits before compressing anything.

Research-based buying guide. Product information checked October 16, 2026. We have not tested these products hands-on; recommendations distinguish published features from our buying judgments.

Fabric under-bed storage bags

Vacuum clothing-storage bags

Person packing clothing with storage bags
Illustrative clothing-storage photo; not a product compression test. Photo: Pexels.

These storage methods solve different problems. A fabric case gives a defined place and easier access. A vacuum bag removes air to reduce the bulk of suitable contents. One is not automatically an upgrade over the other.

Choose by how often you open it

Stored items Better starting choice Reason
Frequently used spare sheets Fabric case Easy access without resealing
Suitable seasonal bulky bedding Vacuum bag Compression can reduce stored bulk
Structured or delicate garments Check textile care first Compression may be unsuitable
Very low bed clearance Measure both filled Advertised empty size is insufficient

Where fabric bags work well

IKEA’s SKUBB is an example of a fabric case with handles, a zip closure and ventilation areas. The cited larger version is 19 cm high, while several footprint sizes exist. Its purpose is organized textile storage and dust protection, not squeezing the contents flat.

That makes this type useful for spare sheets, folded clothes or other items you may retrieve regularly. A handle is easier to use when the case is not overfilled or wedged behind a bed leg. Do not assume every fabric bag is washable; the cited smaller SKUBB specifies vacuuming or using a lint roller instead.

Where vacuum bags make sense

Vacuum bags are worth considering when suitable bulky items spend a season in storage. Removing air can make the same textiles occupy less space, but the actual reduction depends on their structure and how much air they contain.

Do not assume a universal percentage saving or a permanent airtight seal. We have not tested compression ratios or long-term valve leakage. Check closure and valve instructions, compatible vacuum methods and whether you can reseal the bag conveniently after opening it.

Textile care comes first

Follow the clothing or bedding maker’s instructions, particularly for filled items, structured pieces, delicate fabrics and materials that need loft. The cited Space Bag retailer guidance includes limits for down compression and periodic restoring of loft; do not treat that as a universal instruction for every bag and textile.

If you cannot confirm compression is suitable, choose an appropriate non-compressing storage method. A smaller packet is not a saving if it damages an expensive coat or duvet.

Measure the route, not only the floor space

Check the lowest bed-frame clearance, crossbars, support feet and the width available to pull a bag out. A bag that fits beneath the middle of the bed may not pass through the opening from the side.

For vacuum storage, consider the filled packet’s uneven shape. The valve, closure and folded corners can protrude even when much of the bag is flat. For fabric cases, allow for soft sides bulging around overfilled contents.

Keep storage clean and dry

Put away textiles clean and completely dry, following their care labels. Neither ventilation netting nor an airtight bag is a treatment for existing dampness. Check the under-bed space for moisture problems before making it a long-term store.

Label the visible end and group items by how often you need them. Several smaller bags can be easier to retrieve than one enormous bundle, but extra zips and valves also mean more points to manage.

Best value and when to skip a purchase

Use existing suitable storage before buying a set. Start with one case or a few bags and test them under the actual bed. A discounted bundle with the wrong height is not a useful bargain.

Compare Canadian or U.S. prices by useful dimensions and quality of the closure, rather than bag count alone. Include any pump or vacuum requirement and replacement cost if a valve or seam fails.

Final winner

Fabric cases win for repeated access and straightforward organization. Vacuum bags win for suitable bulky textiles stored for longer periods. Fit, textile care and retrieval frequency should determine your choice, not the most dramatic compression photo.

Compare current listings in your country

These buttons open matching Amazon search listings rather than a guaranteed in-stock offer. Confirm the exact model, seller, included parts, delivered price and return terms. Offers can differ between the United States and Canada.

Fabric under-bed storage bags

Vacuum clothing-storage bags

Related guides on My Indoor Space

Sources and research

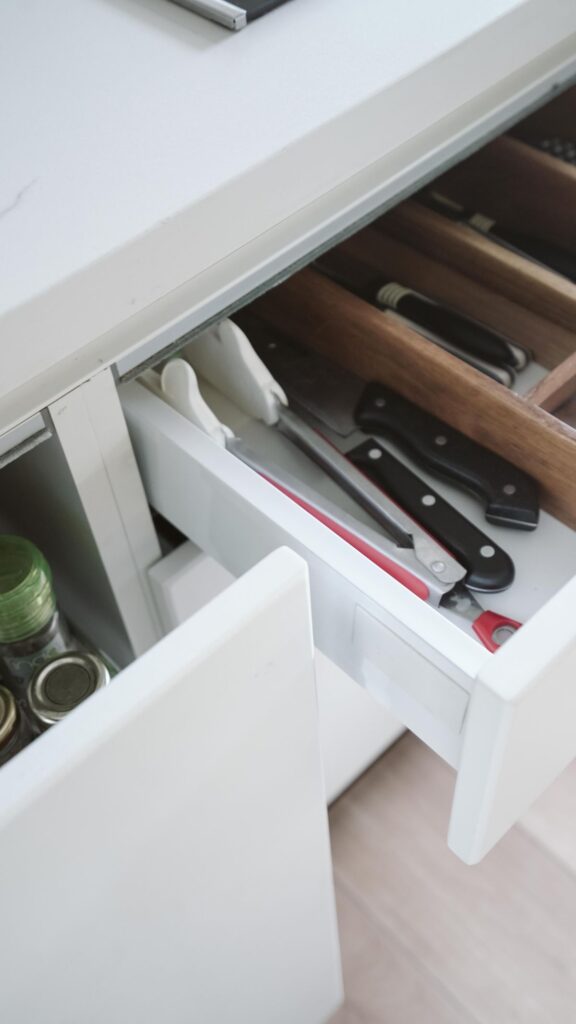
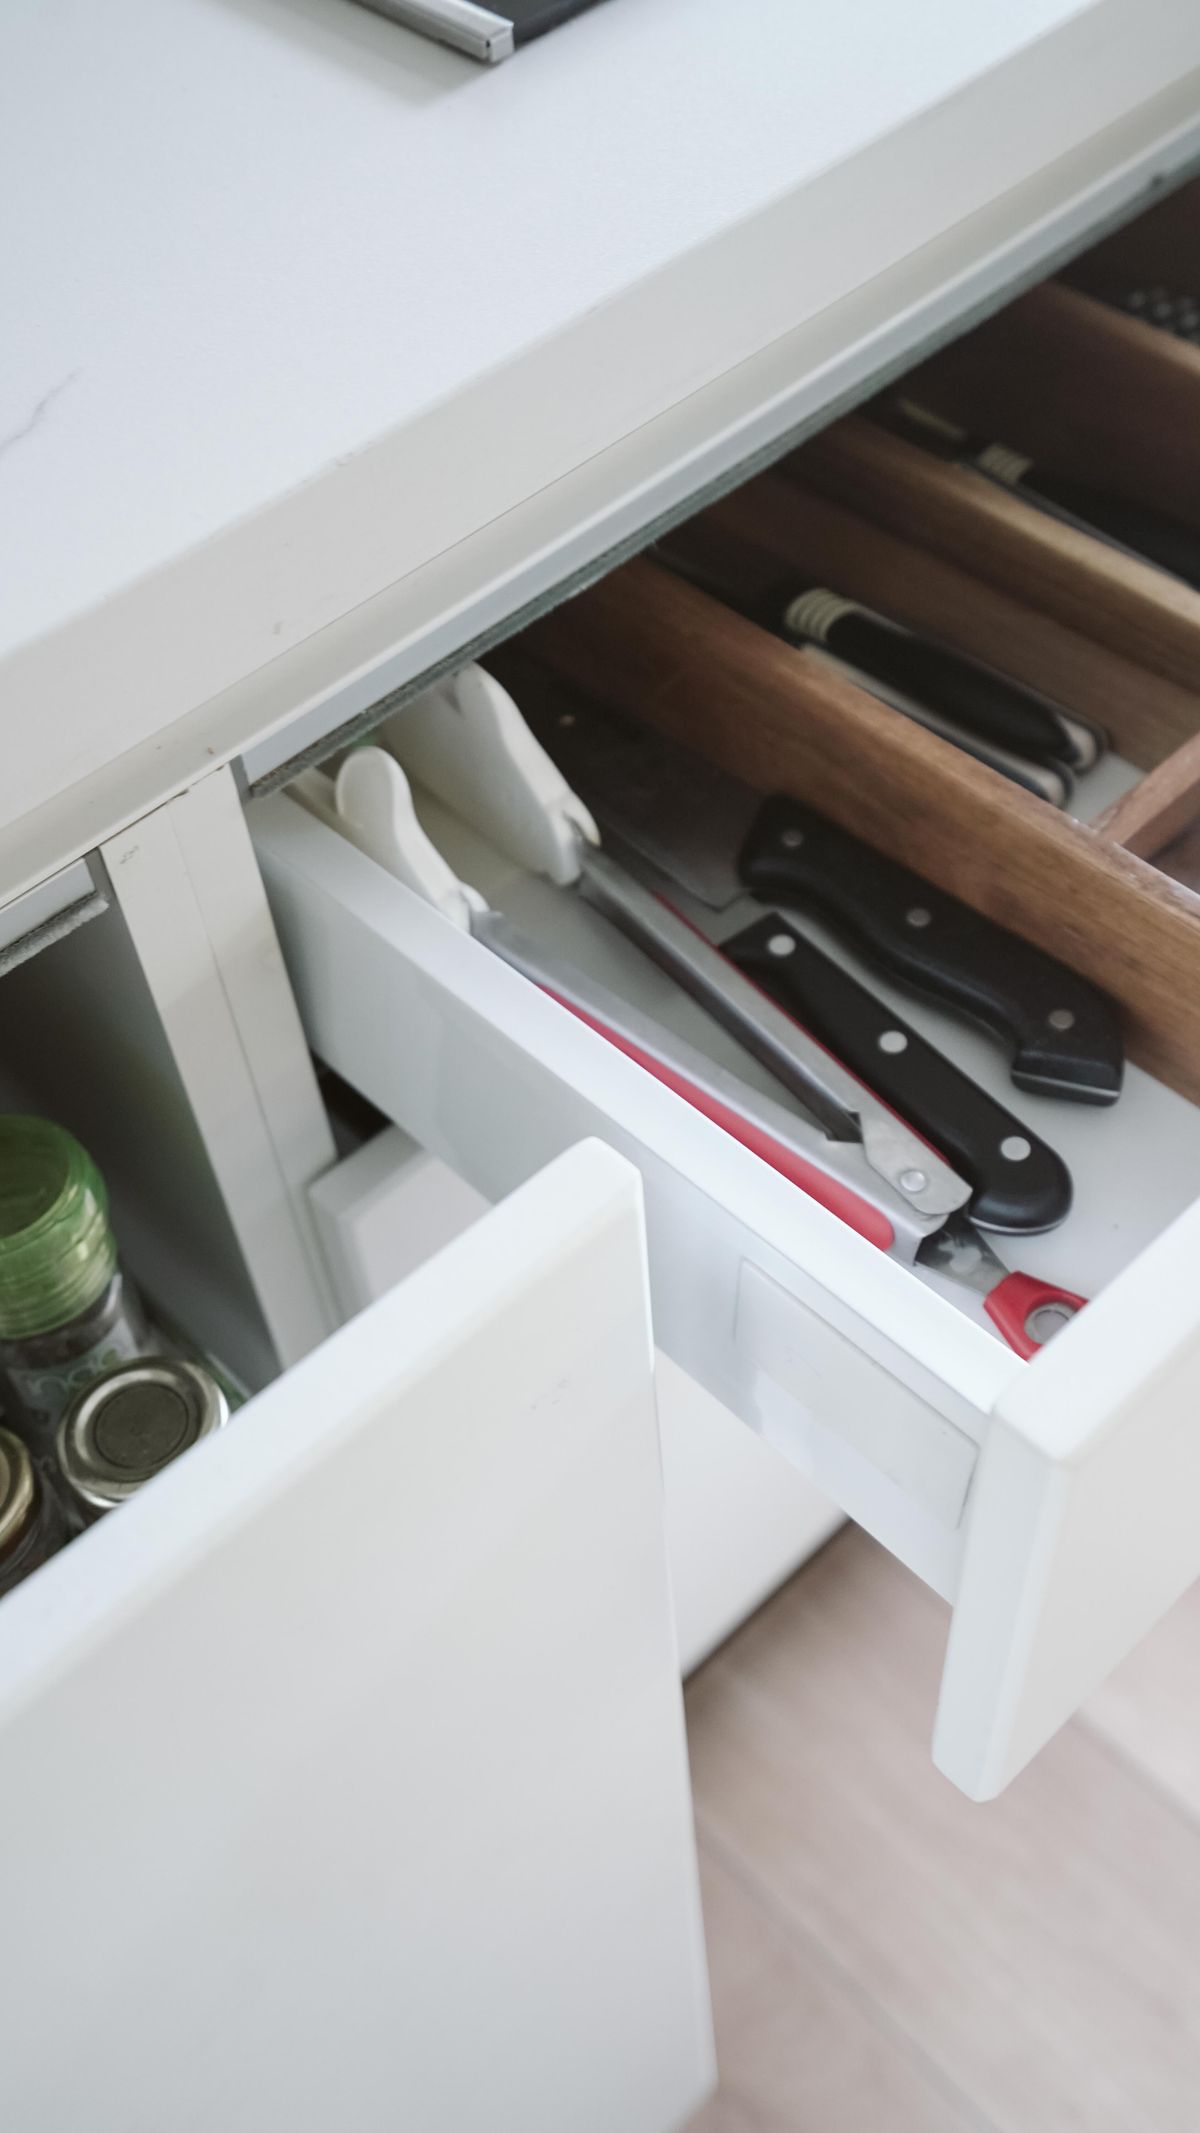
Cooking utensils arranged in a divided kitchen drawer
Home Organization

OXO Expandable vs Joseph Joseph DrawerStore: Which Drawer Organizer Fits?

Disclosure: As an Amazon Associate, My Indoor Space earns from qualifying purchases through links in this article, at no extra cost to you.

Quick verdict

Choose the OXO expandable organizer for a mixed drawer of cutlery and awkward kitchen tools. Choose the original Joseph Joseph compact DrawerStore when narrow width is the problem and you have at least 8 cm of internal clearance. A drawer that barely closes is a failed fit, however neat the organizer looks.

Research-based buying guide. Product information checked October 16, 2026. We have not tested these products hands-on; recommendations distinguish published features from our practical buying judgments.

OXO expandable organizer

Joseph Joseph compact DrawerStore

Cooking utensils arranged in a divided kitchen drawer
Illustrative drawer organization photo; neither compared organizer is shown. Photo: Pexels.

These organizers solve different space problems. OXO spreads utensils across an adjustable tray. Joseph Joseph angles and overlaps cutlery compartments to use less width. Before comparing prices, work out whether your drawer lacks width, height or a sensible division between everyday items and occasional gadgets.

Choose by the drawer you have

Your drawer Better starting point Reason
Wide, with flatware and can openers OXO expandable Open areas accommodate mixed tool shapes
Narrow, mainly standard cutlery Compact DrawerStore Overlapping compartments save width
Less than 8 cm usable height Neither without further checks The cited DrawerStore requires more clearance; assess a low tray
Oversized serving utensils Open dividers or a separate section Compact flatware slots may be unsuitable

What OXO adds

The Good Grips expandable model includes utensil caddies, an open area for irregular tools and a small removable cup for items such as wine stoppers. OXO also lists removable trays for cleaning and non-slip feet. Its appeal is flexibility within one drawer rather than the smallest possible footprint.

That is useful when forks and spoons share a drawer with a corkscrew, can opener or measuring tools. The trade-off is that an expandable tray still consumes its own minimum width. It cannot rescue a drawer narrower than the organizer’s closed dimensions.

Choose this layout if you want to see and reach the different groups without lifting several utensils out of an angled slot. Skip it if the extra compartments will simply collect gadgets you never use. Empty the drawer and remove duplicates before measuring for a larger organizer.

What the compact DrawerStore adds

The original grey model, SKU 85119, stacks cutlery positions at an angle. Joseph Joseph lists a body approximately 39.5 cm long, 11 cm wide and 5.7 cm high, but specifies a drawer with a minimum height of 8 cm. The required clearance is greater than the plastic body’s height because the cutlery must also fit.

This is a good example of a specification that changes a purchase. A drawer 6 cm deep may appear to accept the empty tray while failing once knives or spoon handles are loaded. Measure the usable clearance under the cabinet frame, not only the height of the drawer’s wooden side.

Do not apply those measurements to every DrawerStore. Expandable, bamboo, knife-storage and newer versions are separate products. Check the SKU and dimensions of the listing you intend to buy.

Visibility is the main compromise

Angled storage can make different utensils less immediately distinguishable. The compact tray uses cutlery icons, but icons do not guarantee that a guest will grab the right item on the first attempt. That may be a minor learning curve for one person and an annoyance in a busy family kitchen.

Owner feedback on Joseph Joseph’s page includes praise for space savings and a report of cutlery catching when the drawer opens. Those accounts do not establish a failure rate. They reinforce the practical need to test a loaded drawer slowly during the return window.

A five-minute fit test

  1. Measure inside width and depth at their narrowest points.
  2. Measure clearance beneath the frame and any drawer above.
  3. Lay out your longest knife, tallest spoon stack and largest utensil.
  4. Make a paper outline of the organizer’s footprint.
  5. Check what remains accessible beside and behind that outline.

If the leftover strip is too narrow to hold anything useful, a compact organizer may not create as much usable space as the advertising image suggests. Conversely, filling every centimetre with a large expandable tray may prevent you from storing a bulky item that needs an open corner.

Cleaning and long-term value

Joseph Joseph specifies handwashing and drying for the cited compact model. OXO describes trays that lift out for cleaning. Check the care label on the exact version; removable does not automatically mean dishwasher safe.

Crumbs and droplets accumulate where utensils enter compartments. Buy a design you can clean without an elaborate disassembly routine. Dry cutlery before putting it away, and avoid treating a drawer organizer as a knife block unless it is specifically designed to protect sharp blades.

When to pay more, and when to spend nothing

Pay for the compact DrawerStore if it frees enough width for another genuinely useful storage section. Pay for OXO if its open compartments let you organize mixed tools without adding a second tray. A cheaper flat tray is enough if your drawer already has plenty of width and only needs separation.

For Canadian orders, check centimetres against the listing’s inch measurements and compare delivered CAD prices. Buying a U.S. listing with expensive return shipping is particularly poor value when fit is uncertain. Neither organizer requires drilling or a permanent change to the cabinet.

Final choice

OXO is the better fit for mixed utensils; the compact DrawerStore is the better fit for a narrow cutlery drawer with sufficient height. Measure first, test with your actual utensils, and keep only the design that opens and closes cleanly when loaded.

Compare current listings in your country

These buttons open matching Amazon search listings, not a guaranteed in-stock offer. Check the exact model, included parts, seller, delivery total and return terms before buying. U.S. and Canadian offers can differ.

OXO expandable organizer

Joseph Joseph compact DrawerStore

Related guides on My Indoor Space

Sources and research

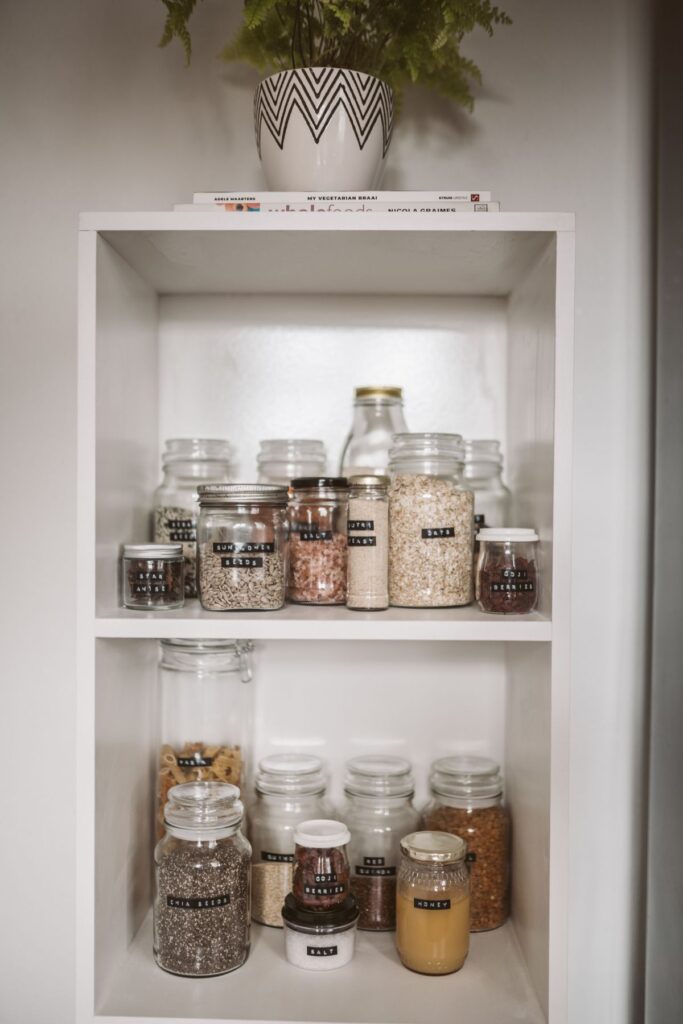
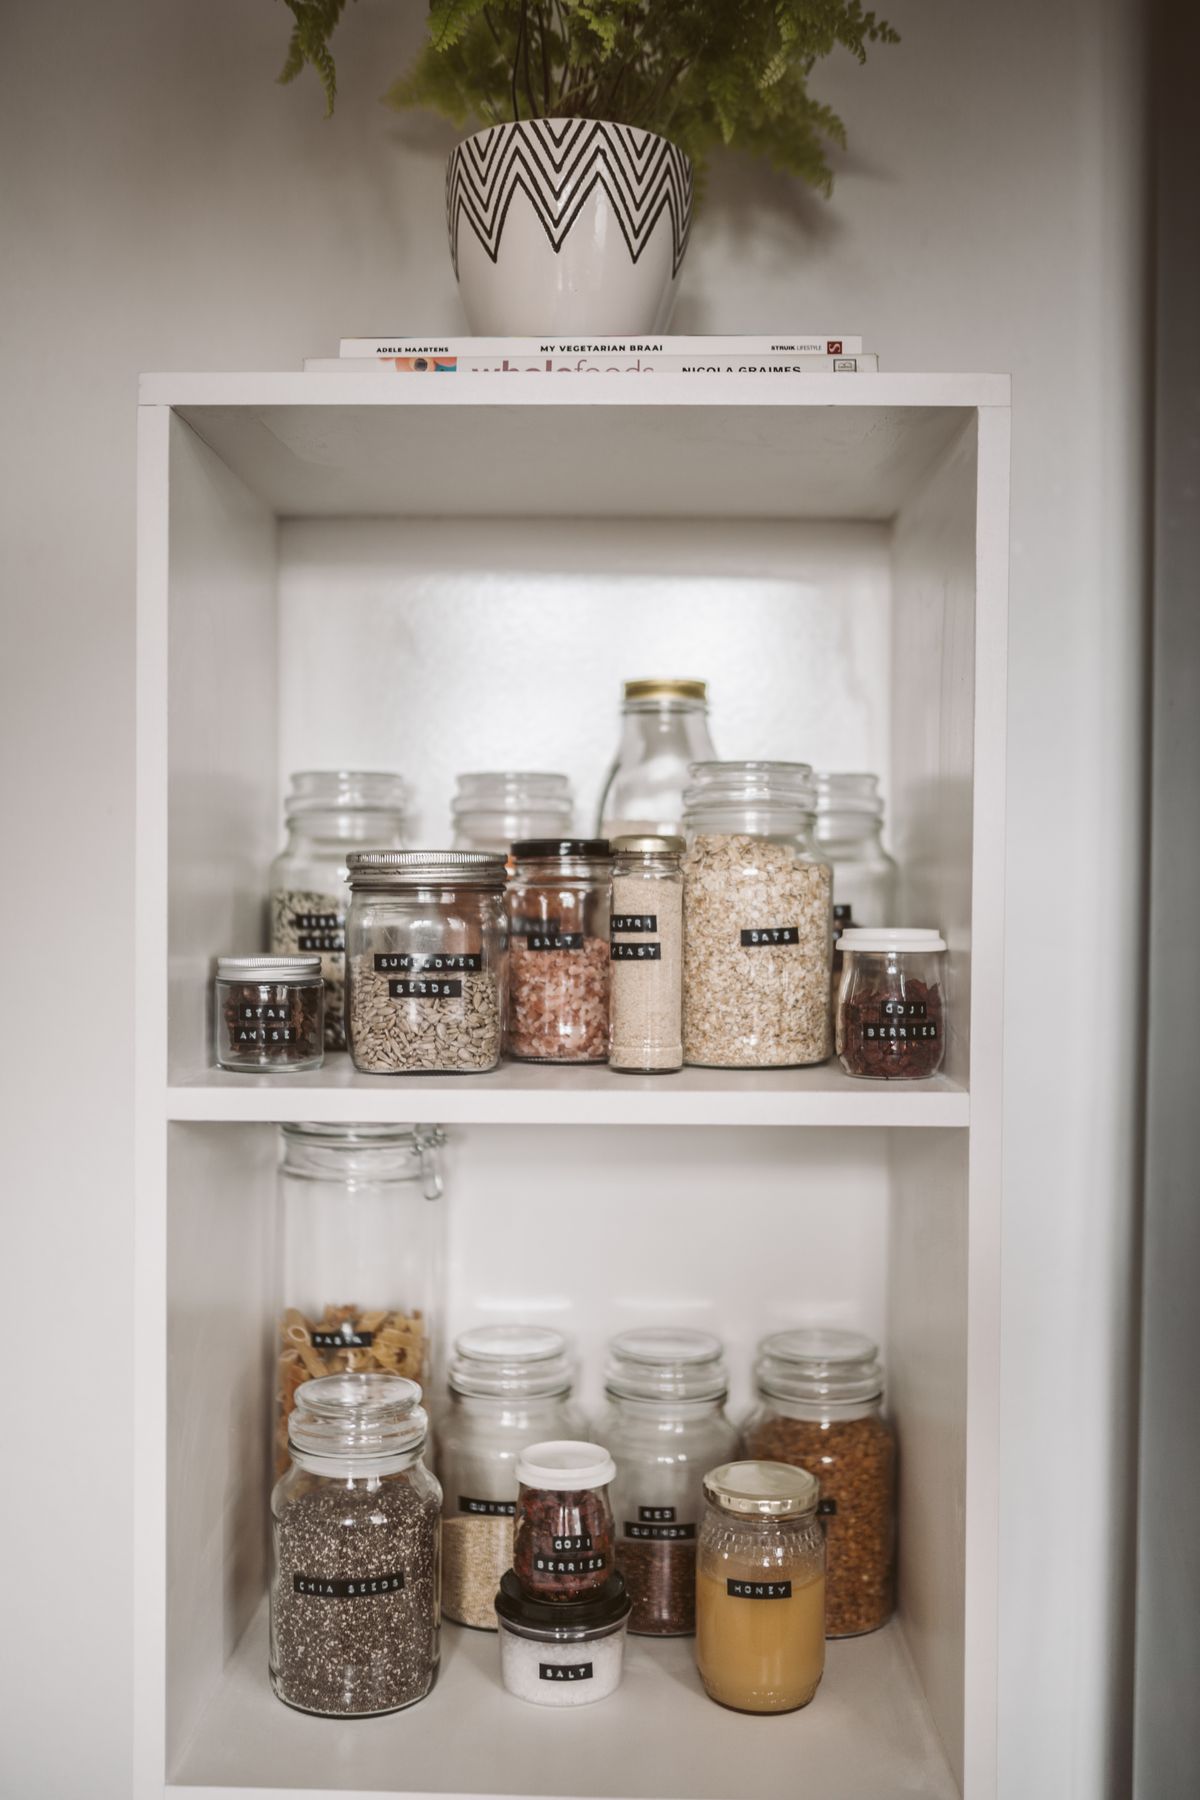
Labeled glass jars holding dry foods on white pantry shelves
Home Organization

OXO POP vs Rubbermaid Brilliance Pantry: Which Containers Are Worth Buying?

Disclosure: As an Amazon Associate, My Indoor Space earns from qualifying purchases through links in this article, at no extra cost to you.

Quick verdict

Choose OXO POP if a push-button lid makes daily scooping easier. Choose Rubbermaid Brilliance Pantry if you prefer positive-closing side latches. For most small pantries, buying the right two or three sizes beats buying a large matching set. Neither brand earns an automatic win simply by looking tidier on a shelf.

Research-based buying guide. Product information checked October 16, 2026. We have not tested these products hands-on; recommendations distinguish published features from our practical buying judgments.

OXO POP containers

Rubbermaid Brilliance Pantry

Labeled glass jars holding dry foods on white pantry shelves
Illustrative pantry photograph; the containers shown are not the OXO or Rubbermaid models compared. Photo: Pexels.

Pantry containers should solve an everyday problem: awkward bags, hard-to-reach ingredients or shelves that waste space. OXO POP and Rubbermaid Brilliance Pantry both aim to organize dry foods, but they ask you to open, fill and close them differently. That handling difference matters more than the number of pieces in the box.

The differences that affect daily use

Buying question OXO POP Rubbermaid Brilliance Pantry
How does the lid work? Central push button engages the seal Side latches secure the lid
Who benefits most? Someone repeatedly opening a flour, oats or sugar container Someone who prefers a visible latched closure
Important limitation Do not lift a filled container by its lid Allow access to operate the latches
Best purchase strategy Choose sizes for your actual packets Choose sizes for your actual packets

Who should buy OXO POP?

POP makes sense if you scoop breakfast oats or baking ingredients frequently and like opening a lid from above. The current OXO set uses a button that also serves as a lid handle. OXO specifically warns against carrying a filled container by that handle: grip the body when moving it.

That warning changes where the container belongs. A frequently used flour container is easier to live with on a reachable shelf than above your head. If you must lift it down every time, evaluate the grip on the body while imagining its full weight. Easy opening and easy carrying are separate buying decisions.

Who should buy Rubbermaid Brilliance Pantry?

Brilliance Pantry is the alternative for buyers who like securing a lid with latches. Rubbermaid describes the pantry sugar container as airtight and leakproof. Those are manufacturer claims; we have not measured either brand’s sealing performance or conducted a freshness comparison.

Latches may feel reassuring, but check whether they suit your hands and whether a crowded shelf leaves enough room to release them. A secure lid that is inconvenient to open can be the wrong choice for an ingredient you use three times a day. If possible, handle one container before committing to a whole system.

Measure the shelf and the food packet

Start with internal shelf depth, usable height and the narrowest point at the cabinet opening. Then identify the packet size you normally buy. A container that accepts most of a bag but leaves an awkward remainder has not eliminated storage clutter; it has created a second item to store.

Leave space for a scoop and for your hand. A nominal volume does not guarantee that a particular weight of flour, rice or cereal will fit because foods have different densities. Check the maker’s ingredient-specific sizing guidance where provided, and avoid converting cups or quarts into a universal bag weight.

Count containers rather than advertised pieces. A set may count lids separately, and a collection of small sizes may be poor value when you mainly store large baking staples. Sketch the proposed layout on paper before ordering.

Cleaning: check which generation you own

The current OXO 10-piece listing describes top-rack dishwasher-safe construction. An older OXO instruction sheet instead directs handwashing for most parts, with the silicone gasket dishwasher safe. That is a reason to follow the instructions supplied with your exact version, particularly when buying replacement lids or secondhand containers.

Rubbermaid’s cited Pantry container is also listed as top-rack dishwasher safe. Take lids apart only as instructed, and let all sealing surfaces dry completely before refilling. Food trapped around a seal is a maintenance issue that matching labels cannot fix.

When is the upgrade worth it?

Pay more for POP if its opening action solves an actual handling annoyance. Pay more for Brilliance if its latched closure suits the way you store and move ingredients. Do not pay a premium expecting proven longer freshness from this comparison: we have not established that either system outperforms the other in controlled storage tests.

Use a simple cost-per-use check. If an illustrative C$30 container is opened daily for a year, its purchase cost is about eight cents per opening. If it holds a rarely used ingredient and is opened ten times, that becomes C$3 per opening. These are examples, not current product prices; they show why everyday staples deserve attention first.

What Canadian and U.S. buyers should check

Compare the same container capacity, not just the brand name. Sets, colours and included sizes vary by country and seller. Canadian buyers should compare the delivered CAD total, taxes, return shipping and local replacement-lid availability against any apparent U.S. bargain. Neither brand’s name guarantees that every lid fits every container generation.

Questions before checkout

Can I use these as lunch containers?

This comparison concerns dry-food pantry storage. Do not assume every pantry vessel is suitable for microwaving, hot food or carrying soup. Use the exact product’s care and use instructions.

Should I replace all my jars?

No. Keep jars and containers that already seal, fit and open comfortably. Replace the few that cause trouble, then decide whether standardizing the rest has a practical benefit.

Final choice

OXO POP wins for push-button convenience; Brilliance Pantry wins for buyers who prefer latches. Shelf fit and useful capacities should decide the purchase before brand loyalty. Start small, check daily handling, and expand only if the system earns its space.

Compare current listings in your country

These buttons open matching Amazon search listings, not a guaranteed in-stock offer. Check the exact model, included parts, seller, delivery total and return terms before buying. U.S. and Canadian offers can differ.

OXO POP containers

Rubbermaid Brilliance Pantry

Related guides on My Indoor Space

Sources and research

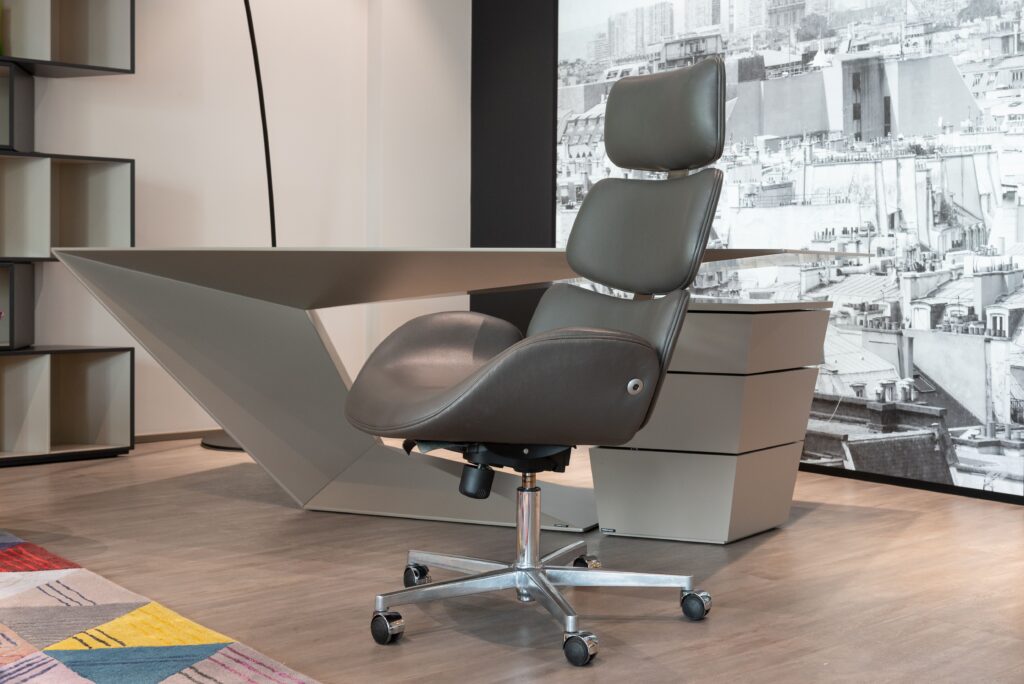
Office chair and desk in a modern home workspace
Home Organization

Chair Mat for Carpet vs Hard Floor: Buy the Right Backing

Disclosure: As an Amazon Associate, My Indoor Space may earn from qualifying purchases through links in this guide, at no extra cost to you.

A chair mat for carpet and a chair mat for a smooth floor may look almost identical from above. Turn them over. A gripper back helps anchor a mat into suitable carpet; those same teeth can damage a wooden or vinyl floor. Buying by floor type, carpet pile, and chair movement saves a lot of sliding and cracking.

Quick verdict

For carpet, choose a mat explicitly rated for your pile depth with a gripper back. For hard flooring, choose a smooth-backed mat. On a polished surface, a maker-approved anti-slip backing can help. This is a research-based selection guide using Floortex’s materials and care advice, not a hands-on durability test.

Match the backing to the surface

Floor Mat backing Main risk
Low or medium carpet pile Grippers, with the product rated for that pile A mat designed for very low pile can sink and crack on deeper carpet
Wood, tile, vinyl, laminate Smooth backing designed for hard floors Carpet grippers can mark or damage the floor
Polished or glossy hard floor Smooth or maker-approved anti-slip layer Movement and trapping grit beneath the mat

Measure the chair’s actual travel

Put the chair under the desk, then roll it fully back to stand up. Trace where all five casters travel, including the space for turning. A mat that covers only the chair when tucked in can let a wheel fall off the edge repeatedly. For a cramped home office, check door swing and whether a lip or extension fits beneath the desk.

Pile depth changes the material choice

Floortex warns that a mat meant for short pile may lack support on deep pile and crack under a rolling chair. Polycarbonate options provide a stiffer rolling surface; less expensive PVC models may need time to flatten after unrolling. Neither material is automatically right for every carpet. Check the maker’s pile-depth rating and floor compatibility for the exact size and backing variant.

Who buys and who skips

Carpet mat: Buy if chair wheels drag or carpet wear is appearing. Skip a spiked underside when you might move the mat onto hard flooring. Hard-floor mat: Buy when caster scuffs and grit are a concern. If your chair already rolls well and the floor is protected by suitable soft casters, measure the benefit before filling a small room with a large plastic sheet.

Best value and when to upgrade

The value choice is a mat correctly rated for the floor and big enough for your movement, not the thickest advertised sheet. Pay more for a rigid polycarbonate design when carpet pile and daily rolling make a thin mat unstable. Clean and dry the floor before laying a mat so grit and moisture are not trapped underneath.

Buying mistakes to avoid

  • Putting carpet grippers on wood, vinyl, laminate, or tile.
  • Choosing a carpet mat without checking its maximum supported pile depth.
  • Measuring only the parked chair instead of the full rolling area.
  • Laying the mat over grit or a damp floor.

Questions buyers ask

Can I use a carpet chair mat on a hard floor?

Do not use a gripper-backed carpet mat on a hard floor unless its manufacturer explicitly approves that use. Choose a backing designed for your surface and check the flooring manufacturer’s guidance too.

Is a thicker mat always better?

No. Floor compatibility, carpet-depth rating, stiffness, and the area covered matter together. A thick mat with the wrong backing or insufficient room for the chair can still be a poor fit.

How large should the mat be?

Measure where the casters travel when you sit down, turn, and push back to stand. Include the space beneath the desk if the wheels roll there, while keeping doors and walkways clear.

Final winner

Choose a model explicitly rated for your floor. For typical plastic mats, use a gripper-backed, pile-rated version on carpet and a smooth-backed version on hard floors. Some specialist mats are approved for more than one surface; follow the exact model’s compatibility guidance. Choose the backing first, then the material and dimensions.

Related: under-desk footrest and monitor arm for a small desk.

Research: Floortex floor/backing guide; Floortex materials guide.

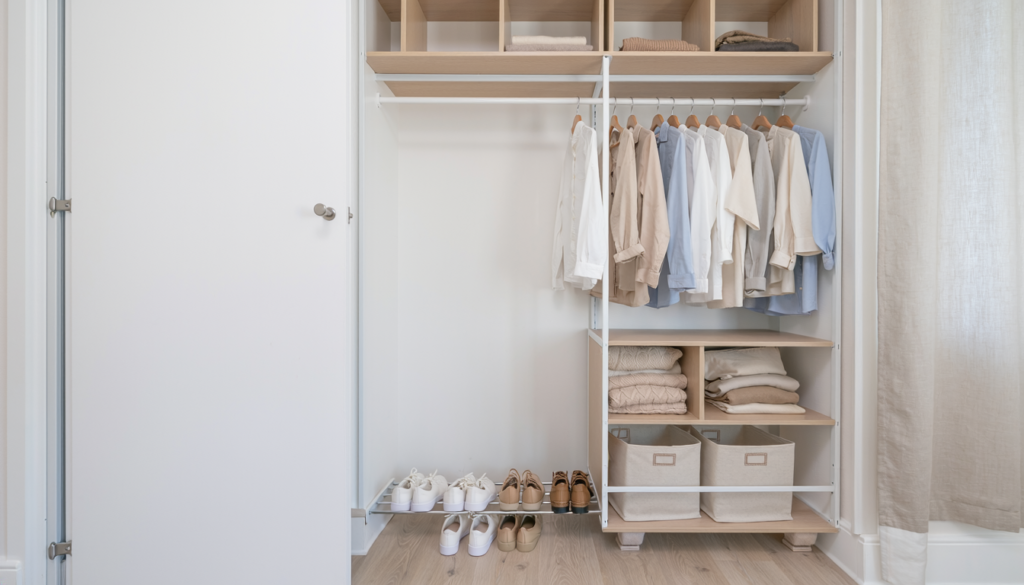
Renter-friendly freestanding closet organizer in a small bedroom
Home Organization

Best Renter-Friendly Closet Organizer

Disclosure: As an Amazon Associate, My Indoor Space may earn from qualifying purchases made through links in this guide, at no extra cost to you.

A closet organizer can create more usable shelves without making a small bedroom feel crowded. In a rental, “easy to install” is not the same as permission to drill. The layout should start with the rod, door swing, and clothes you own; then you can decide whether a freestanding solution is enough.

Quick verdict

For a typical rental, use freestanding shelves or a sturdy hanging organizer that fits the existing rod before choosing a wall-mounted track. A modular wall system such as IKEA BOAXEL can be useful when installation is allowed and the wall can carry the load, but its brackets and uprights still need secure mounting.

How this guide was made: a research-based comparison of product types, published maker details, and the practical fit questions below. We have not claimed hands-on testing.

Who should buy it—and who should skip

For: Renters who need to reclaim vertical space and can measure a closet carefully. Freestanding units suit people likely to move and reuse the organizer.

Skip: Skip tension-only systems for heavy loads unless the product and surfaces support them. Skip drilling into unknown walls or installing a fixed track without landlord permission.

Compare the real alternatives

Option Best for Main trade-off
Freestanding shelves Movable storage; check whether wall anchoring is required Uses some floor width
Hanging fabric organizer Folded clothes on an existing rod Consumes hanging space and may sag
Wall-mounted track Custom shelf and rod layout Requires compatible wall and secure installation

Measure the opening and what the door hides

Closet width, height, and depth are only a starting point. Check the actual clear entry after the door or bifold panels open. Measure the height of coats and long dresses so a shelf does not end up cutting into the hanging space you use most.

Keep load claims in context

A fabric shelf can hold T-shirts but may sag under books or dense shoes. A freestanding frame needs to stand level; follow any anti-tip instructions. Wall-mounted systems depend on wall construction and approved fasteners. IKEA’s BOAXEL guidance ties loading to proper installation and evenly distributed weight.

Choose modules by item type

Deep baskets are useful for scarves and accessories but can hide everyday shirts. Open shelves are easier to scan; clear bins can organize seasonal pieces. Before buying a matching set, sketch what actually belongs on a rod, shelf, or in a drawer.

Plan the move-out path

Can the unit be disassembled and reassembled without damaging it? A freestanding system may transfer to another apartment. A wall-mounted installation may leave holes to repair, and a custom cut shelf may not fit a new closet.

Best value

For a rental where drilling is not permitted, start with a hanging organizer within the existing rod’s load limit, or a low storage unit whose instructions permit use without wall anchoring. Freestanding does not automatically mean no-drill: if the maker requires an anti-tip wall attachment, do not leave it out. Choose another design when you cannot install it as instructed.

When to pay more

A modular wall system earns its cost when you can mount it correctly, intend to stay, and need a tailored mix of rods, shelves, and baskets.

Buying mistakes

  • Using the nominal closet width instead of the door opening.
  • Hanging too much weight from a fabric cubby.
  • Treating a wall system as no-drill.

Questions buyers ask

Is BOAXEL renter friendly?

It can be used in a rental if mounting is allowed and done correctly, but it is a wall-mounted system, not a no-drill product.

Will an organizer double closet space?

It can improve the arrangement, but its useful capacity depends on actual item sizes and access.

Final winner

Choose the unit that fits the permission and closet you have. A movable solution beats an elaborate custom system that cannot be safely installed.

Related reading: under-bed storage container guide; small-entryway shoe storage guide.

Research sources: IKEA BOAXEL wall system details.

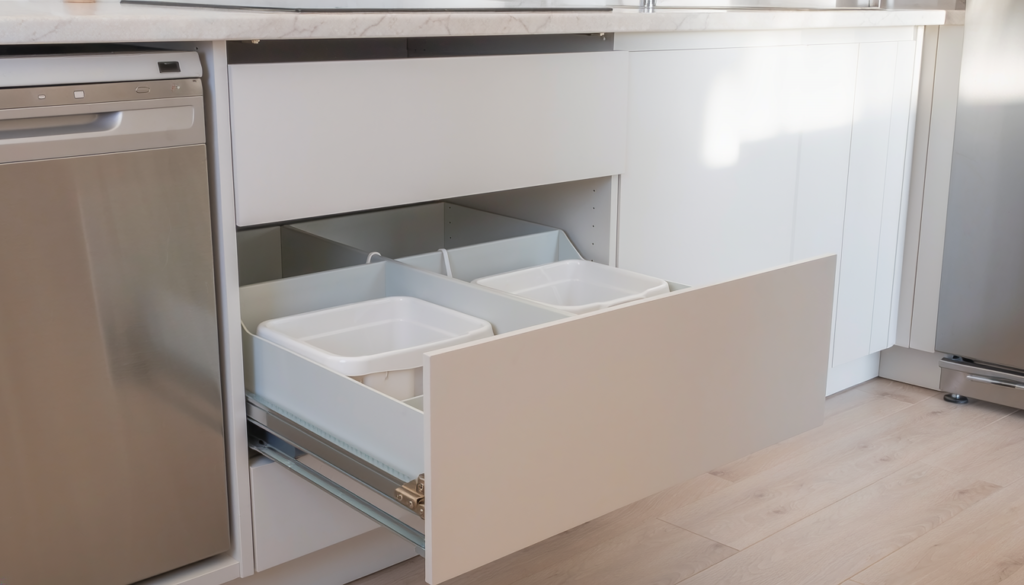
Pull-out trash bin system in a small modern kitchen cabinet
Home Organization

Best Pull-Out Trash Can for a Small Kitchen Cabinet

Disclosure: As an Amazon Associate, My Indoor Space may earn from qualifying purchases made through links in this guide, at no extra cost to you.

A pull-out trash can makes a narrow kitchen feel tidier, but cabinet dimensions are less forgiving than product photos suggest. Hinges, face frames, pipes, and the bin’s lift-out path all compete for space. A freestanding bin can be the better answer if installing slides means cutting into a rental cabinet.

Quick verdict

Choose a bottom-mount pull-out only after measuring the minimum clear opening, depth, and height with the cabinet door fully open. A single bin is the simple value option. A two-bin frame helps when trash and recycling fit the cabinet, but check its layout: side-by-side bins use width, while front-to-back bins use depth. Do not sacrifice bag access just to hide both.

How this guide was made: a research-based comparison of product types, published maker details, and the practical fit questions below. We have not claimed hands-on testing.

Who should buy it—and who should skip

For: Homeowners or permitted renters with a suitable base cabinet, comfortable installation, and a need to keep the bin out of the walkway.

Skip: Skip drilled-in tracks if you cannot modify the cabinet or if plumbing blocks the slide path. A slim lidded floor bin is simpler and can be moved when the layout changes.

Compare the real alternatives

Option Best for Main trade-off
Single-bin bottom mount One waste stream and easy access Uses a cabinet and needs proper mounting
Dual-bin pull-out Trash plus recycling Needs width or depth depending on layout; compare each bin’s capacity
Freestanding slim bin Rentals and narrow openings Visible on the floor

Measure the clear opening first

The cabinet’s outside width does not tell you how wide an installed pull-out can be. Measure between the face frame or hinges at the narrowest point, then the unobstructed depth and height. Rev-A-Shelf filters its systems by minimum cabinet opening because fit varies by product and cabinet.

Check the bin’s removal path

A frame may slide out far enough for a bag but not far enough to lift the entire bin past a countertop overhang. Measure the vertical clearance when the slide is extended. A full-extension system can make bag changes easier in a deeper cabinet.

Choose capacity you can actually empty

A pair of smaller bins may force more frequent trips to a building waste room; that can be welcome for food scraps but irritating for bulky packaging. Compare the usable bin shape with the bags you already buy. Specialty liners add a recurring expense.

Install for the cabinet you own

Follow mounting instructions for the slide and cabinet material. A door-mount kit changes how the front aligns and may need adjustment. Do not drill around pipes or wiring you cannot identify. For a rental, ask permission before permanent changes.

Best value

A simple single-bin slide that fits the measured opening is the best value when the cabinet is suitable.

When to pay more

Soft-close, full extension, and a door-mounted front are worth more when the bin is opened many times a day and the cabinet supports a clean installation.

Buying mistakes

  • Ordering from the exterior cabinet width.
  • Forgetting clearance to lift out the bin.
  • Putting a pull-out under plumbing that blocks its travel.

Questions buyers ask

Can I install one under a sink?

Sometimes, but the drain trap, disposal, valves, and hoses make the fit much more model-specific. Check measured clearances against an under-sink design.

Does a dual bin hold as much as a single bin?

Often not in the same cabinet opening; compare the actual containers and your emptying routine.

Final winner

The winner is whichever frame clears the real cabinet and lets you change bags without a fight. A freestanding bin wins when the cabinet is too tight or must stay unmodified.

Related reading: under-sink organizer guide; food scrap bin guide.

Research sources: Rev-A-Shelf cabinet-opening guidance.

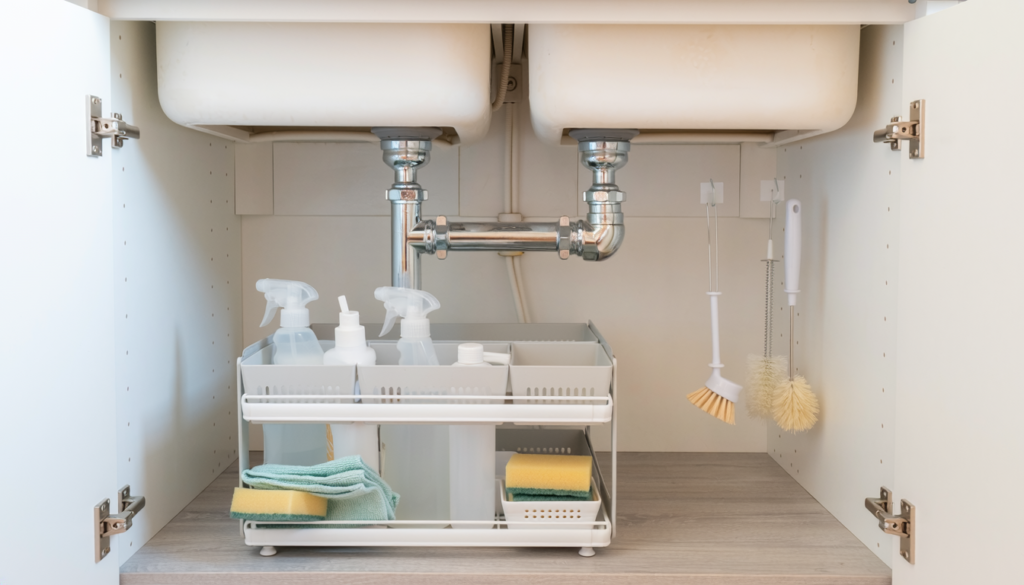
Under-sink organizer arranged around plumbing in a small kitchen cabinet
Home Organization

Best Under-Sink Organizer for a Small Cabinet

Disclosure: As an Amazon Associate, My Indoor Space may earn from qualifying purchases made through links in this guide, at no extra cost to you.

The cabinet beneath a sink looks spacious until the pipes, shutoff valves, and garbage disposal claim the middle. The best organizer follows the usable space around that plumbing and lets you reach everyday supplies without unloading the entire cabinet.

Quick verdict

For most small cabinets, two narrow pull-out bins or an adjustable shelf that straddles the pipes beats one large fixed rack. Measure the lowest pipe, door opening, and valve access before ordering. Keep a leak detector on the cabinet floor if water damage is a concern.

Who this is for—and when to skip it

Buy it for: A cabinet where reaching bottles behind the plumbing is awkward and a measured bin or sliding tray can improve access.

Skip it when: Your existing containers already keep supplies reachable, or the cabinet has an unresolved leak. Clear out unused supplies and deal with plumbing problems before adding storage.

How this guide was made: a practical comparison of storage layouts, access, and cleaning requirements. The recommendations concern organizer types; they are not claims of hands-on testing of a specific model.

Which type fits your home?

Type Best for Trade-off
Pull-out bins Fast access to cleaning bottles Rails and handles need clearance
Adjustable pipe shelf Making use of both sides of plumbing Requires careful setup and support
Stackable bins Simple low-cost grouping Upper bin must be moved to reach lower one
Over-door caddy Small brushes and gloves Can collide with shelf or pipes

Map the cabinet’s obstacles

Measure width inside the door frame, depth to the rear wall, and height below the lowest pipe. An organizer that fits the outer cabinet may not pass through a narrower door opening. Leave clear access to shutoff valves and connections so maintenance or a leak response is not blocked.

Access matters more than maximum capacity

If you use a bottle every day, a sliding tray can pay off because nothing has to be lifted from behind it. For supplies used rarely, labeled open bins may be simpler. A two-tier rack is useful only when the upper tier clears the trap and bottles can be removed without striking a pipe.

Choose materials for a wet cabinet

Plastic bins are easy to lift out and wash after a spill. Metal wire shelves need a coating that stays intact in a humid space; wood-based shelves can swell if they sit in water. Keep absorbent paper goods and electronics away from plumbing connections.

Do not bury warning signs

A lined floor can make cleanup easier, but it should not hide recurring drips. Periodically check the cabinet base and connections. A battery leak alarm can alert you to a fresh puddle, yet it does not fix the plumbing or replace regular inspection.

Best value

A pair of removable, narrow plastic bins is the most forgiving inexpensive option in an irregular cabinet.

When the upgrade earns its price

Pay for smooth pull-out hardware when the cabinet is deep enough and daily access is the actual problem.

Buying mistakes to avoid

  • Measuring outside width but not the narrow door opening.
  • Blocking a shutoff valve with a fixed shelf.
  • Stacking paper towels directly under a potential drip.

Common questions

Should I use a two-tier shelf?

Yes if the pipe layout and bottle heights leave usable space on both levels. Otherwise narrow bins often work better.

Will an organizer prevent water damage?

No. It improves access and may make inspection easier; a leak alarm and prompt plumbing repair address the risk.

Final pick

Let the plumbing define the organizer, not the product photo. Removable bins preserve access, while a pull-out tray earns its price in a deeper cabinet used daily.

Keep comparing with our apartment water-leak detector guide, small-kitchen pantry organizer guide.

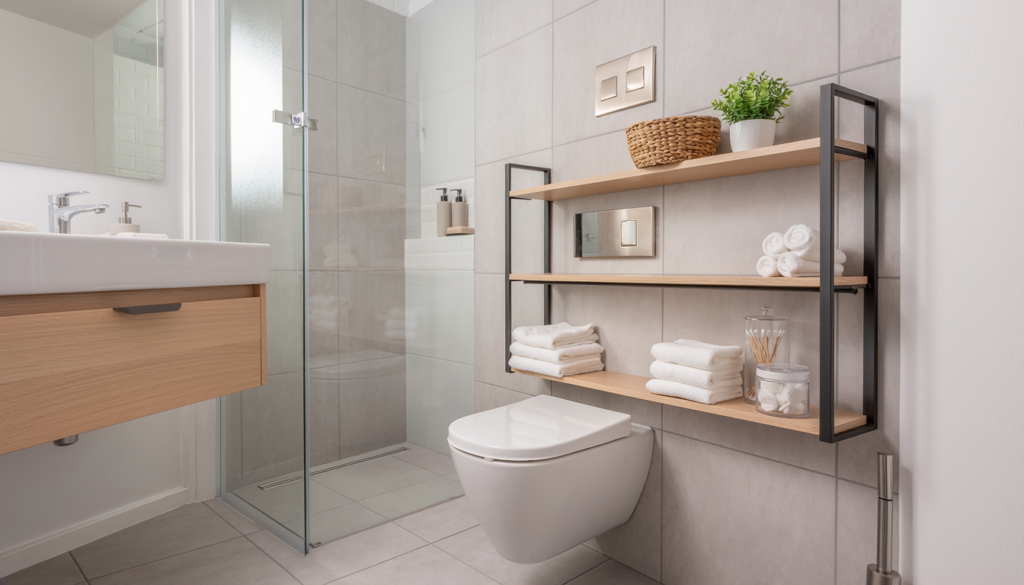
Over-the-toilet storage shelving in a small modern bathroom
Home Organization

Best Over-the-Toilet Storage

Disclosure: As an Amazon Associate, My Indoor Space may earn from qualifying purchases made through links in this guide, at no extra cost to you.

The wall above a toilet is valuable storage space, but an oversized unit can make a small bathroom feel cramped and interfere with the tank, lid, flush control, or shutoff valve. The best design adds reachable storage while preserving access and stability.

Quick verdict

For most small bathrooms, choose a narrow freestanding unit with adjustable shelves, moisture-resistant surfaces, open lower clearance, and proper anti-tip hardware. A wall-mounted cabinet looks cleaner but requires suitable wall structure, permission, and careful installation.

Who it is for—and who should skip it

This storage suits bathrooms without a linen closet, renters who need a reversible organizer, and households that want towels, toilet paper, and cleaning supplies off the floor.

Skip it when the toilet sits under a low window, the wall is crowded with plumbing or controls, or a freestanding frame would block the shutoff valve. A slim rolling cart or wall shelf elsewhere may fit better.

Compare the main styles

Style Best for Main trade-off
Freestanding shelf Renters and flexible storage Needs floor clearance and anti-tip support
Cabinet-and-shelf unit Concealing supplies Heavier and visually larger
Ladder shelf Light open look Usually shallow and must lean securely
Wall-mounted cabinet Clear floor and built-in appearance Requires strong mounting and permission
Tension-pole shelves Minimal wall holes Fit and stability depend on ceiling and floor

Best value: narrow freestanding shelf

A metal or moisture-resistant composite unit with two or three adjustable shelves offers the best balance of cost and capacity. Open sides make the bathroom feel less boxed in and let you see when supplies run low.

Look for levelling feet, cross-bracing, and a shape that can be assembled around existing plumbing. Some units cannot slide behind the toilet after assembly because the tank or supply line blocks the lower frame.

Upgrade worth it: wall-mounted cabinet

A wall cabinet is worth the upgrade when you want concealed storage and an unobstructed floor. It also avoids narrow legs that collect dust behind the toilet.

Mounting must suit the cabinet weight, stored items, wall material, and available studs or rated anchors. In a rental, obtain permission before drilling and keep clear of hidden wiring and plumbing.

Measure every obstruction

Measure floor-to-tank height, tank width and depth, flush-handle location, toilet-lid swing, wall width, baseboard projection, and the shutoff-valve area. Leave enough room to remove the tank lid for service.

Mark the outside dimensions with painter’s tape. Sit and stand normally to make sure shelf depth does not crowd the user’s head or shoulders.

Stability comes first

Tall narrow furniture can tip. Use the manufacturer’s anti-tip system and appropriate wall attachment where installation is allowed. Do not rely on the toilet tank to brace the unit.

Place heavier items on the lowest safe shelf and light towels or paper goods higher. Do not store glass, heavy appliances, or hazardous products where they can fall.

Choose bathroom-ready materials

Powder-coated metal, sealed wood, quality plastic, and moisture-resistant board can all work when maintained. Exposed particleboard edges swell quickly if water reaches them.

Open shelving dries faster, while closed doors hide clutter but may trap moisture. Wipe condensation and maintain bathroom ventilation.

Plan what belongs above the toilet

Good choices include extra toilet paper, hand towels, lightweight baskets, and frequently used toiletries. Medicines and items affected by heat or humidity usually belong elsewhere according to their storage directions.

Keep cleaning chemicals secured and away from children or pets. A pretty basket is not a substitute for safe storage.

Common buying mistakes

  • Measuring only toilet width and forgetting tank height.
  • Blocking the shutoff valve or tank lid.
  • Skipping anti-tip attachment on a tall unit.
  • Choosing shelves deep enough to crowd the user.
  • Using unfinished material in a damp room.
  • Assembling the lower frame before checking how it passes around plumbing.

Frequently asked questions

How much clearance belongs above the toilet tank?

Allow enough space to remove the tank lid and reach controls or plumbing. The exact amount depends on the toilet and storage design.

Is freestanding storage renter-friendly?

It can be, but tall units still need safe anti-tip restraint. Confirm what the lease permits before attaching anything to the wall.

Can towels be stored above the toilet?

Clean towels can be stored there in a well-ventilated bathroom, ideally in a protected or regularly cleaned area away from splashes.

Is bamboo good in a bathroom?

Properly finished bamboo can work, but it still needs ventilation and dry care. Inspect joints and finish for moisture damage.

Final winner

The best over-the-toilet storage for most small bathrooms is a narrow freestanding unit with adjustable shelves, washable moisture-resistant surfaces, open tank access, levelling feet, and correct anti-tip hardware. Choose a wall cabinet when permission and solid mounting support are available.

Finish the small-bathroom setup with our shower caddy guide and renter-friendly bidet attachment guide.

Scroll to Top