
French press beside a glass cup
Kitchen & Dining

Glass vs Stainless Steel French Press: Is the Insulated Upgrade Worth It?

Disclosure: As an Amazon Associate, My Indoor Space earns from qualifying purchases through links in this article, at no extra cost to you.

Quick verdict

Choose glass when visibility and replaceable parts matter and you normally serve promptly. Choose a double-wall stainless press when its handling and insulation suit your routine. Check the actual construction: stainless steel alone does not establish insulation or a sediment-free cup.

Research-based buying guide. Information checked October 16, 2026. We have not tested these products hands-on; published specifications and our buying judgments are identified separately.

glass French presses

stainless steel French presses

French press beside a glass cup
Illustrative French press; not a verified Bodum or Frieling model. Photo: Pexels.

A French press does not need a power socket, but it still needs to fit your serving and cleaning routine. The vessel material mainly changes visibility, handling and heat retention. The filter assembly, usable batch size and ease of taking it apart deserve equal attention.

Compare the useful differences

Question Glass press Stainless steel press
Seeing the contents Transparent beaker Usually opaque
Insulation Check the particular construction Look specifically for double-wall design
Replacement parts Check exact beaker and filter availability Check lid, filter and seal availability

When a glass press is enough

Bodum’s cited CHAMBORD combines a borosilicate glass beaker with other materials in its frame and lid. The clear vessel can make the liquid level and cleaning easier to inspect. Compare actual milliliters or fluid ounces rather than a “cup” count that may not match your mug.

If you brew a small batch and pour it promptly, extra insulation may not solve a meaningful problem. Check the availability of the correct replacement beaker. Diameter and capacity both matter; a generic-looking spare is not automatically the right fit for the frame and plunger.

When double-wall stainless is worth considering

Frieling describes a double-wall stainless construction for its French presses and advertises improved heat retention. Treat that as published design information rather than our own measured holding-time result. A single-wall metal press should not be assumed equivalent merely because the outside looks similar.

Compare empty weight, full weight and the handle position. A press that is comfortable while empty may feel less convenient when filled. Check how easily you can pour the last serving without an awkward grip. A sturdy-looking metal body does not make the complete product immune to damage or careless use.

The filter and cleaning can matter more than the shell

Examine how the screen separates for cleaning and whether replacement parts are available locally. Additional filter layers can change maintenance as well as the cup. Do not assume a claim about eliminating sediment means every grind and brewing method produces a completely clear drink.

Follow the exact assembly and care instructions. Ground coffee can collect around screens and threads, so access matters. Dishwasher permission can differ for the beaker, lid and plunger parts, and finishes may have their own limits. Compare the everyday cleaning steps before choosing a decorative coating.

Who should upgrade or skip?

Buy the insulated model when temperature retention or a specific handling preference justifies the higher cost. Buy glass when its visibility and available spares fit you better. Keep your current press if it makes the quantity you need and is easy to maintain. A new vessel material will not correct an unsuitable grind or a recipe you dislike.

Compare listings in your country

These buttons open matching Amazon search results, rather than a guaranteed in-stock offer. Confirm the exact model, seller, included parts, delivered price and return terms. Prices and availability can differ between the United States and Canada.

glass French presses

stainless steel French presses

Related guides on My Indoor Space

Sources and research

Coffee brewer with a glass carafe on a table
Kitchen & Dining

Thermal vs Glass Carafe Coffee Maker: Which Fits Your Morning?

Disclosure: As an Amazon Associate, My Indoor Space earns from qualifying purchases through links in this article, at no extra cost to you.

Quick verdict

Choose thermal when you want to serve gradually or carry coffee away from the brewer without relying on a warming plate. Choose glass when you serve soon and value seeing the remaining coffee. Compare the complete brewer, because the carafes are not necessarily interchangeable.

Research-based buying guide. Information checked October 16, 2026. We have not tested these products hands-on; published specifications and our buying judgments are identified separately.

thermal-carafe coffee makers

glass-carafe coffee makers

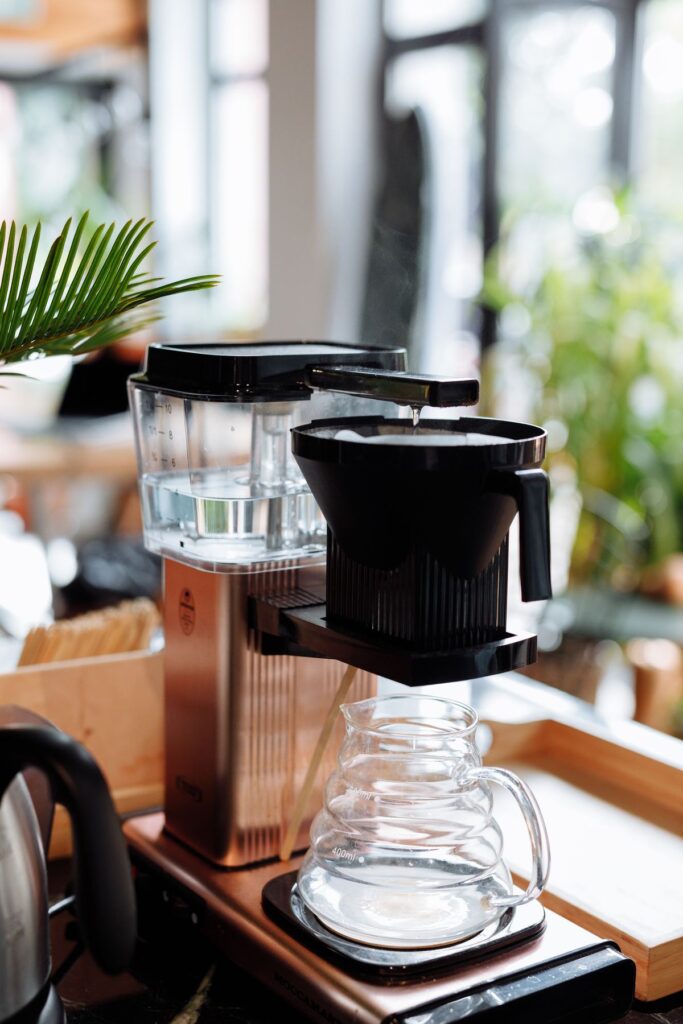
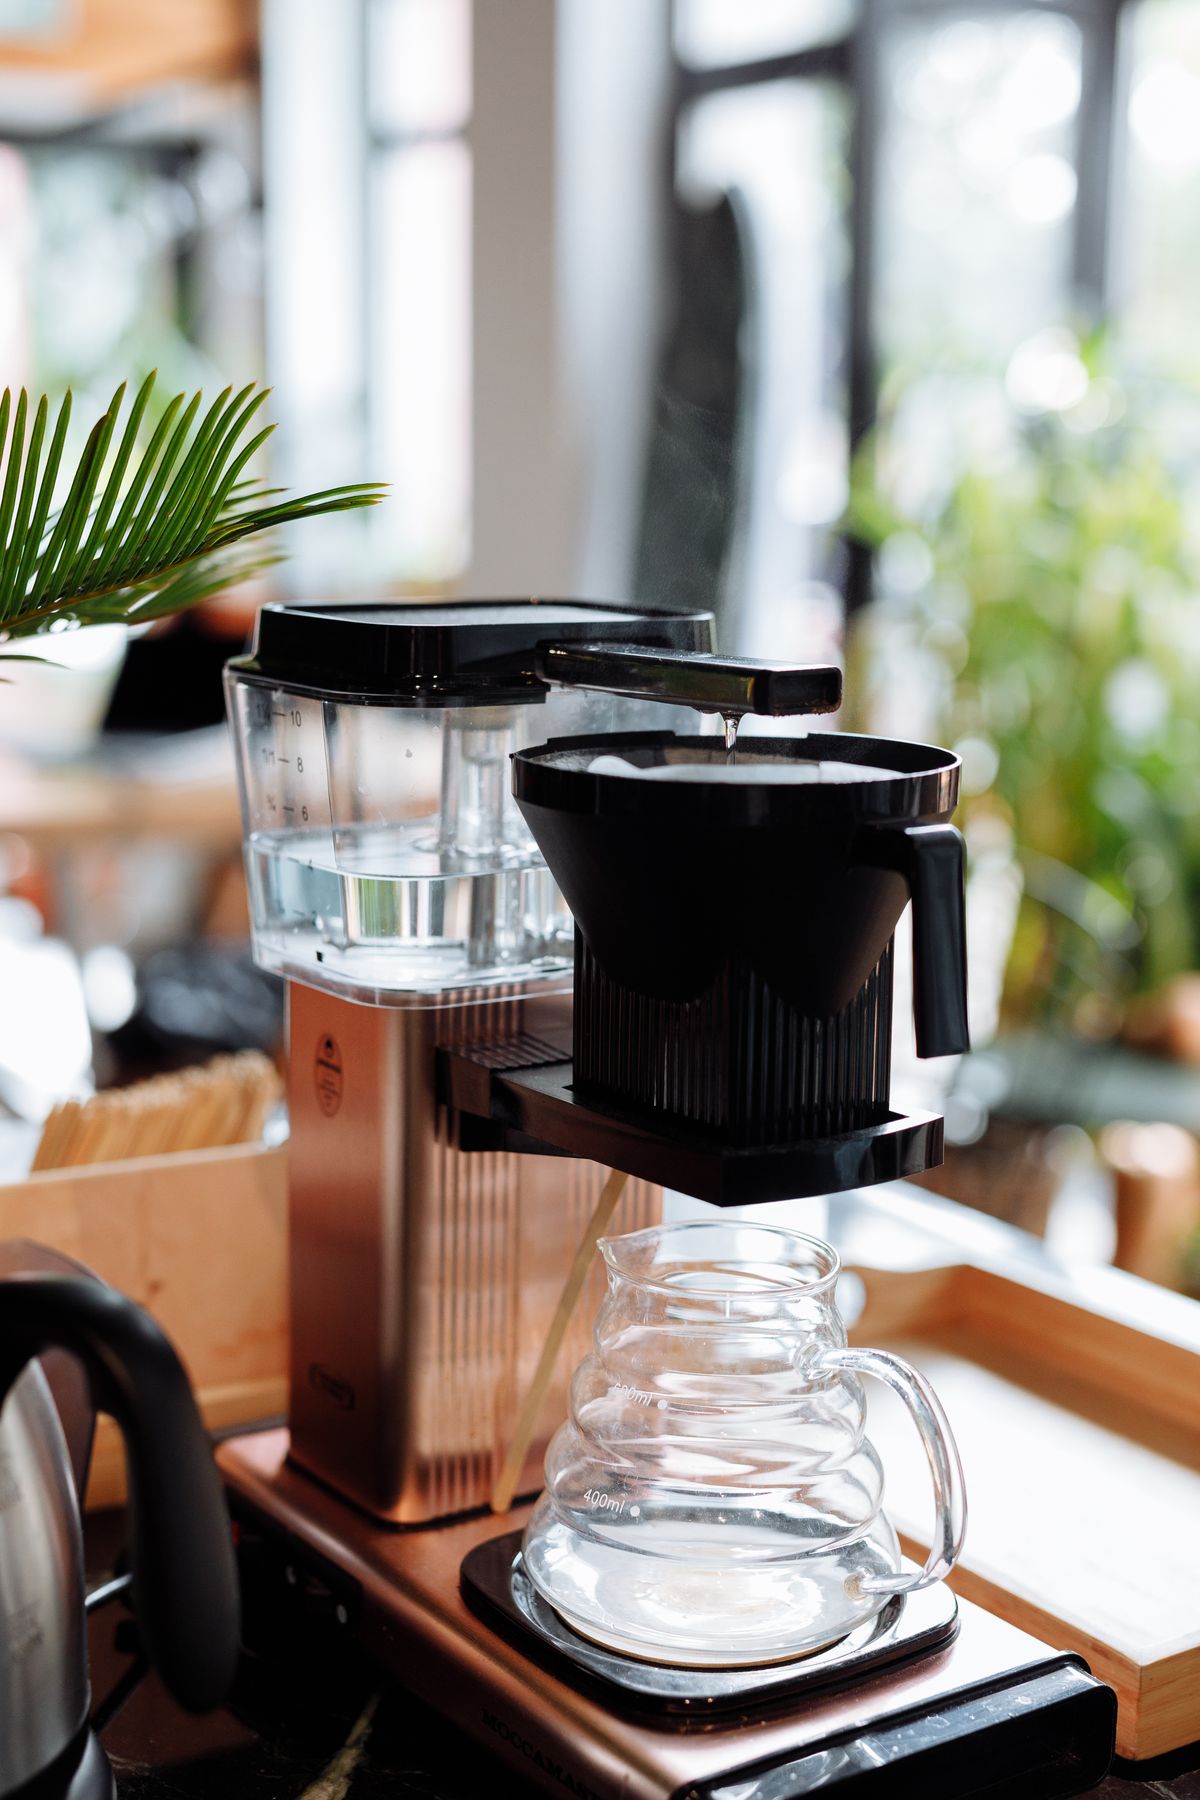
Coffee brewer with a glass carafe on a table
Illustrative brewer; not a verified Moccamaster model. Photo: Pexels.

A carafe should suit when and where you drink the batch. If two people pour immediately, a holding feature may matter less than it does to someone returning for a second cup later. Compare that routine before choosing a more expensive brewer.

The practical differences

Priority Thermal carafe Glass carafe
Serving away from brewer Insulated container can be convenient Check whether it relies on a warming plate
Visible remaining quantity Opaque body may make this harder Clear body is easy to inspect
Cleaning Check opening, lid and liner Check opening, handle and care limits

When thermal earns the extra cost

A thermal design can suit a slower morning or a table away from the kitchen outlet. Follow the instructions for preparing and closing the carafe. The useful holding time depends on the product and conditions, so a broad “hours hot” claim should not be treated as a measured result from this site.

Insulation does not tell you the inner material. Moccamaster documents a glass-lined stainless thermal carafe supplied with particular brewer generations. An outer steel shell therefore does not necessarily remove glass from the product. Check the exact version, especially with older stock or replacement parts.

When glass is enough

A glass carafe makes the remaining amount easy to see and can be a practical choice when coffee is served soon. If the brewer includes a warming plate, read its controls and shutoff behavior. Do not assume every model holds at the same temperature or for the same duration.

Carafe choice is not the only influence on a cup of coffee. Compare brewing capacity, batch-size settings and the process you already use. Paying for thermal storage does not guarantee a better initial brew, and replacing a working brewer may be unnecessary if you usually finish the batch promptly.

Check cleaning and replacement availability

Look at the neck opening and lid disassembly. A carafe that is awkward to reach may be inconvenient if you want a quick daily cleaning routine. Follow the manufacturer’s recommended cleaners and dishwasher permissions; thermal lids and liners can have different instructions from a basic glass jug.

Check the correct replacement part by brewer model. Height, outlet arrangement and brew-basket interaction can make visually similar carafes incompatible. Do not place an unapproved thermal vessel on a warming plate simply because it fits beneath the basket. Ask the manufacturer when a conversion is not documented.

The value decision

Choose thermal for a real holding or portability need. Choose glass when immediate serving and visibility fit the household. Keep a brewer that already delivers the coffee you enjoy; a compatible separate serving solution, where the instructions allow it, may be enough without replacing the entire machine.

Compare listings in your country

These buttons open matching Amazon search results, rather than a guaranteed in-stock offer. Confirm the exact model, seller, included parts, delivered price and return terms. Prices and availability can differ between the United States and Canada.

thermal-carafe coffee makers

glass-carafe coffee makers

Related guides on My Indoor Space

Sources and research

Person using a thermometer in a metal container
Kitchen & Dining

Instant-Read vs Leave-In Cooking Thermometer: Which Comes First?

Disclosure: As an Amazon Associate, My Indoor Space earns from qualifying purchases through links in this article, at no extra cost to you.

Quick verdict

Buy an instant-read thermometer first for quick checks in different places and foods. Add a suitable leave-in probe when monitoring a long cook and receiving an alarm would be useful. An instant-read display’s measuring range is not permission to leave the whole device in an oven.

Research-based buying guide. Information checked October 16, 2026. We have not tested these products hands-on; published specifications and our buying judgments are identified separately.

instant-read cooking thermometers

leave-in probe thermometers

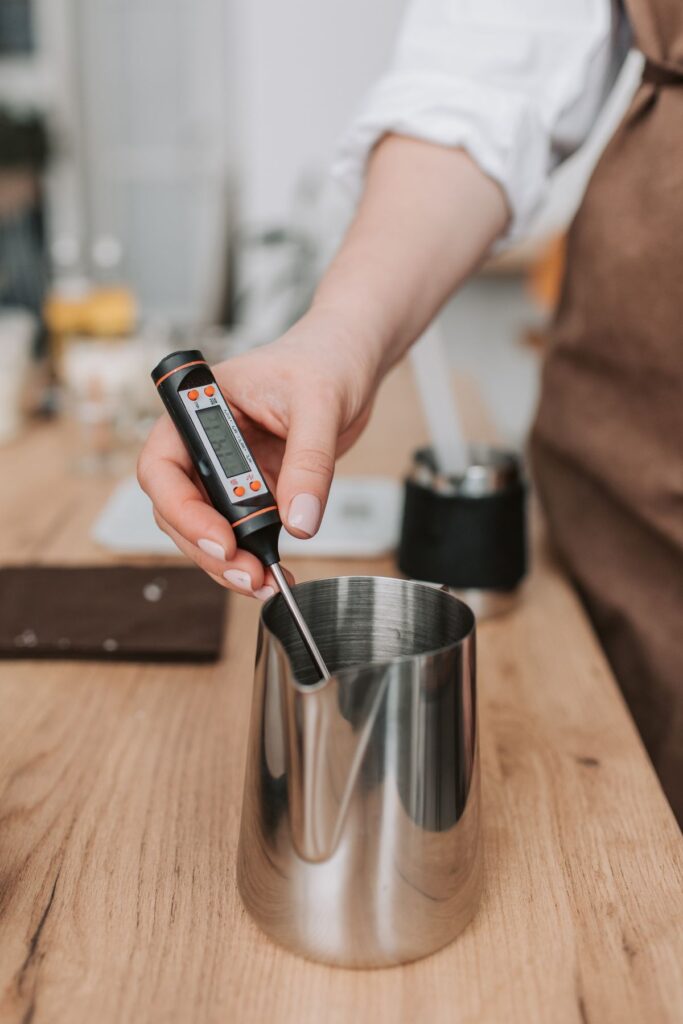
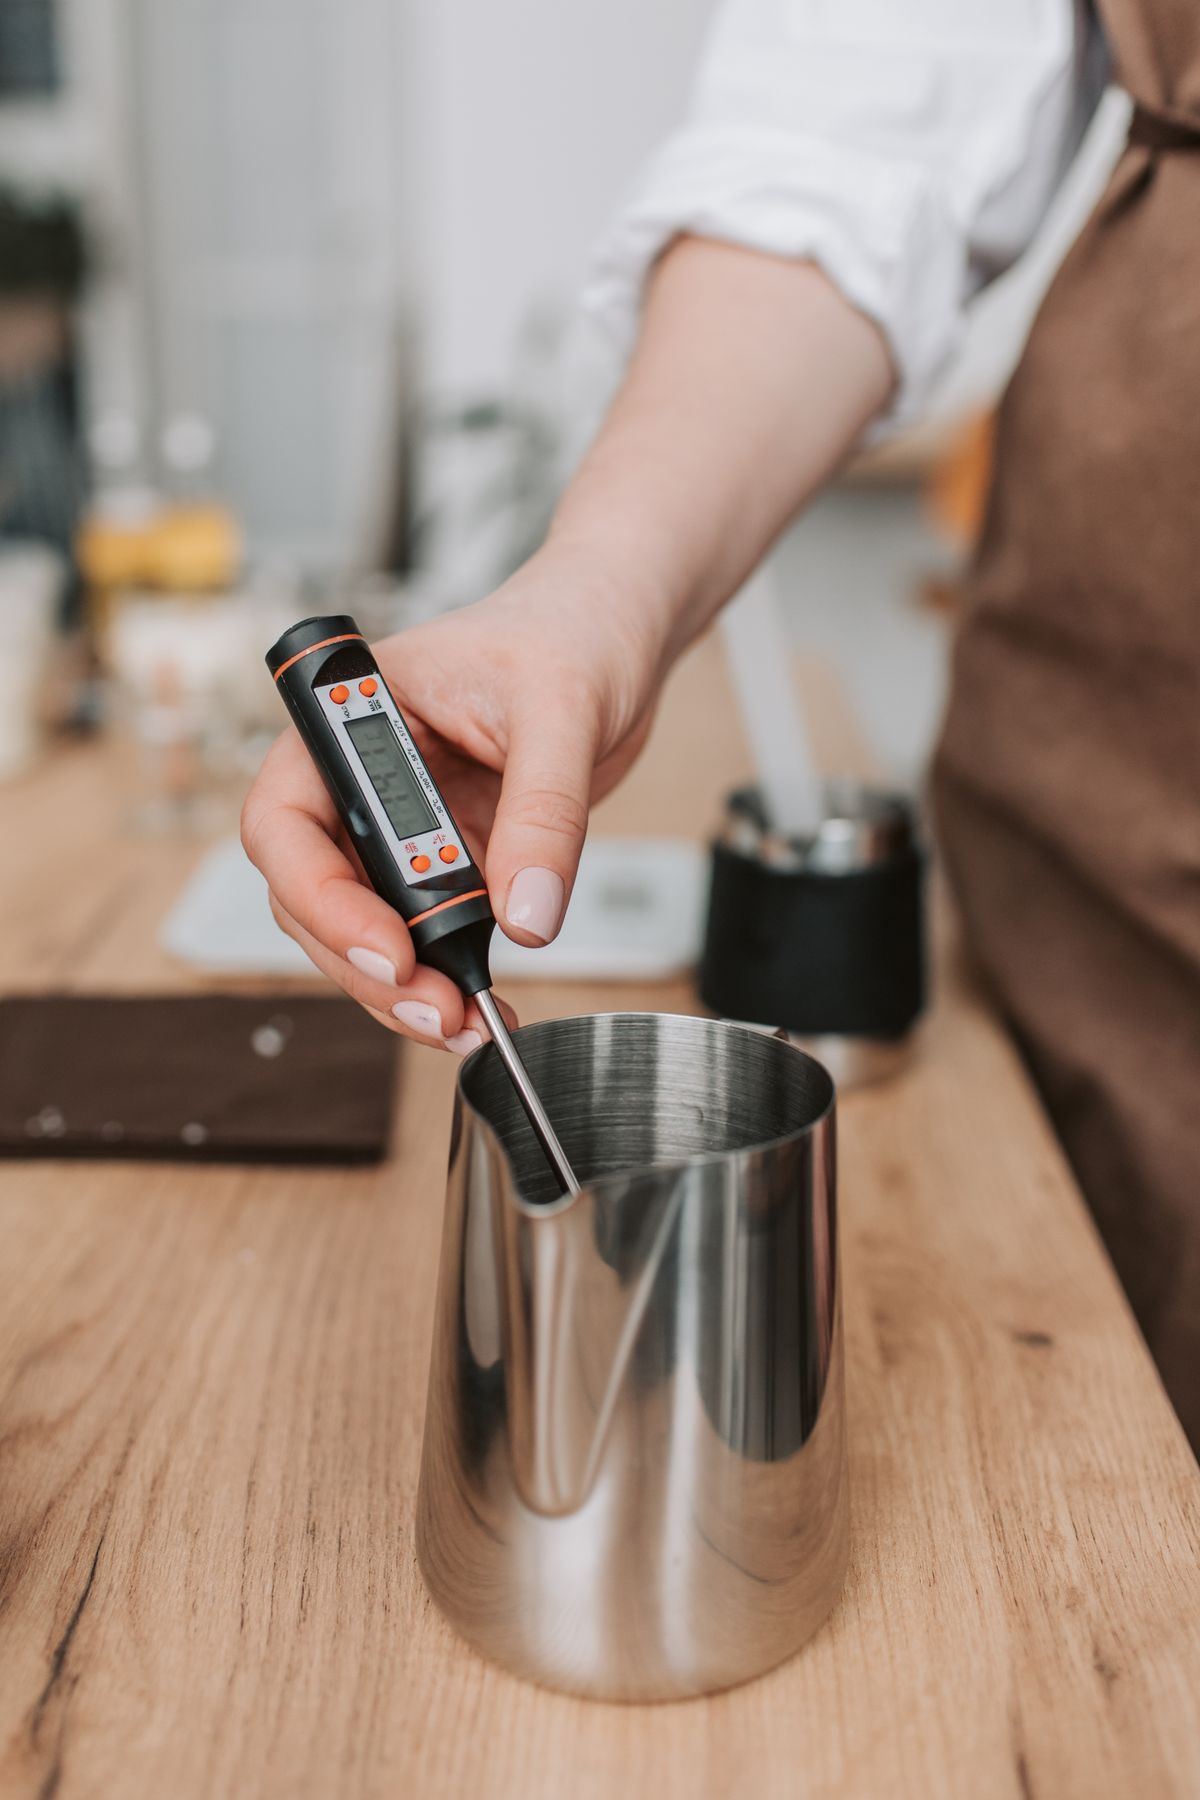
Person using a thermometer in a metal container
Illustrative temperature measurement; no ThermoWorks model is identified. Photo: Pexels.

A thermometer purchase should match the question you ask while cooking. “What is the temperature here?” calls for a quick measurement. “How is this temperature changing while it cooks?” may justify a probe designed to remain in place. These tools can complement each other.

Compare the measurement jobs

Job Instant-read Leave-in probe
Check several locations Convenient for separate spot checks Reposition according to instructions
Monitor a long cook Requires repeated manual checks Suitable models monitor continuously
Alarm away from oven Not the main function Check alarm and receiver arrangement

Why an instant-read is a useful first tool

A handheld probe lets you check different areas without leaving a cable attached. Compare response time under the manufacturer’s stated conditions, probe dimensions and how easily you can read the display. A rotating display can be useful at awkward angles; it does not replace correct probe placement.

Read the sensing-area instructions. Where and how deeply the probe measures affects the usefulness of the result. Clean it as specified between tasks. This buying comparison does not supply cooking temperatures; follow an appropriate recipe and authoritative food-safety guidance for the food you prepare.

When the leave-in upgrade is worthwhile

A suitable leave-in system can reduce repeated opening and checking during a longer cook. ThermoWorks describes oven-rated probe and cable arrangements for this purpose. Confirm which parts may enter the cooking space and where the display or transmitter must remain.

Compare high and low alarms, probe count and how settings are changed. If you only need one oven alarm, an app-connected multiprobe system may be unnecessary. If you want several readings, check whether extra probes come in the box or must be purchased separately.

Do not confuse measuring range with heat tolerance

A handheld thermometer may measure a high food temperature while its housing must stay outside the oven. ThermoWorks explicitly distinguishes instant-read use from a probe intended to remain during cooking. Check the complete product’s exposure limits, cable limits and any restrictions around direct flame or the broiler.

Wireless features add another compatibility check. Bluetooth, Wi-Fi and dedicated receivers have different dependencies, and published range depends on conditions. Oven walls and the route through your home can affect a connection. Choose a setup whose local display and alarms still suit the way you cook.

Which should you buy?

Choose instant-read for varied everyday checks. Choose leave-in when the main gap is monitoring and an alarm. Keep an existing accurate, suitable thermometer if it performs the required job; spend on the missing measurement function before buying a premium screen or a feature you will seldom use.

Compare listings in your country

These buttons open matching Amazon search results, rather than a guaranteed in-stock offer. Confirm the exact model, seller, included parts, delivered price and return terms. Prices and availability can differ between the United States and Canada.

instant-read cooking thermometers

leave-in probe thermometers

Related guides on My Indoor Space

Sources and research

Butter and sugar in a glass mixing bowl
Kitchen & Dining

Stainless Steel vs Glass Mixing Bowls: Which Set Is Better Value?

Disclosure: As an Amazon Associate, My Indoor Space earns from qualifying purchases through links in this article, at no extra cost to you.

Quick verdict

Choose stainless steel for a mixing-focused set when its weight and grip work for you. Choose approved glass bowls when visibility and permitted microwave use are priorities. Check the exact product’s instructions: material alone does not establish appliance compatibility.

Research-based buying guide. Information checked October 16, 2026. We have not tested these products hands-on; published specifications and our buying judgments are identified separately.

stainless steel mixing bowls

glass mixing bowls

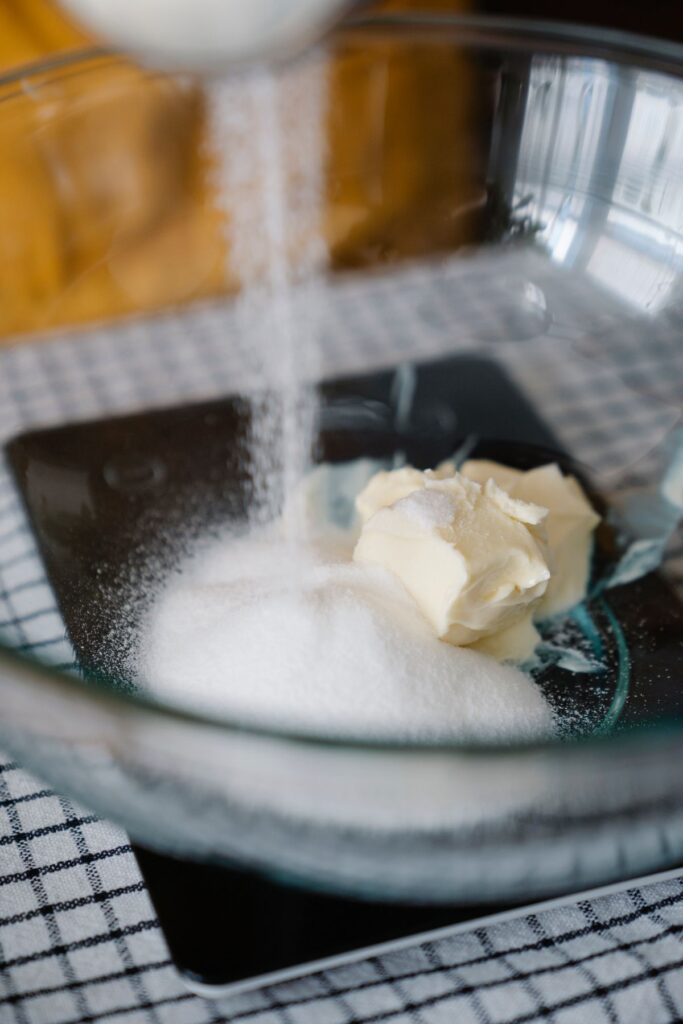
Butter and sugar in a glass mixing bowl
Illustrative mixing bowl; heat ratings and brand are not established. Photo: Pexels.

A useful bowl set covers your ordinary batch sizes without filling the cupboard with near-duplicates. Steel and glass change handling and visibility, but the rim, base and usable capacity can matter just as much. Start with the largest mixture you regularly make.

Compare the daily jobs

Priority Stainless steel Glass
Seeing the mixture View from above Transparent sides can help inspection
Handling Compare weight and any exterior coating Compare empty and filled weight
Appliance use Follow exact restrictions Follow exact permissions and temperature precautions

What makes a steel set practical?

For mixing, compare the shape and base grip. OXO’s stainless set is one example with additional exterior design features, rather than three bare metal bowls. Those extra materials can change how a bowl should be used. Do not assume a steel interior means the complete product is oven-safe.

Hold the bowl in the position you use for whisking or pouring. A rim that is comfortable on the counter may be awkward when tipping a heavy batter into a tin. If you use a hand mixer, check depth and width with the beaters you own. A very wide shallow bowl may leave less protection against splashes.

When glass adds useful flexibility

Clear sides make it easier to inspect unmixed pockets and the contents without looking directly down into the bowl. The cited Pyrex set also describes microwave use for those products. That permission should not be generalized to every glass bowl, decorative serving piece or included lid.

Read the manufacturer’s thermal-use precautions. Oven, microwave, stovetop and broiler use are different conditions, and sudden temperature changes can matter. Choose glass for a permitted task you actually want to perform, not because a listing photograph places a bowl beside an oven.

Choose useful sizes before a large bundle

Compare the capacity of each bowl, then allow headroom for stirring. A small prep bowl may be useful for dressing but too small for a mixer. A large bowl can handle a doubled recipe yet be awkward at the sink. Check whether lids are included and whether they fit the exact bowls in the package.

Measure nested height and width in the cupboard. Lids, non-slip bases and flared rims can change how tightly a set nests. Think about drying and putting it away as well as the neat stack shown in the listing. The set with more pieces is poor value if several pieces never leave storage.

When should you upgrade?

Buy steel when a lighter-feeling, mixing-focused arrangement suits your routine after checking actual weights. Buy suitable glass when visibility and approved multipurpose use solve a problem. Keep a mixed collection if it already covers your batches; matching every bowl is an appearance choice rather than a cooking requirement.

Compare listings in your country

These buttons open matching Amazon search results, rather than a guaranteed in-stock offer. Confirm the exact model, seller, included parts, delivered price and return terms. Prices and availability can differ between the United States and Canada.

stainless steel mixing bowls

glass mixing bowls

Related guides on My Indoor Space

Sources and research

Vegetables in a stainless steel colander
Kitchen & Dining

Fine-Mesh Strainer vs Colander: Which Should You Buy First?

Disclosure: As an Amazon Associate, My Indoor Space earns from qualifying purchases through links in this article, at no extra cost to you.

Quick verdict

Choose a fine-mesh strainer for small particles and controlled straining over a bowl. Choose a colander for larger draining jobs when its openings retain your food. Match the holes, capacity and support to the task; neither tool is automatically a replacement for the other.

Research-based buying guide. Information checked October 16, 2026. We have not tested these products hands-on; published specifications and our buying judgments are identified separately.

fine-mesh strainers

kitchen colanders

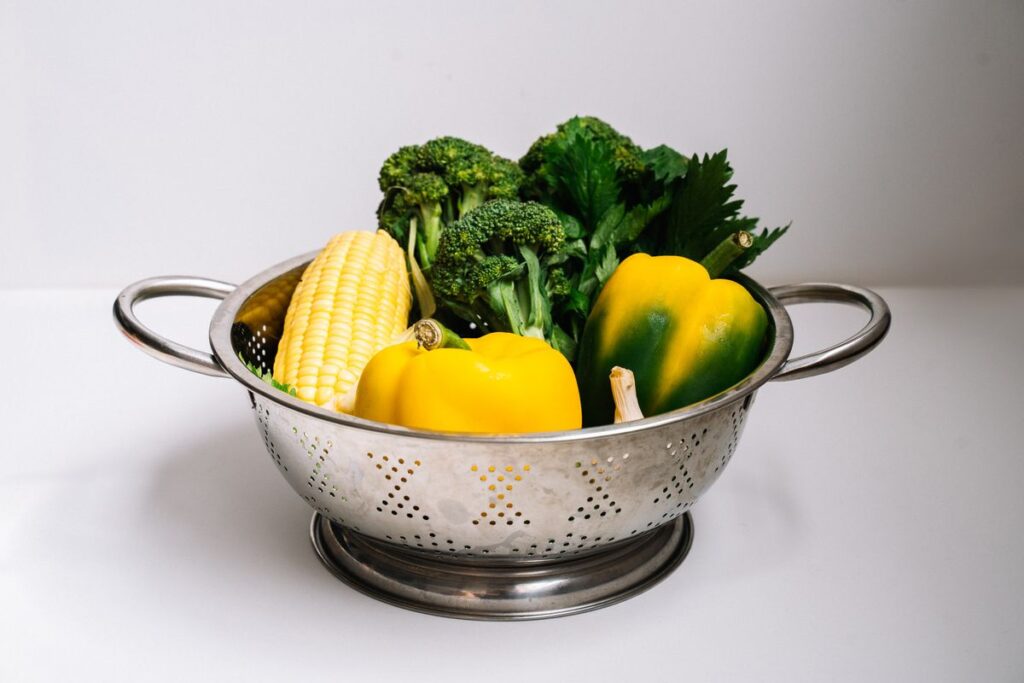
Vegetables in a stainless steel colander
Illustrative colander; not a verified OXO model. Photo: Pexels.

Both tools separate food from liquid, but the opening size and support determine what they do well. A large colander can drain pasta yet lose smaller ingredients. A fine sieve can retain tiny particles but be awkward when the whole pot needs emptying at once.

The practical differences

Need Fine-mesh strainer Colander
Small solids Check mesh fineness for the ingredient Openings may be too large
Larger draining volume Check basket capacity and support Often the more convenient layout
Collecting liquid Can rest over a compatible bowl Needs a planned container arrangement

Buy for the smallest ingredient

If you frequently rinse small grains, compare the mesh with that ingredient. “Fine” is a description, not a universal opening measurement. Check the actual design and intended uses. A colander with unusually small perforations can handle different tasks from a large-hole plastic design.

For citrus juice, a small strainer may be easier to control than a full-size colander. OXO lists such uses for its mini fine-mesh strainer. That does not make a small tool suitable for a full pot of pasta. Capacity and opening size have to be assessed together.

Check support before choosing the size

Measure the bowl or sink where the tool will sit. A rim loop, long handle or extending support only works when it spans the intended opening securely. OXO’s cited 8-inch strainer has a greater overall length than its basket diameter, illustrating why the drawer and bowl measurements both matter.

For a standing colander, inspect the feet and clearance beneath the base. Think through where the liquid will go and how you will hold the pot. Do not balance a draining tool in a position its manufacturer has not intended, especially when handling hot liquid.

Capacity can be misleading in a small kitchen

A 5-quart colander may sound ideal beside a similarly sized pot, but usable draining room depends on the food and how you pour. A tool that nearly fills the sink can also leave little room for other preparation. Mark the footprint and consider the faucet clearance.

Nested or collapsible products can reduce storage bulk, but compare their opening method, stability and care instructions. The smallest folded size is not the only measurement worth checking. You need room to open, clean and dry it as intended.

Which is better value?

Choose mesh when losing small ingredients is your current problem. Choose a colander when your main job is a larger quantity of pasta or produce. Keep both only if each handles a regular task. If your existing tool already retains the ingredients and drains comfortably, a new finish or extra accessory is unlikely to change much.

Compare listings in your country

These buttons open matching Amazon search results, rather than a guaranteed in-stock offer. Confirm the exact model, seller, included parts, delivered price and return terms. Prices and availability can differ between the United States and Canada.

fine-mesh strainers

kitchen colanders

Related guides on My Indoor Space

Sources and research

Person grating lemon zest into a bowl
Kitchen & Dining

Rasp Zester vs Box Grater: Which Kitchen Tool Should You Buy First?

Disclosure: As an Amazon Associate, My Indoor Space earns from qualifying purchases through links in this article, at no extra cost to you.

Quick verdict

Choose a rasp for frequent fine zesting and delicate hard-cheese finishing. Choose a box grater for larger quantities and multiple grating sizes. A fine face on a box grater and a dedicated rasp should not be assumed to make identical results.

Research-based buying guide. Information checked October 16, 2026. We have not tested these products hands-on; published specifications and our buying judgments are identified separately.

rasp zesters

box graters

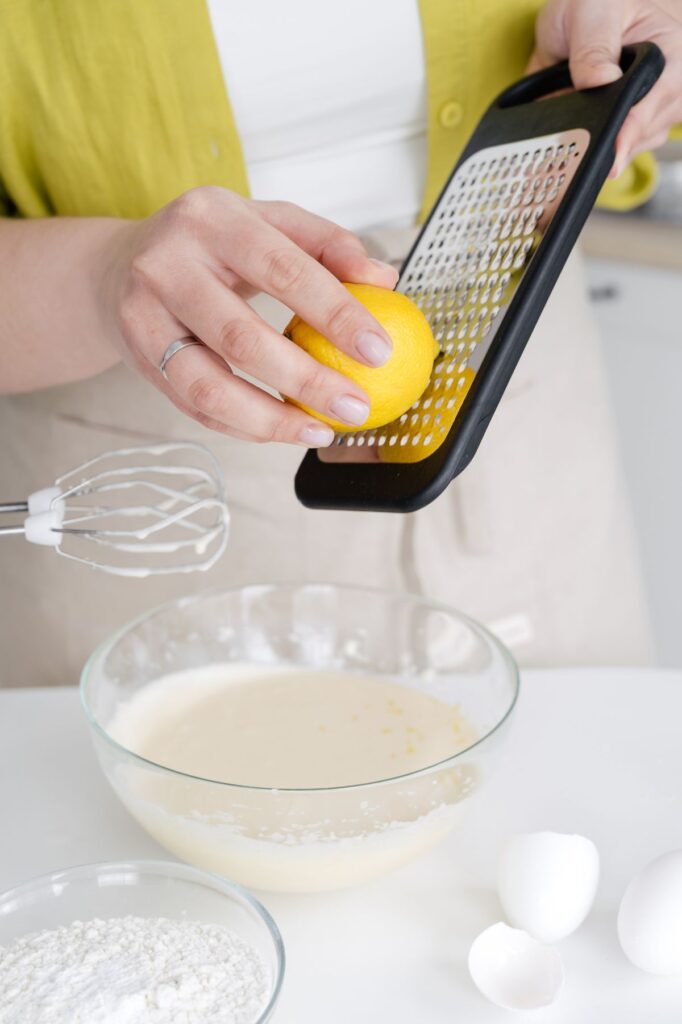
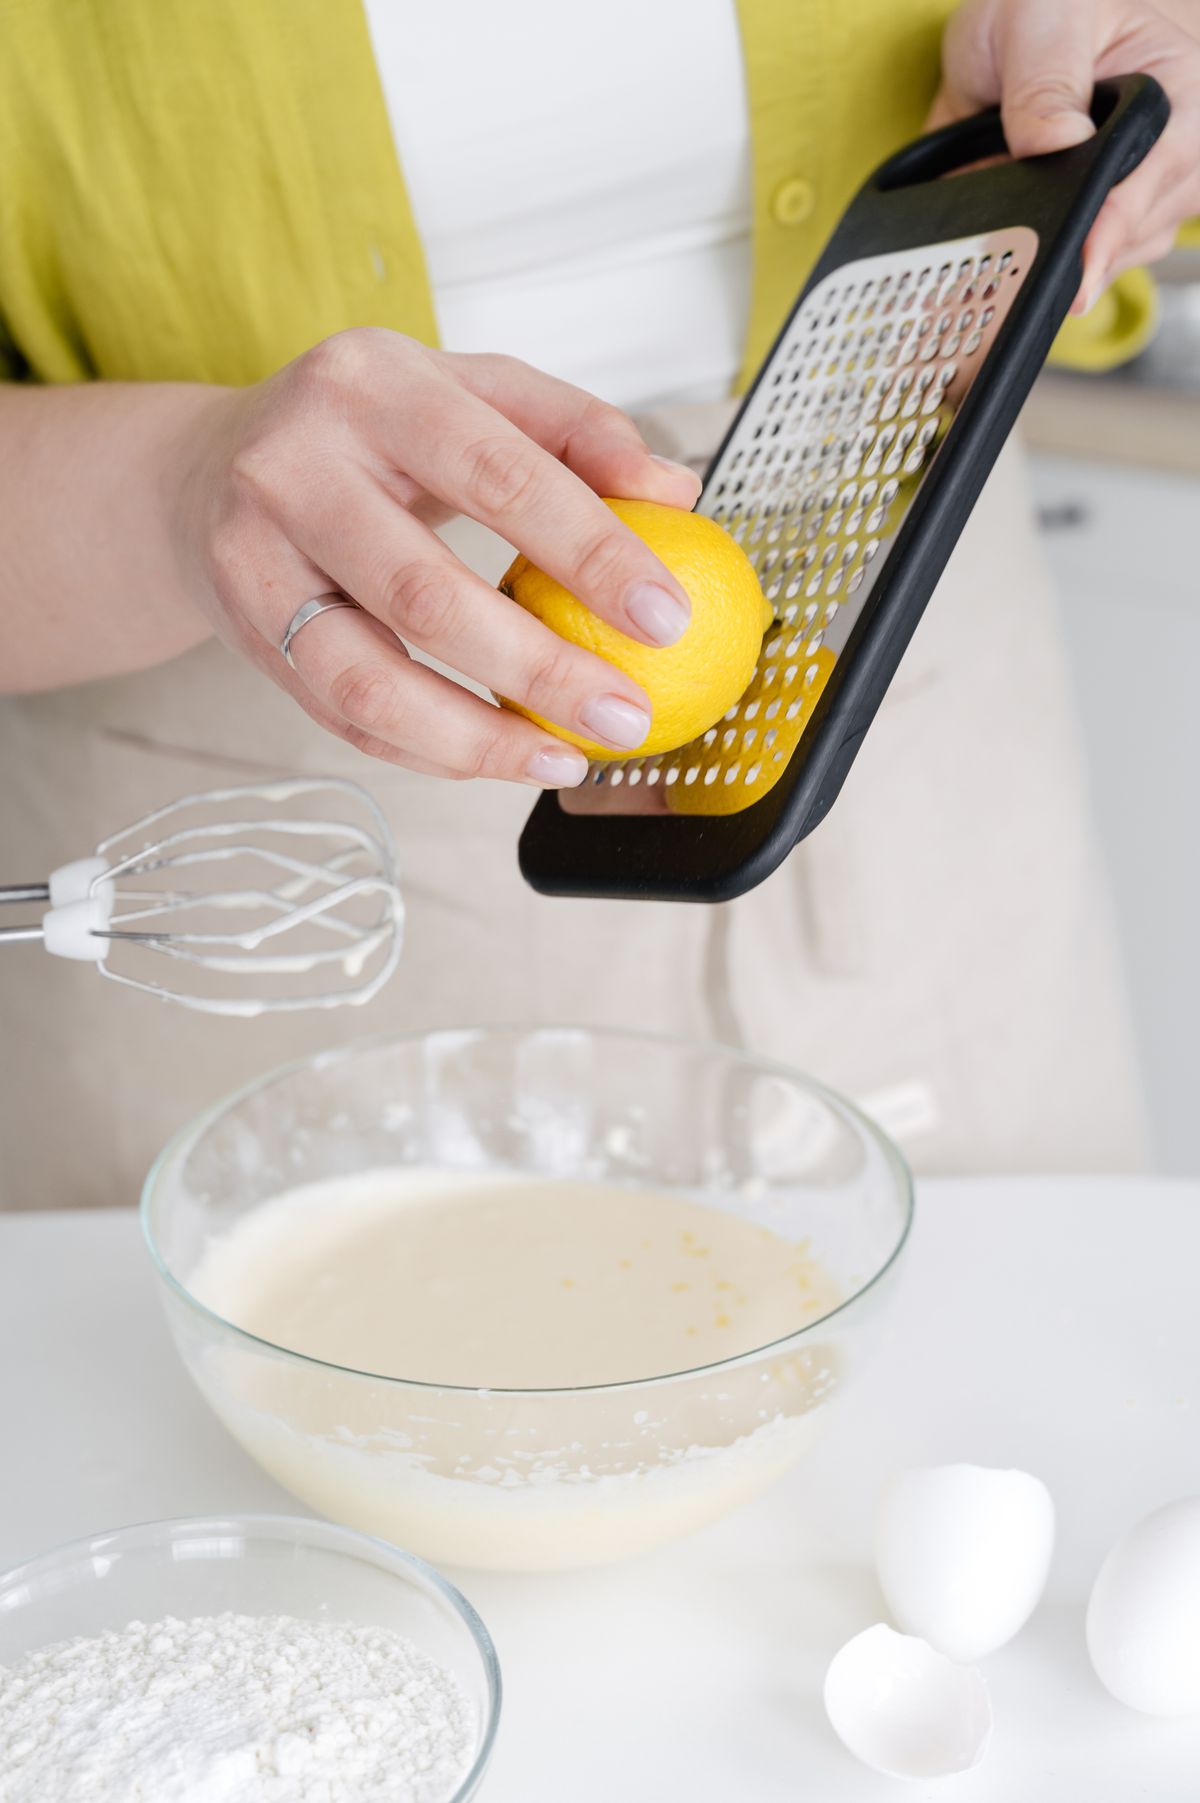
Person grating lemon zest into a bowl
Illustrative zesting photo; not a verified Microplane product. Photo: Pexels.

The most useful grater is the one that produces the size you need without awkward handling. A narrow rasp can finish a plate neatly, while a box grater can process a larger ingredient on a supported surface. Buying one does not necessarily make the other redundant.

Match the tool to the result

Task Rasp zester Box grater
Citrus zest Purpose-built fine grating is useful Check the fine face and handling
Larger cheese or vegetable shreds Not its main purpose Choose a suitable coarse or medium face
Drawer space Check blade cover and length Needs space for a larger body

When a rasp earns the drawer space

Microplane’s Premium Classic is a dedicated zester/grater. A fine rasp can be convenient when a recipe needs zest or a small finishing quantity. Consider how you will hold the tool over a bowl or plate, and check whether its working length fits your storage drawer with the cover on.

The blade pattern matters. Not every slim handheld grater is the same fineness, and the brand name alone does not identify the result. Search the exact blade style before ordering. We have not compared cutting sharpness, output speed or long-term wear hands-on.

When the box grater is the better first buy

OXO’s cited Box Grater provides coarse, medium and fine grating surfaces plus slicing. That range suits a cook who regularly needs several textures rather than just zest. Compare the base stability, handle clearance and whether the working faces are large enough for your ingredients.

A wider tool can be more practical for a bowlful of shreds, but check how you will collect them. An included container may simplify a small batch; it may also be too small for your usual recipe. Count the useful functions, not simply the number of faces.

Cleaning and storage affect the value

Read the cleaning instructions for the selected product. Small food particles can lodge around cutting surfaces, so inspect how you will clean it without dragging fingers across sharp openings. Dishwasher permission and recommended care are not identical questions for every tool.

A protective cover can help keep an exposed rasp from contacting other drawer contents. For a box grater, check the cupboard footprint and the way any container nests. Storing either with knives or loose utensils should follow the product’s guidance rather than a crowded-drawer photograph.

Do you need both?

Buy the rasp first if citrus zest and fine finishing are frequent jobs and you rarely shred larger quantities. Buy the box grater first if meal preparation needs several sizes. Add the second only when your existing tool leaves a clear gap. Replacing a dull or damaged tool can be more worthwhile than accumulating another shape you seldom use.

Compare listings in your country

These buttons open matching Amazon search results, rather than a guaranteed in-stock offer. Confirm the exact model, seller, included parts, delivered price and return terms. Prices and availability can differ between the United States and Canada.

rasp zesters

box graters

Related guides on My Indoor Space

Sources and research

Red cooking pot in a kitchen
Kitchen & Dining

Round vs Oval Dutch Oven: Which Shape Should You Buy?

Disclosure: As an Amazon Associate, My Indoor Space earns from qualifying purchases through links in this article, at no extra cost to you.

Quick verdict

Choose round for an everyday mix of stovetop meals and a straightforward fit on round burners. Choose oval when long roasts or the foods you regularly cook benefit from its shape. Compare full dimensions and capacity; neither shape is automatically the larger or better-value pot.

Research-based buying guide. Information checked October 16, 2026. We have not tested these products hands-on; published specifications and our buying judgments are identified separately.

round Dutch ovens

oval Dutch ovens

Red cooking pot in a kitchen
Illustrative cooking photo; no Le Creuset model is identified. Photo: Pexels.

The right Dutch oven should fit your recipe, burner, oven and cupboard. Shape affects all four. This guide addresses the shape decision; choosing between budget and premium brands is a separate question covered in our related comparison.

Which shape fits your cooking?

Priority Round Oval
Round stovetop burner Usually a straightforward shape match Check how the base sits over the heat
Long food May need more width or a different arrangement Extra length may suit the recipe
Storage Check diameter and handles Check overall length, width and handles

Start with the meals you repeat

For soups, stews and other mixed ingredients, the actual capacity may matter more than shape. For a long cut or a whole bird, the internal dimensions matter. Measure or estimate the food you buy regularly rather than purchasing around a holiday meal you rarely make.

An oval shape is not a substitute for adequate volume. Two similarly named pots may have different capacities and wall profiles. Compare liters or quarts, the usable interior and the room a recipe needs. Filling a pot to its rim is not a practical cooking-capacity test.

Burner fit affects the routine

Le Creuset notes that an oval Dutch oven over a round burner can take longer to heat. Check your cooktop’s instructions and the pan manufacturer’s guidance for sizing and preheating. Some cooking surfaces offer an appropriately shaped or bridged area, but that does not establish compatibility for every pot.

A round pot can also be too large for its intended zone. Look at the base rather than assuming the rim diameter tells the whole story. If you usually cook several dishes at once, set out the pots you use together and assess handle clearance before adding another large vessel.

Check the complete oven and storage footprint

Include both handles and the lid knob when measuring. The pot may fit the shelf while the lid makes it too tall, or the handles may stop a cupboard door closing. Consider how you will lift it when full and where you can place a hot lid safely.

Oven temperature limits depend on the complete product, including the knob and other components. Do not assume a material’s general heat tolerance is the rating of the finished Dutch oven. Follow the exact model’s care and use instructions, including any limitations for empty heating or the broiler.

When is a second shape worthwhile?

Add oval when long food repeatedly fits poorly in your existing round pot. Choose round when one versatile everyday shape is the priority and storage is tight. Keep the shape you already own if its size works for your meals. A different outline alone is a weak reason to buy another heavy piece of cookware.

Compare listings in your country

These buttons open matching Amazon search results, rather than a guaranteed in-stock offer. Confirm the exact model, seller, included parts, delivered price and return terms. Prices and availability can differ between the United States and Canada.

round Dutch ovens

oval Dutch ovens

Related guides on My Indoor Space

Sources and research

Pizza baking inside a home oven
Kitchen & Dining

Baking Steel vs Pizza Stone: Which Upgrade Makes Sense at Home?

Disclosure: As an Amazon Associate, My Indoor Space earns from qualifying purchases through links in this article, at no extra cost to you.

Quick verdict

Consider steel when pizza is the main job and you accept its weight, care and faster heat transfer. Consider a suitable stone when weight, budget or a gentler baking surface matters more. Check your oven’s instructions and the accessory’s fit before choosing either.

Research-based buying guide. Information checked October 16, 2026. We have not tested these products hands-on; published specifications and our buying judgments are identified separately.

baking steels

pizza stones

Pizza baking inside a home oven
Illustrative oven photo; no baking steel or stone performance test is shown. Photo: Pexels.

A preheated baking surface can change how heat reaches the base of a pizza. But a heavier or more expensive slab is not automatically the right upgrade for every oven or recipe. Decide whether you mostly bake thin pizzas, thicker pan styles or other bread before choosing.

The useful comparison

Question Baking steel Baking stone
Heat transfer Typically transfers heat into dough faster Generally a gentler transfer than steel
Handling Check substantial weight and edges Check weight and fracture precautions
Care Follow rust and seasoning guidance Follow cleaning and temperature-change guidance

Why steel can appeal to pizza makers

The manufacturer Baking Steel emphasizes steel’s conductivity as its main advantage. Faster transfer to the dough can help a pizza base brown in a home oven. That is a reason to consider the material, not a promise of the same result with every dough thickness or oven setting.

Steel also changes the balance between the base and toppings. If the underside finishes before the top, copying a previous stone routine may give a poor result. Follow the product’s starting guidance and adjust the recipe method thoughtfully. We have not conducted side-by-side baking tests on these products.

When a stone is enough

A stone remains a sensible option for a cook who wants a suitable baking surface without committing to a heavy steel. A stone that already gives the crust you like does not need replacing merely because a faster-conducting product exists.

Choose a product intended for your oven and baking task. Stone compositions and thicknesses differ, and temperature-change precautions are product-specific. Read the instructions before deciding how to preheat, clean or store it. Avoid assuming any slab of tile or stone is an equivalent cooking accessory.

Weight and oven fit can decide the purchase

Measure the oven rack and the required space around the accessory. Check the oven manual for restrictions and rack loading. A surface that nearly fills the cavity may interfere with circulation or be awkward to lift out. Do not use the oven floor as an alternative unless the appliance explicitly permits it.

Think through the storage route with the accessory cold: cupboard, counter and oven. The thicker choice may hold more heat, but it can also be harder to handle and slower to cool. Avoid buying a heavy model you will not want to move for ordinary meals.

What deserves the extra money?

Pay for steel when a specific pizza-baking goal justifies the cost and handling. Choose a suitable basic stone when it meets your needs. Include any necessary peel, storage space and care supplies in the comparison. If your existing pan or stone produces results you enjoy, improve the recipe and routine before buying another large accessory.

Compare listings in your country

These buttons open matching Amazon search results, rather than a guaranteed in-stock offer. Confirm the exact model, seller, included parts, delivered price and return terms. Prices and availability can differ between the United States and Canada.

baking steels

pizza stones

Related guides on My Indoor Space

Sources and research

Cook using a frying pan on a stove
Kitchen & Dining

Carbon Steel vs Stainless Steel Skillet: Which Should You Buy First?

Disclosure: As an Amazon Associate, My Indoor Space earns from qualifying purchases through links in this article, at no extra cost to you.

Quick verdict

Choose stainless steel first for a broad mix of recipes, especially acidic sauces and deglazing. Choose carbon steel when you want a seasoned cooking surface and will maintain it. Neither choice makes heat control or cooking technique unnecessary.

Research-based buying guide. Information checked October 16, 2026. We have not tested these products hands-on; published specifications and our buying judgments are identified separately.

carbon steel skillets

stainless steel skillets

Cook using a frying pan on a stove
Illustrative cooking photo; the pan is not a verified comparison model. Photo: Pexels.

Both materials can earn a place in a home kitchen, but they ask different things of the cook. The useful question is not which pan a restaurant uses. It is which surface suits the meals you make and the cleaning routine you will actually follow.

Compare the daily trade-offs

Decision Carbon steel Stainless steel
Surface care Maintain seasoning and dry as directed No seasoning layer needed
Acidic sauces Check maker’s restrictions Often the more practical starting point
Construction Thickness and handle vary Cladding, base and handle vary

When stainless steel is the better first purchase

If a typical meal involves tomatoes, wine or a pan sauce, stainless can fit the routine more easily. de Buyer specifically advises against acidic preparations in its seasoned steel because they can damage the seasoning. That is a meaningful limitation for a pan you want to use for everything.

Stainless steel is also a construction category, not one uniform product. All-Clad describes several bonded designs with different conductive layers. Compare the actual skillet’s build and care instructions. A similar-looking thin pan and a fully clad pan should not be expected to behave identically simply because both have stainless cooking surfaces.

When carbon steel earns its place

A seasoned carbon steel skillet can suit cooks who enjoy managing a cooking surface and mostly want a pan for suitable frying, searing and browning tasks. The seasoning is part of the ownership routine. Read the first-use preparation carefully; coatings and manufacturer instructions vary.

Do not treat the surface as a maintenance-free nonstick coating. Drying, storage and the maker’s recommended cleaning method matter. A changing patina is expected on many seasoned pans, but any problem should be assessed against the manual rather than an online photograph of a perfectly black pan.

Compare size and handling fairly

Use the flat cooking area, not only the rim diameter, to judge capacity. Sloping sides can make two nominally equal sizes hold different amounts of food in contact with the base. Consider the handle length and whether you can maneuver the full pan comfortably at the sink.

Check the complete pan’s oven rating, including the handle, and compatibility with your cooktop. A material’s general reputation does not establish every model’s limits. For induction, compare the manufacturer’s requirements and the cooktop’s usable zone size rather than buying from the word “steel” alone.

Is the second pan worth buying?

Add carbon steel if you already have a versatile pan and want a seasoned option for specific tasks. Add stainless if acidic meals and sauces are awkward in your current collection. Keep a serviceable skillet if it cooks your usual meals well; buying the other material is worthwhile only when it fills a clear gap.

Compare listings in your country

These buttons open matching Amazon search results, rather than a guaranteed in-stock offer. Confirm the exact model, seller, included parts, delivered price and return terms. Prices and availability can differ between the United States and Canada.

carbon steel skillets

stainless steel skillets

Related guides on My Indoor Space

Sources and research

Bread slices in a kitchen toaster
Kitchen & Dining

Long-Slot vs Four-Slot Toaster: Which Fits Your Bread?

Disclosure: As an Amazon Associate, My Indoor Space earns from qualifying purchases through links in this article, at no extra cost to you.

Quick verdict

Choose long slots for wide bakery slices that do not fit standard openings. Choose four individual slots when ordinary slices and separate browning controls suit the household. “Four-slice” describes capacity, not the number or length of the openings.

Research-based buying guide. Information checked October 16, 2026. We have not tested these products hands-on; published specifications and our buying judgments are identified separately.

long-slot toasters

four-slot toasters

Bread slices in a kitchen toaster
Illustrative toaster photo; slot dimensions and brand are not verified. Photo: Pexels.

A four-slice toaster may have two long openings or four shorter ones. Both can serve a family breakfast, but only one may accept your favorite sourdough without trimming it. Before choosing, measure a typical slice from the loaf you buy most often, including its thickness.

Which layout solves your problem?

Your priority Long slots Four individual slots
Wide bakery bread Useful when actual slot length is sufficient May require shorter slices
Different browning preferences Check whether slots share one control Look for independently controlled pairs
Counter shape Often a longer footprint Often a wider footprint; measure the model

Measure the opening, not the serving claim

Breville describes its BTA730 A Bit More as a long-slot four-slice design. That illustrates why capacity alone is an unreliable filter. Check usable length, width and depth in the listing or manual. Extra-wide does not mean extra-long, and a deep opening can make small slices awkward to retrieve.

Compare the size of bagels, dense bread and ordinary sandwich slices separately. A high-lift function can help with shorter pieces, but use only the retrieval method specified in the instructions. Do not force oversized bread into the slot or improvise with metal utensils.

Separate controls can be more valuable than extra capacity

If two people want different browning levels, independent controls can reduce the need to reset the dial between batches. Four slots do not guarantee that feature: examine the control panel and manual. For one person making two similar slices, a larger toaster may add footprint without saving much time.

Likewise, frozen and bagel modes vary by model. A bagel label is not proof of identical heating behavior across brands. Choose functions you will use, then assess real-world performance through a returnable purchase. We have not tested browning uniformity or compared successive batches on these products.

Plan where the toaster will operate

Mark the full base dimensions on the counter and check the manufacturer’s operating clearances. Consider the crumb tray’s removal direction, access to the plug and space for the lever. A toaster that fits beneath a cupboard for storage may need to move before use.

Include cleaning access in the decision. A tray that pulls out toward a wall can be inconvenient even in an otherwise compact layout. Choose a cord arrangement that reaches the intended outlet without creating an awkward route across the work area.

When is the upgrade worth it?

Pay for long slots when you regularly cut down bread to make it fit. Pay for four independently controlled openings when simultaneous different preferences are the problem. Keep a smaller working toaster if breakfast is usually one or two standard slices. The right capacity is the capacity you use, not the largest number on the box.

Compare listings in your country

These buttons open matching Amazon search results, rather than a guaranteed in-stock offer. Confirm the exact model, seller, included parts, delivered price and return terms. Prices and availability can differ between the United States and Canada.

long-slot toasters

four-slot toasters

Related guides on My Indoor Space

Sources and research

Scroll to Top