DIY & Decorating

Approachable decorating ideas and small DIY upgrades with a big impact.

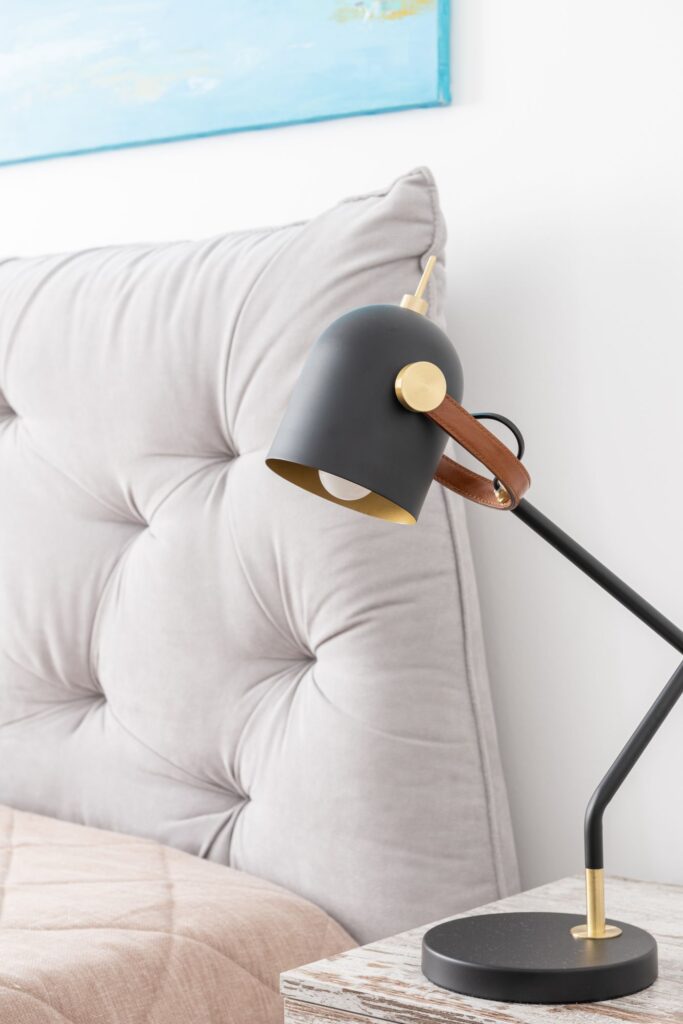
Lamp and bedside table beside a bed
DIY & Decorating

Is the Umbra Casa Tissue Box Cover Worth It?

Disclosure: As an Amazon Associate, My Indoor Space earns from qualifying purchases.

Quick verdict

Umbra Casa is worth buying for its playful appearance if your usual cube tissue box fits beneath it and the chimney dispenses comfortably. It disguises packaging rather than solving a storage shortage. Keep the box uncovered when easy refilling, minimal height or the lowest cost matters more than the decorative shape.

Research-based buying guide. Checked October 17, 2026. We have not tested these products hands-on. Manufacturer information, attributed external findings and our editorial judgments are distinguished below.
Lamp and bedside table beside a bed
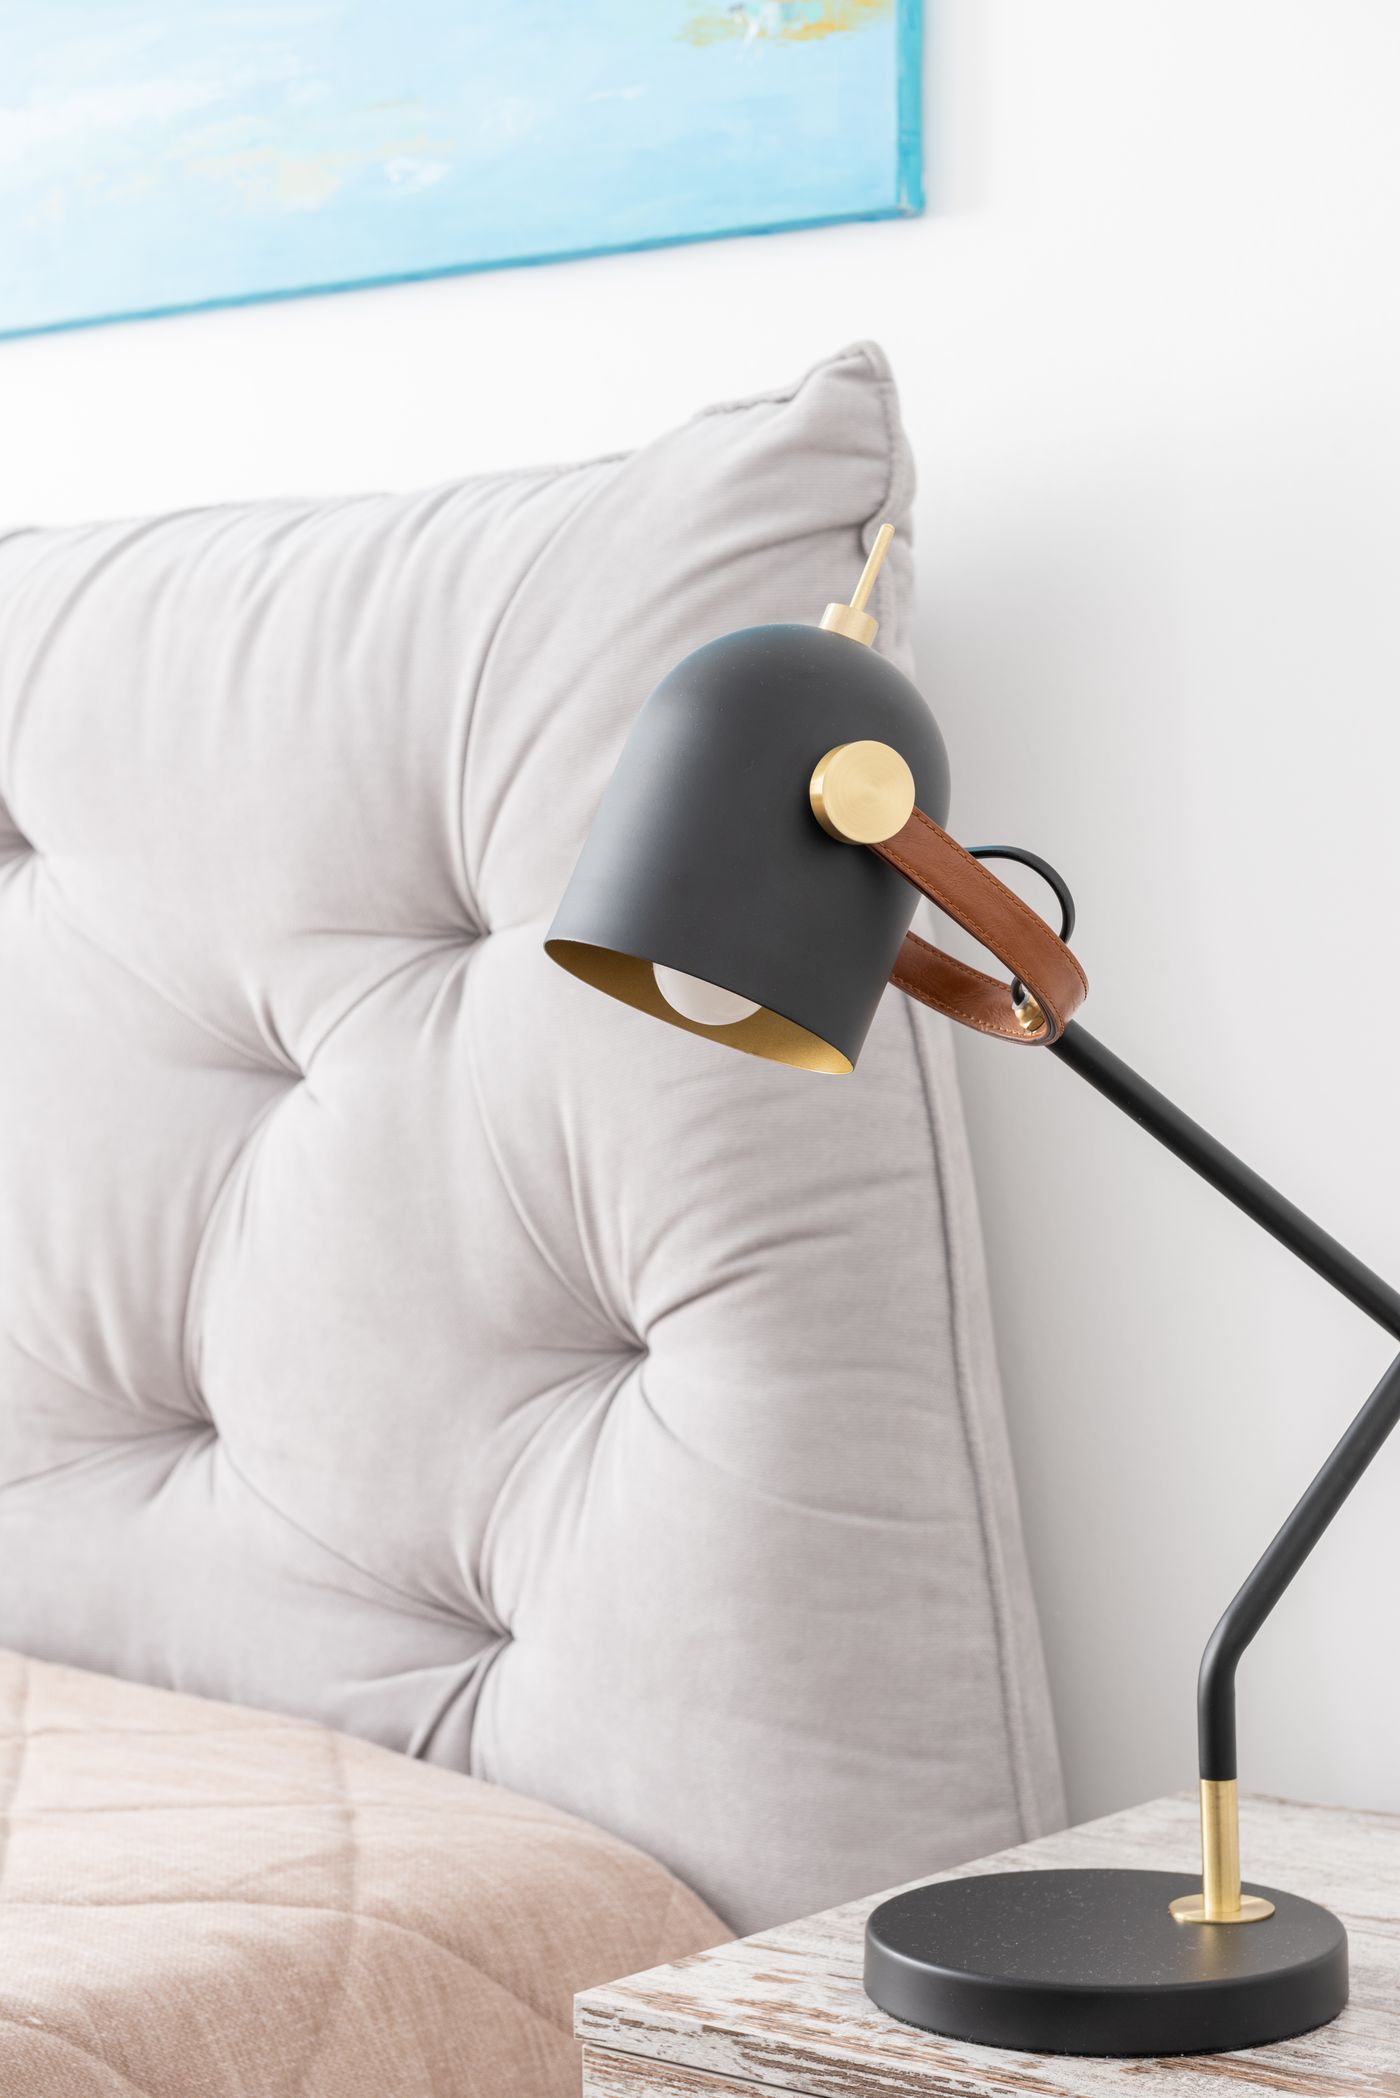
Bedside-table context; the Umbra Casa cover is not pictured. Stock photo: Pexels.

Which option fits your routine?

Choice Choose it for Tradeoff
Umbra Casa A house-shaped cover for a suitable cube box Added height and another surface to wipe
Uncovered tissue cube Immediate access and no extra purchase Visible packaging
Rectangular cover A different box format Casa’s cube shape will not suit it

Measure the box you actually buy

Umbra describes Casa as a cover for standard boutique, cube-shaped tissue boxes. The manufacturer lists approximately 13 by 13cm across and 17cm high. Treat those as overall product dimensions rather than a promise that every brand’s cube fits inside.

Check your regular refill box against the available internal clearance or ask the seller for it. A decorative cover becomes inconvenient if it requires changing tissue brands or compressing boxes at each refill. Rectangular family boxes require a different format.

The chimney is the main design feature

Casa routes the top tissue through a small chimney so it resembles smoke above a house. Umbra instructs users to remove the plastic at the tissue-box opening and feed the first tissue through before placing the cover. This is a cover, not a container that supplies tissues by itself.

That extra setup is small, but repeated. Consider whether everyone in the household will find it intuitive after replacing a box. We have not tested pulling force, one-handed dispensing or compatibility with every tissue thickness, so do not assume its appearance guarantees effortless retrieval.

Look at the whole bedside or bathroom surface

A cube may fit on a narrow shelf while the roof occupies space above it. Leave room for fingers to grasp the tissue and for the next one to emerge. Avoid buying only from a front-facing photograph when the cover will sit beneath a cabinet or beside a lamp.

The visual benefit is strongest when you dislike packaging in an otherwise settled room. If your table is already crowded, removing unused objects may help more than adding another cover. Casa organizes the look of one item, not the number of items on the surface.

Care is simple, but still another task

Umbra specifies durable polypropylene and cleaning with a damp cloth. Check the chimney and roof contours as well as the flat sides. Keep the underlying tissue package dry and follow the supplied care instructions rather than assuming the cover waterproofs the contents.

A bathroom location with frequent splashes may not be ideal for any exposed tissue opening. Decide where the cover will live before buying. We have not tested stain resistance, drop durability or how the white finish changes with long-term use.

Our buying decision

Buy Casa when the box fits, there is overhead clearance and you enjoy the design enough to pay for it. Compare the delivered price of a single cover, verify the white color variant and remember that tissues are a separate consumable.

Skip it when the existing box is easy to use and its print does not bother you. A plain cover may fit your room better, and leaving the box uncovered remains the cheapest sufficient option. This purchase is about a preferred decorative detail rather than a household necessity.

Buying in the United States or Canada

Choose the button for your country and compare the exact model, included parts, seller, delivered cost and return terms. Offers and replacement-part availability can differ between Amazon USA and Canada. Confirm regional manufacturer support before relying on a guarantee for an imported product. We do not promise stock, a fixed price or delivery to every address.

Related guides on My Indoor Space

Sources and research

Specifications establish stated features, not independent proof of performance. We base our value judgments on the task, fit, upkeep and alternatives. External experiences are attributed to their sources; no personal testing or measured savings is claimed.
Living room with an area rug on wood flooring
DIY & Decorating

Furniture Sliders vs Felt Pads: Choose for Your Floor and Job

Disclosure: As an Amazon Associate, My Indoor Space earns from qualifying purchases.

Quick verdict

Choose a slider specifically made for your floor when repositioning furniture is the task. Choose properly fitted felt pads for compatible hard-floor contact points such as chair legs. Keep sound existing pads and replace the ones that are worn or no longer secure.

Research-based buying guide. Checked October 17, 2026. We have not tested these products hands-on. Manufacturer specifications, attributed external tests, and our buying judgments are distinguished below.

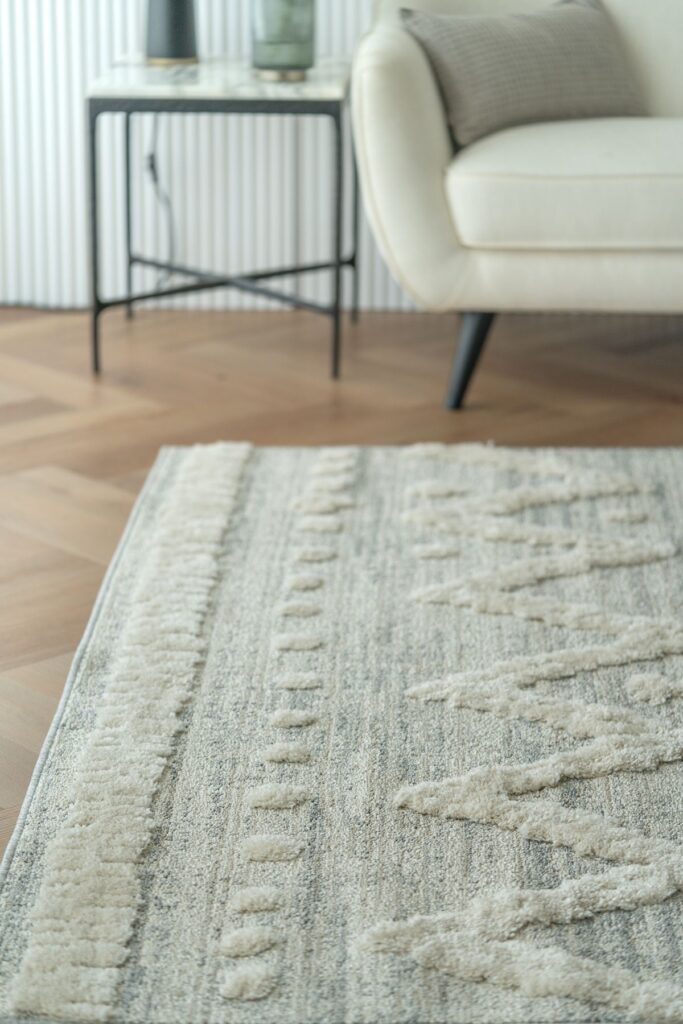
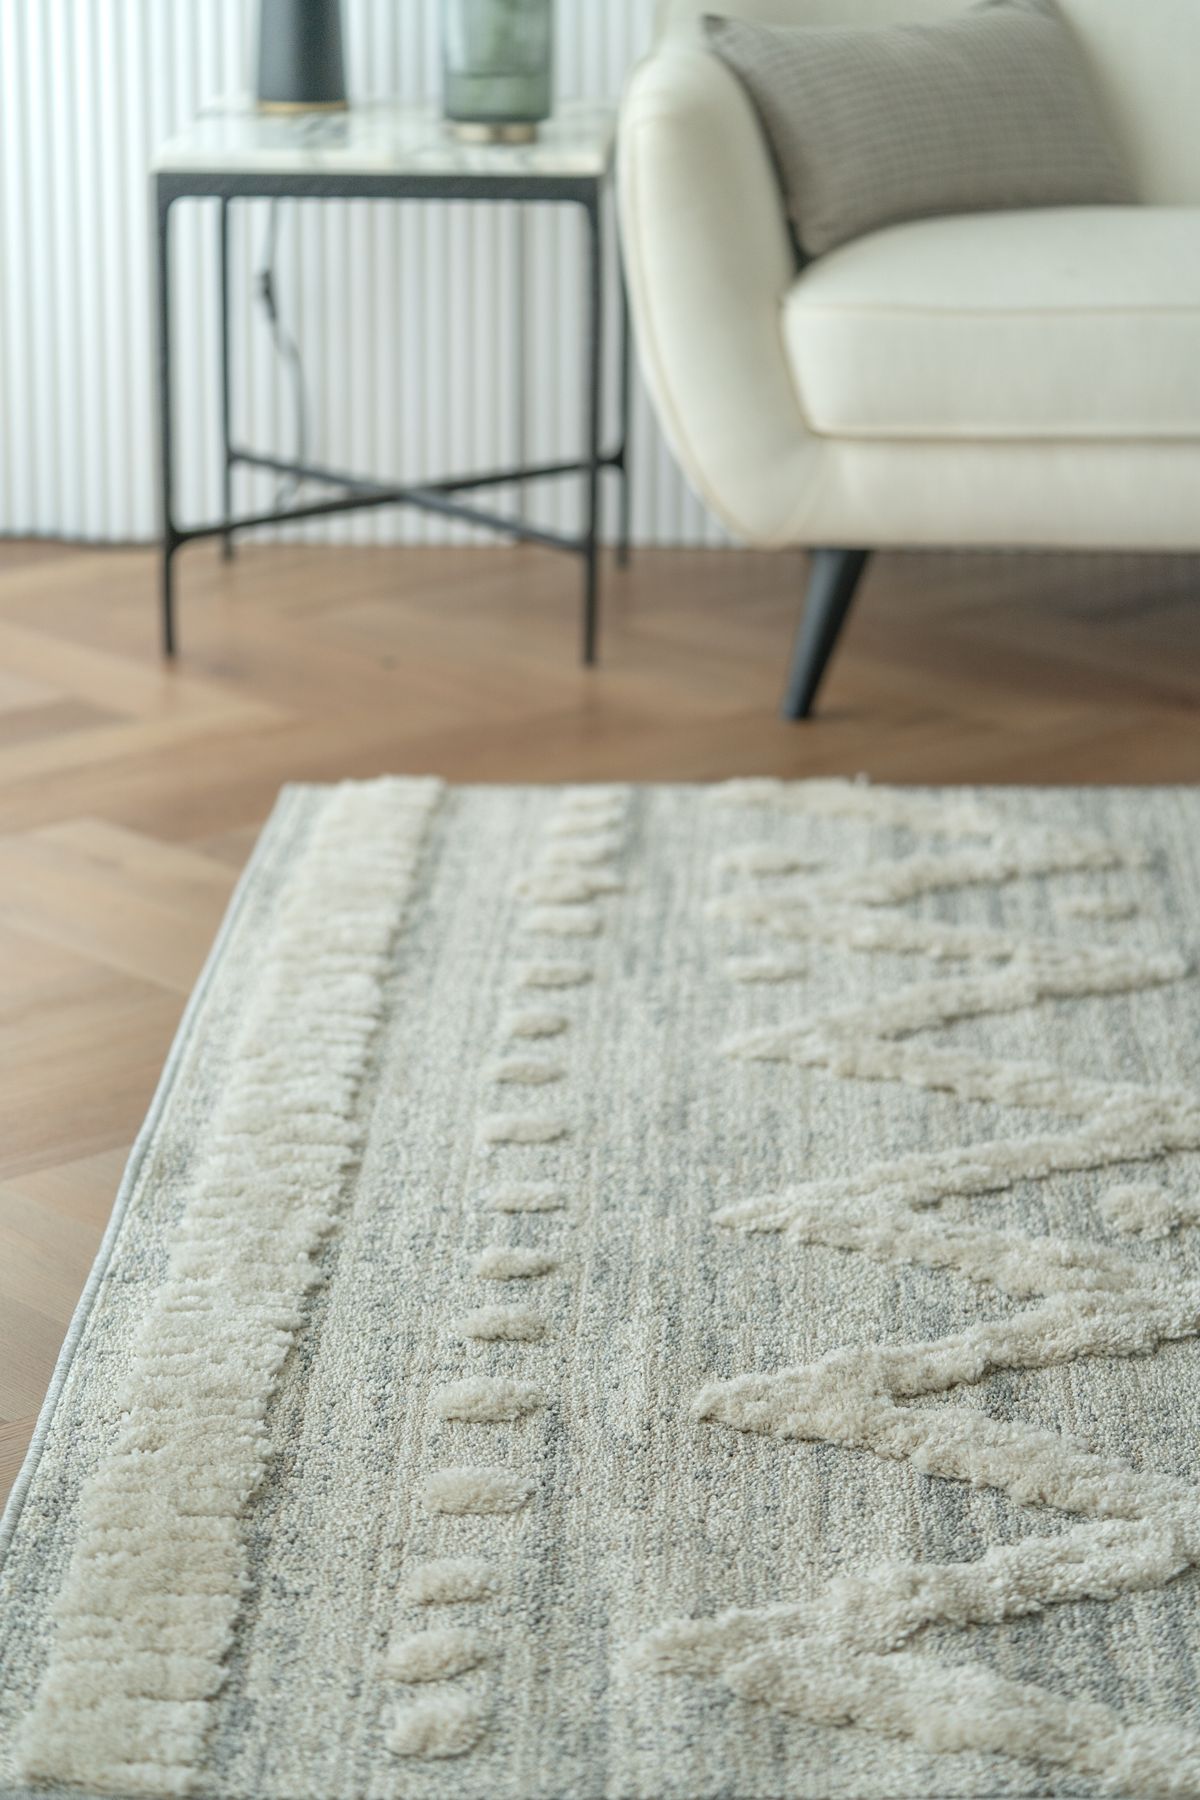
Living room with an area rug on wood flooring
Stock photo for context; the named products are not pictured.

Which choice fits your routine?

Choice Best reason to choose it Main tradeoff
Adhesive felt pads Ongoing contact protection on suitable hard floors Need correct fit, clean contact, and inspection
Smooth carpet sliders Moving furniture across compatible carpet Do not assume the same underside suits hard floors
Felt-faced hard-floor movers A separate moving format for hard surfaces Check the actual product and floor instructions

A slider is not one universal material

Scotch separates smooth sliders for carpet from felt-faced furniture movers for hard floors. Its adhesive felt pads are another product type. The linked example is a pack of sixteen round 1-inch Scotch SP801-NA pads, not a reusable moving-slider kit.

That distinction prevents a common buying mistake: choosing by the word “slider” without checking the underside and intended surface. A pad for everyday chair movement and a large mover used to reposition a sofa can have different purposes even when both reduce friction.

Match the contact area before buying a pack

Look at each furniture foot and measure the flat area where a pad would attach. The pad needs to suit that shape and size, not merely the number of chair legs. A tiny pad under a broad foot or a protruding pad on a narrow foot can be a poor fit.

Follow the maker’s preparation instructions for a clean, suitable attachment surface. An adhesive pad does not correct a damaged, uneven, or loose furniture foot. Check that the furniture remains stable after fitting anything beneath it, particularly if the piece has different leg shapes.

Floor condition and maintenance still matter

Read the flooring maker’s guidance for protectors and furniture movement. Keep the contact surfaces clear of grit and inspect pads as they wear. We have not tested scratch prevention on individual finishes, and no pad should be treated as a guarantee against damage in every condition.

For a moving task, choose the appropriate kit and follow the furniture and slider instructions, including any load restrictions. These accessories do not make an unstable heavy item safe to handle or remove the need for an appropriate moving method. Do not drag furniture just because a package says it moves easily.

Buy for a recurring problem or a planned move

Choose adhesive pads when compatible chair or table contact points need them. Choose a moving kit when you have an actual repositioning task on a known floor. Skip a large variety pack if most shapes will be left unused in a drawer.

Our verdict is that neither format replaces the other automatically. The best-value purchase matches surface, foot shape, and job. If the existing pads are secure, clean, and sound, inspect and maintain them rather than replacing the set simply to buy another brand.

Buying in the United States or Canada

Compare pads per pack and the number of matching contact points you need. A sixteen-pad pack and a reusable four-piece moving kit are not equivalent quantities or functions, even if their headline prices are close.

Use the button for your country and compare the exact model, size, included parts, seller, delivered price, and return terms before ordering. U.S. and Canadian offers can differ. Check regional warranty eligibility with the manufacturer or seller, especially for imported marketplace offers; a brand guarantee does not establish identical coverage from every seller.

Questions before buying

Are the linked pads the same as smooth carpet sliders?

No. The buttons link to adhesive round felt pads for compatible hard-surface protection.

Do felt pads last indefinitely?

No fixed lifespan is established here. Inspect fit, adhesion, wear, and trapped grit according to use and maker guidance.

Related guides on My Indoor Space

Sources and research

Manufacturer pages establish stated specifications and care; retailer listings identify the linked offers. Buying recommendations and comparisons are our editorial assessment. We do not claim personal testing, measured performance, or long-term durability.

Living room window with curtains and outdoor view
DIY & Decorating

Tension vs Bracket-Mounted Curtain Rod: Which Fits Your Window?

Disclosure: As an Amazon Associate, My Indoor Space earns from qualifying purchases.

Quick verdict

Choose tension when the window opening suits it and the exact rod is rated for your curtain load. Choose brackets when you need an installation outside the opening or another mounting arrangement. Keep an existing sound rod that already supports your panels properly.

Research-based buying guide. Checked October 17, 2026. We have not tested these products hands-on. Manufacturer specifications, attributed external tests, and our buying judgments are distinguished below.

Living room window with curtains and outdoor view
Stock photo for context; the named products are not pictured.

Which choice fits your routine?

Choice Best reason to choose it Main tradeoff
Tension rod Fits between suitable opposing surfaces Opening, surface, and curtain load must suit it
Bracket-mounted rod Placement beyond or above the window opening Needs appropriate fixings and mounting permission
Existing rod It fits, operates smoothly, and supports the load Replacement may only change the finish

Two different mounting arrangements

The linked Umbra Chroma tension example adjusts from 36 to 54 inches and mounts inside a suitable opening without separate brackets. The selected Cappa listing adjusts from 36 to 72 inches and includes wall brackets, finials, screws, and anchors. Those are different installation choices, not interchangeable versions of one rod.

An inside-mounted curtain remains within the opening. A bracket installation can allow the rod to extend beyond it, depending on placement and the instructions. If clearing the glass when panels are open is your goal, sketch the curtain’s parked position as well as the rod’s length.

Curtain weight and surfaces come before finish

Weigh the complete curtain arrangement, including relevant hanging hardware, and check the exact rod’s rating. Do not apply a rating from a longer rod or newer Cappa diameter to the selected version. A product family can contain different spans, diameters, supports, and limits.

For tension, examine whether the opposing surfaces are level, sound, and suitable for the rod ends. No-drill does not guarantee no marks on every finish. For brackets, use fixings appropriate to the wall and follow the required support layout rather than treating the supplied anchors as universal.

Measure more than the glass

Measure the clear inside span for tension and the planned mounting span for brackets. Then check obstructions such as handles, blinds, trim, and the curtain header. Grommet size or a tight rod pocket can make the right-length rod inconvenient to use.

In a rental, confirm which mounting method is allowed before ordering. A tension rod can be an attractive option when holes are restricted, but it still has to fit the opening and curtain load. If the curtains are unsuitable for the available no-drill setup, changing panels may be part of the decision.

The better-value purchase depends on placement

Buy tension for a compatible opening and a curtain arrangement within its stated limits. Buy brackets when the intended panel position needs them and the wall can support a correct installation. Skip a replacement when the current setup already gives the light control and movement you need.

Our verdict is to choose the mounting geometry first, then the exact size and finish. Add the cost of suitable fixings or any required support to the bracket option. Do not buy the cheapest advertised length before checking the full span you intend to cover.

Buying in the United States or Canada

Compare rods covering your required span, with the same number of rods and included supports. The selected 36–54-inch and 36–72-inch examples overlap in some applications, but they do not cover identical openings.

Use the button for your country and compare the exact model, size, included parts, seller, delivered price, and return terms before ordering. U.S. and Canadian offers can differ. Check regional warranty eligibility with the manufacturer or seller, especially for imported marketplace offers; a brand guarantee does not establish identical coverage from every seller.

Questions before buying

Is the Cappa listing the newer 1-inch 36–66-inch model?

The selected offer is the 36–72-inch version. Check its own diameter, model, and instructions; do not transfer specifications from another Cappa variant.

Does tension guarantee no wall damage?

No. Surface condition, pressure, installation, and removal matter. Follow the exact product instructions.

Related guides on My Indoor Space

Sources and research

Manufacturer pages establish stated specifications and care; retailer listings identify the linked offers. Buying recommendations and comparisons are our editorial assessment. We do not claim personal testing, measured performance, or long-term durability.

Calendar and notebook arranged on a desk
DIY & Decorating

Thermal Laminator vs Self-Sealing Pouches: Which Is Worth Buying?

Disclosure: As an Amazon Associate, My Indoor Space earns from qualifying purchases through links in this article, at no extra cost to you.

Quick verdict

Choose self-sealing pouches for a few items when you want to avoid buying a machine. Consider a thermal laminator for repeated batches that fit its pouch and width limits. Both methods are permanent, so use copies when the original needs to remain unaltered.

Research-based buying guide. Information checked October 16, 2026 (Winnipeg). We have not tested these products hands-on; source findings and our buying judgments are identified separately.

Scotch TL901X thermal laminator

Scotch letter self-sealing pouches

Calendar and notebook arranged on a desk
Paper-planning context; no laminator, finished laminate or performance test is pictured. Stock photo: Pexels.

A thermal laminator and self-sealing pouches protect frequently handled paper through different workflows. The thermal system adds a machine, power and compatible heated pouches. Self-sealing products use an adhesive process without a laminator. Decide how many items you expect to finish before buying the hardware.

Compare the complete system

Question Thermal laminating Self-sealing pouches
Machine required? Yes No
Consumable Compatible thermal pouch Adhesive self-sealing pouch
Likely buying reason Repeated batches A few occasional items

When a thermal machine earns its cost

The cited Scotch TL901 page shows TL901X packaging and lists a nine-inch width limit, two heated rollers and pouches up to five mil thick. Match the exact selected model and supplied instructions, since similar names can appear across packages and generations.

That setup can make sense for repeated household signs, activity sheets or craft projects. Check both document size and the complete pouch width. A letter document fitting on your desk does not establish that every larger pouch will enter a nine-inch machine.

When self-sealing is enough

Scotch’s letter self-sealing pouch page specifies items up to 8.5 by 11 inches and no machine requirement. That is attractive when you want to finish a handful of signs without finding a place for another powered appliance.

Work through the manufacturer’s alignment and sealing instructions before starting with a valuable item. We have not tested bubbles, finish clarity or adhesion. A machine-free process still needs careful positioning; it does not make a misaligned document reversible.

Keep the pouch types separate

Do not put adhesive self-sealing pouches through a thermal machine unless both products’ instructions explicitly permit it. The two formats are different systems. Likewise, an ordinary unheated sleeve does not become permanently laminated simply because it looks like a thermal pouch.

The cited thermal unit requires a suitable grounded 120-volt outlet, and 3M says not to use a voltage or outlet converter. Consider where you will operate it and leave the working clearance required by its manual. Include compatible replacement pouches in the purchase cost.

Who should buy or skip?

Compare the machine plus the pouches needed for your actual batch against the equivalent self-sealing pack. Avoid inventing a universal break-even count: pack prices, thickness, item size and how often you use the machine change the result.

Buy thermal for a repeated compatible workflow; buy self-sealing for occasional items. Skip permanent lamination when you need to update the paper regularly or preserve an original without alteration. A reusable document sleeve may already solve that job. Neither option is presented here as a tested winner for archival preservation or submersion resistance.

Compare listings in your country

These buttons open matching Amazon search results, rather than a guaranteed in-stock offer. Confirm the exact model, seller, included parts, delivered price and return terms. Prices and availability can differ between the United States and Canada.

Scotch TL901X thermal laminator

Scotch letter self-sealing pouches

Related guides on My Indoor Space

Sources and research

Armchair and lamp in a reading corner
DIY & Decorating

Floor Lamp vs Plug-In Wall Light: Which Fits a Reading Corner?

Disclosure: As an Amazon Associate, My Indoor Space earns from qualifying purchases through links in this article, at no extra cost to you.

Quick verdict

Choose a floor lamp when you want to move the reading light without mounting it. Choose a plug-in wall or suitable clamp light when freeing floor space matters and you have an approved attachment point. Placement and the right bulb can matter more than buying the larger fixture.

Research-based buying guide. Information checked October 16, 2026 (Winnipeg). We have not tested these products hands-on; source findings and our buying judgments are identified separately.

Adjustable reading floor lamps

Plug-in wall/clamp reading lights

Armchair and lamp in a reading corner
Illustrative reading area; no IKEA lamp or illumination test is shown. Photo: Pexels.

The first step is choosing where the light needs to arrive while you sit normally. A floor lamp and a wall or clamp fixture reach that position differently. Compare aiming, switch access and furniture clearance before deciding which design looks more substantial.

Compare the complete placement

Question Floor lamp Plug-in wall/clamp light
Attachment Base occupies floor space Needs a suitable mounting or clamp point
Moving the reading chair Fixture can move with it Position constrained by attachment
Example bulb check HEKTAR uses specified E26 bulb RANARP uses specified E12 bulb

When the floor lamp is enough

The referenced HEKTAR has a roughly 13-inch base diameter and a height of about 71 inches. These are useful measurements when deciding whether it fits beside a chair without occupying a walking route or interfering with a side table.

Check the shade position and cord path in the actual room. A tall fixture is not proof that its light lands on the page where you want it. We have not tested illumination, glare or stability for this comparison.

When a wall or clamp light earns its place

The RANARP example provides a wall/clamp form without requiring it to stand on the floor. It can suit a tight corner when you have an appropriate surface and will follow the selected installation instructions.

Plug-in refers to the power connection, not permission to attach the lamp anywhere. Check the clamp opening, support surface or required wall fixings and what mounting is allowed in your home. A hardwired fixture is a different installation category from the plug-in products compared here.

Bulb and switch are part of the price

IKEA lists the bulbs separately for the cited examples, and the bases differ: E26 versus E12. Add the appropriate bulb to the total and stay within the lamp’s electrical and fitting requirements. Do not order one bulb type for both simply because the fixtures share a retailer.

Choose brightness, light direction and any dimming around the task. If you need dimming, confirm compatibility across the fixture, bulb and control. A smart plug can switch a compatible load on and off; it does not automatically add dimming to an ordinary lamp.

Who should buy or skip?

Buy the floor lamp for flexible positioning with enough base space. Choose the plug-in wall/clamp option for a verified attachment and useful aiming. Keep an existing lamp if repositioning it and selecting a suitable bulb solve the problem. The Amazon buttons compare fixture categories; the IKEA examples illustrate fit and bulb differences rather than guaranteeing identical listings.

Compare listings in your country

These buttons open matching Amazon search results, rather than a guaranteed in-stock offer. Confirm the exact model, seller, included parts, delivered price and return terms. Prices and availability can differ between the United States and Canada.

Adjustable reading floor lamps

Plug-in wall/clamp reading lights

Related guides on My Indoor Space

Sources and research

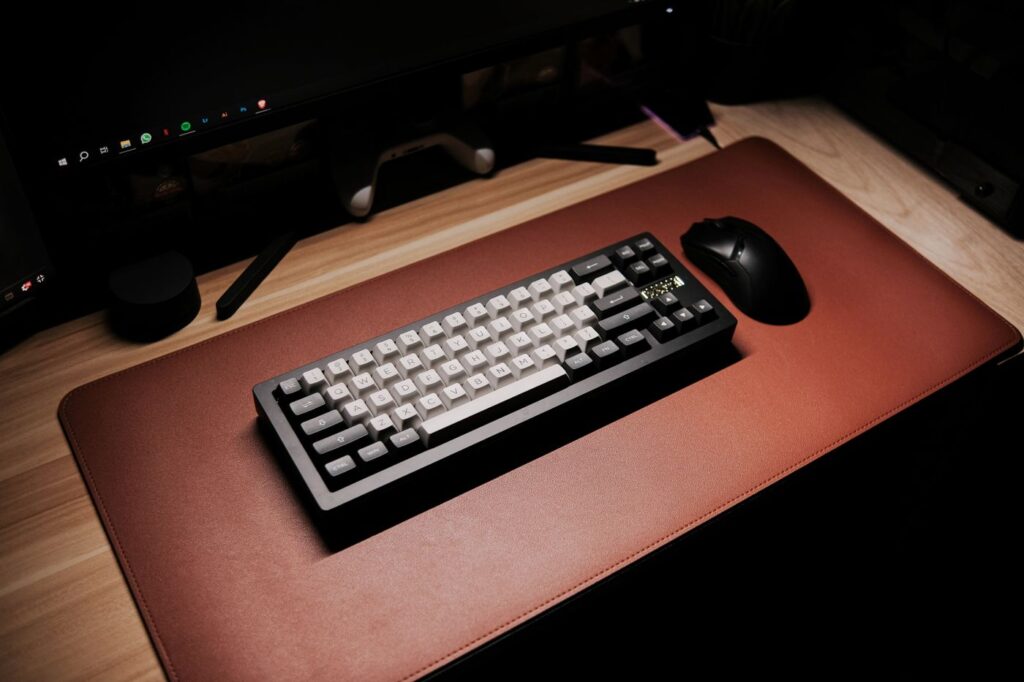
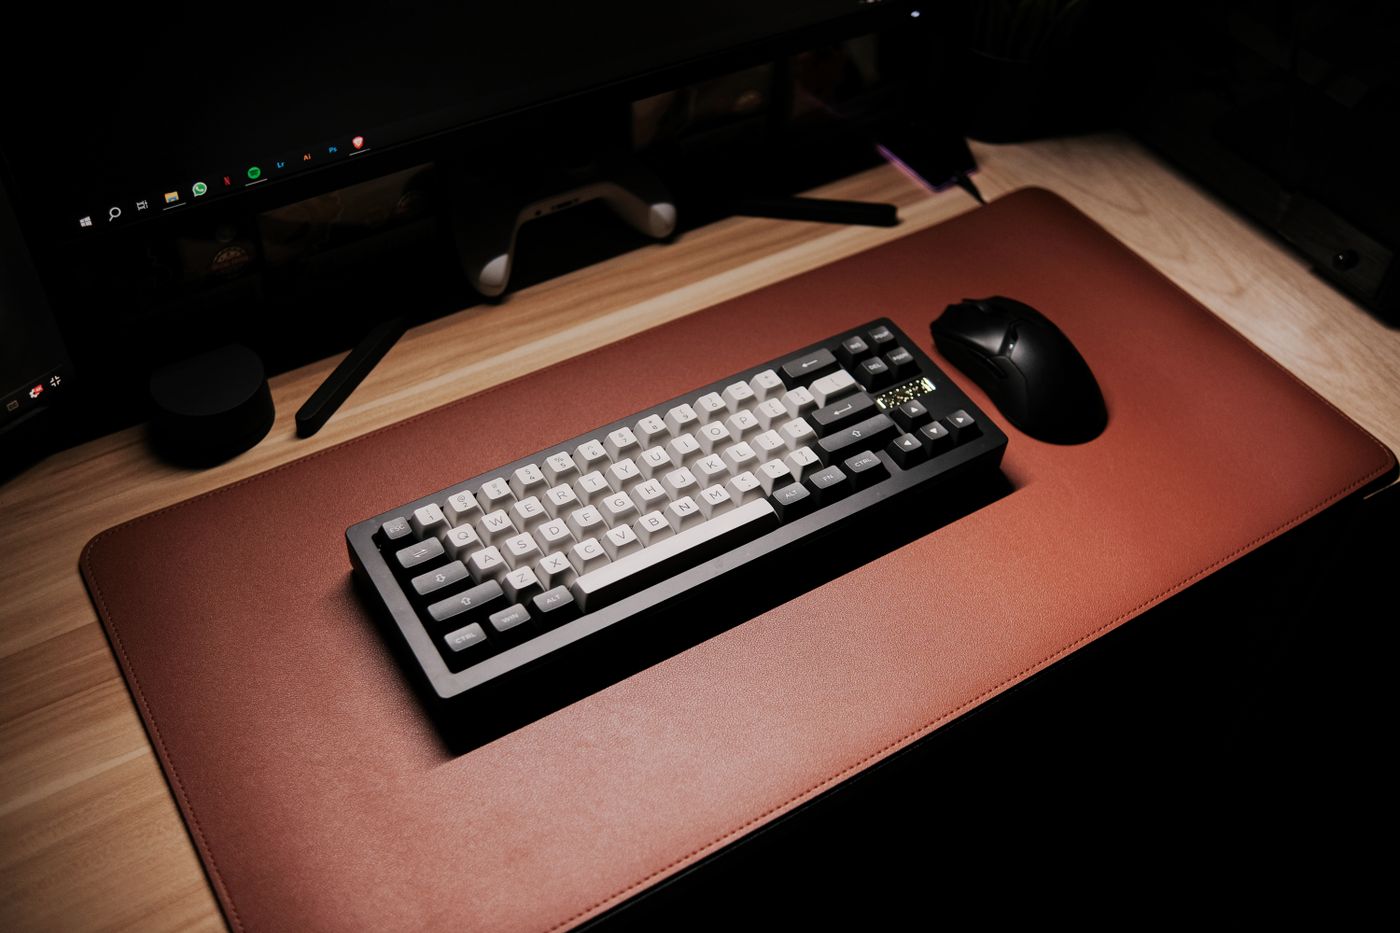
Keyboard on a brown desk mat
DIY & Decorating

Wool Felt vs Leather Desk Mat: Which Is Worth Buying?

Disclosure: As an Amazon Associate, My Indoor Space earns from qualifying purchases through links in this article, at no extra cost to you.

Quick verdict

Choose felt for a soft surface under a keyboard when you do not need to write directly on it. Choose suitable leather for a firmer writing area and a finish you are happy to maintain. A small mouse pad may be enough when the desk itself already works well.

Research-based buying guide. Information checked October 16, 2026. We have not tested these products hands-on; published specifications and our buying judgments are identified separately.

Wool felt desk mats

Leather desk mats

Keyboard on a brown desk mat
Illustrative desk mat; its material and brand are not verified. Photo: Pexels.

A desk mat can define a work area, but it can also cover useful writing space with a surface that does not suit the task. Choose the jobs it needs to support before deciding how much of the desktop to cover.

Compare function before appearance

Task Wool felt Leather
Keyboard area Soft, cushioned surface Smoother surface; check backing
Writing directly on paper May need a separate firm surface Choose a sufficiently firm construction
Finish expectations Check care and fiber composition Natural leather can show marks and patina

When felt is enough

Grovemade’s wool example uses merino felt and explicitly says it is not designed as a direct writing surface. That is useful buying information if your desk alternates between a keyboard and handwritten notes. Leave a bare section or use an appropriate writing support instead of covering everything by default.

The maker says its wool pad works with optical mice, but that does not establish the tracking behavior of every felt product and mouse combination. We have not tested cursor performance. If your mouse is already reliable on a small pad, retaining that pad may be the simplest choice.

When leather earns the premium

The cited Grovemade guide describes vegetable-tanned leather with a cork underside as a writing-friendly option. It also notes that water rings and other changes can become part of the finish. Choose that material if you want its character rather than expecting it to remain perfectly uniform.

Look at the actual construction in a lower-priced listing. Genuine leather, bonded material and polyurethane surfaces should not be treated as interchangeable because they share a brown color. Check cleaning, backing and the seller’s stated composition before comparing prices.

Buy the area you will use

Mark the proposed outline on the desk with a temporary measuring guide. Place the keyboard, mouse, notebook and usual drink in their working positions. Include the distance the mouse moves, not only where it rests in a staged photograph.

A smaller pad can leave useful room for writing and make cleaning the desk easier. A larger one makes sense when you want continuous coverage and can still use the desktop as intended. Pay for the size that solves the layout rather than the largest size offered.

Who should buy or skip?

Buy felt for a soft keyboard area and leather for a suitable firmer surface. Skip the full mat if a small mouse pad meets the actual need. The Amazon buttons compare material categories; the Grovemade examples explain design differences rather than guaranteeing that every listing uses the same materials or backing.

Compare listings in your country

These buttons open matching Amazon search results, rather than a guaranteed in-stock offer. Confirm the exact model, seller, included parts, delivered price and return terms. Prices and availability can differ between the United States and Canada.

Wool felt desk mats

Leather desk mats

Related guides on My Indoor Space

Sources and research

Decorative cushions arranged on a sofa
DIY & Decorating

Linen vs Cotton Cushion Covers: Is the Upgrade Worth It?

Disclosure: As an Amazon Associate, My Indoor Space earns from qualifying purchases through links in this article, at no extra cost to you.

Quick verdict

Choose cotton when you want an affordable cover that fits your existing insert. Pay for linen when its irregular texture is a feature you actively prefer and its care routine suits you. A new fabric will not fix a flat or incorrectly sized cushion insert.

Research-based buying guide. Information checked October 16, 2026. We have not tested these products hands-on; published specifications and our buying judgments are identified separately.

20-inch cotton cushion covers

20-inch linen cushion covers

Decorative cushions arranged on a sofa
Illustrative cushions; fabric composition and IKEA models are not established. Photo: Pexels.

Changing a cushion cover can refresh a sofa without replacing the whole cushion. The useful comparison is fabric, fit and washing, not whether one natural fiber is automatically more luxurious. Start by checking the insert you already own.

Compare matched sizes first

Question Cotton example: GURLI Linen example: DYTÅG
Referenced size 50 × 50 cm / 20 × 20 inches 50 × 50 cm / 20 × 20 inches
Listed main fabric 100% cotton 100% linen
Purchase check Cover; confirm insert separately Cover; confirm insert separately

When cotton is enough

The cited unbleached GURLI is a straightforward cotton cover. A simple solid color can work well when the sofa already has a mixture of patterns or when you want inexpensive replacement covers for rotation. You do not need premium linen to make a cushion look intentional.

At IKEA Canada’s checked October 16, 2026 reference price, that GURLI was C$3.99, with a two-cover minimum shown online. Compare the complete order and delivery cost rather than treating one low displayed price as your final spend.

When linen earns its premium

DYTÅG uses linen with an irregular texture and natural color variation in the unbleached version. Choose it when that appearance is part of the room you want. We have not tested softness, abrasion resistance or long-term appearance against GURLI.

The Canadian DYTÅG range showed a C$19.99 cover reference price when checked. That is a substantial step up from the cited cotton cover. Buying one or two for a visible spot may make more sense than replacing every cover on a sofa.

Read the actual care label

Both cited covers are machine washable and marked not to tumble dry. Their recommended wash cycles and ironing settings differ. “Natural fabric” therefore does not mean you can add either cover to any hot wash-and-dry routine without checking.

Allow drying time if the cushion is used daily. Keeping a spare affordable cover may be more useful than paying for a textile you cannot conveniently wash. Also verify whether the insert itself needs different cleaning; a washable cover does not make its filling washable.

Fit comes before the fabric upgrade

Measure the insert and compare the cover’s intended fit and closure. If the cushion feels flat, changing the fabric alone may not solve it. Buy cotton for practical replacement value, linen for a texture you want, and skip either when the existing covers still fit and look good. The Amazon buttons below compare fabric categories; they do not promise IKEA stock.

Compare listings in your country

These buttons open matching Amazon search results, rather than a guaranteed in-stock offer. Confirm the exact model, seller, included parts, delivered price and return terms. Prices and availability can differ between the United States and Canada.

20-inch cotton cushion covers

20-inch linen cushion covers

Related guides on My Indoor Space

Sources and research

Home hallway with grey walls and wooden doors
DIY & Decorating

Motion-Sensing vs Dusk-to-Dawn Night Light: Which Fits a Hallway?

Disclosure: As an Amazon Associate, My Indoor Space earns from qualifying purchases through links in this article, at no extra cost to you.

Quick verdict

Choose motion sensing when you want light mainly during movement through the area. Choose dusk-to-dawn when a continuous low-level glow in darkness suits the routine. The functions can coexist in one product, so check how its motion and ambient-light sensors work together.

Research-based buying guide. Information checked October 16, 2026. We have not tested these products hands-on; published specifications and our buying judgments are identified separately.

motion-sensing night lights

dusk-to-dawn night lights

Home hallway with grey walls and wooden doors
Illustrative hallway; no night-light output or sensor test is shown. Photo: Pexels.

A night light should operate when you expect it to, without making the room brighter than you prefer. Motion sensing and dusk-to-dawn describe different triggers. Understanding those triggers is more useful than simply choosing the product with the largest number of automatic features.

Compare when the light operates

Preference Motion-based operation Dusk-to-dawn operation
Light during a passing visit Suitable when the sensor sees the approach Already on if the room is dark enough
Continuous low glow Check for an optional continuous mode Main purpose of the ambient sensor
Important specification Detection area and timeout Ambient-light behavior and dimming

When motion sensing works better

A motion light can suit a hallway you pass through briefly. Check the approach direction, obstructions and where the sensor sits relative to the path. A stated detection distance does not guarantee that the light will respond through a doorway or around furniture.

Jasco’s cited GE motion model combines movement detection with activation only in darkness and a timeout after movement ends. That example shows why motion and ambient sensing are not opposites. Read the behavior of the exact model rather than expecting every “motion light” to remain off in daylight automatically.

When dusk-to-dawn is enough

If you prefer a steady glow throughout the dark period, an ambient-light sensor can be simpler. Check where the sensor will sit: a blocked or unusually shaded position can change what it perceives. Dusk-to-dawn does not necessarily mean the device follows a clock.

A dimming control can be useful when the light is visible from a bedroom. Choose brightness and direction around the actual space rather than buying the strongest output. A decorative color mode is optional; it does not establish whether the path is illuminated as you prefer.

Check outlet fit and power behavior

Measure the space beside the outlet and whether the night light leaves an adjacent socket usable. A product that claims this with one orientation may fit differently around your plug arrangement. Do not hide a sensor behind furniture simply to keep the device out of sight.

Most ordinary plug-in lights need mains power. Battery-backup models are a separate feature to verify, not an automatic benefit of either sensor type. If outage operation is important, read the actual backup function and maintenance requirements instead of assuming the night light will remain lit.

Which should you buy?

Choose motion when you want brief illumination and the sensor can cover the route. Choose dusk-to-dawn for a continuous dark-room glow with suitable brightness. Keep a working light if its timing already suits you. An adjustable or direction-controlled model may solve an annoyance more directly than switching sensor categories.

Compare listings in your country

These buttons open matching Amazon search results, rather than a guaranteed in-stock offer. Confirm the exact model, seller, included parts, delivered price and return terms. Prices and availability can differ between the United States and Canada.

motion-sensing night lights

dusk-to-dawn night lights

Related guides on My Indoor Space

Sources and research

Living room with an area rug on wood flooring
DIY & Decorating

Felt vs Rubber Rug Pad: Which Does Your Room Need?

Disclosure: As an Amazon Associate, My Indoor Space earns from qualifying purchases through links in this article, at no extra cost to you.

Quick verdict

Choose felt when cushioning is the main need and a non-slip layer is unnecessary for the installation. Choose an appropriate gripping pad when movement is the problem. Felt-and-rubber products combine functions, but every option still needs approval for your floor and rug.

Research-based buying guide. Information checked October 16, 2026. We have not tested these products hands-on; published specifications and our buying judgments are identified separately.

felt rug pads

rubber-backed rug pads

Living room with an area rug on wood flooring
Illustrative room; the floor finish and rug pad are not identified. Photo: Pexels.

A rug pad can add cushioning, grip or both. Those are different jobs. Buying the thickest pad may make a rug feel softer without stopping it moving, while a thin gripping layer may leave the feel almost unchanged. Identify the problem before choosing a material.

Compare the functions

Need Plain felt Suitable rubber-backed or grip pad
Cushioning Depends on thickness and density Depends on whether felt or cushioning is included
Floor grip Not inherently a non-slip layer Designed for grip; check floor approval
Low clearance Check combined thickness Thin options may suit; verify the model

When plain felt is enough

RugPadUSA describes its felt range for larger rugs that do not require a non-slip layer. That distinction matters if your actual problem is a small runner sliding on a smooth surface. More felt thickness is not the same as adding a gripping backing.

Choose cushioning by the feel and clearance you need, rather than assuming maximum thickness is best. A thicker combination can interfere with a door, create a more noticeable edge or change how furniture sits. Check the rug and pad together in the intended location.

When a gripping layer matters

For a rug that moves, look for a product intended to grip your type of flooring. Combined felt-and-rubber pads can offer both cushioning and grip. Compare the actual construction: a generic “rubber” description may refer to a different material or backing from the product beside it.

Do not assume any backing is approved for every wood finish, vinyl product or heated floor. Check both the flooring maker’s restrictions and the pad manufacturer’s compatibility guidance. If a finish is new or recently treated, confirm any waiting period before covering it.

Size and trimming need a plan

Measure the rug itself rather than relying only on its nominal retail size. Follow the pad maker’s sizing guidance so edges remain covered and the rug lies as intended. A pad protruding into the walkway is not a useful result, however comfortable it feels in the middle.

Check whether the product can be trimmed and which method is recommended. Irregular shapes and runners may need a more deliberate fit than a standard rectangular rug. For a washable rug system, confirm whether it requires its own specific base instead of an unrelated aftermarket pad.

The value decision

Buy plain felt when extra cushioning is the verified requirement. Buy an appropriate grip or combined pad when movement is the issue. Keep a working pad that remains compatible and in good condition. If the rug’s corners curl or the backing is damaged, assess that problem directly rather than expecting a thicker pad to conceal it.

Compare listings in your country

These buttons open matching Amazon search results, rather than a guaranteed in-stock offer. Confirm the exact model, seller, included parts, delivered price and return terms. Prices and availability can differ between the United States and Canada.

felt rug pads

rubber-backed rug pads

Related guides on My Indoor Space

Sources and research

White shower curtain inside a tiled bathroom
DIY & Decorating

Curved vs Straight Shower Curtain Rod: Is the Extra Space Worth It?

Disclosure: As an Amazon Associate, My Indoor Space earns from qualifying purchases through links in this article, at no extra cost to you.

Quick verdict

Choose curved when moving the curtain outward creates useful room without obstructing the bathroom. Choose straight when a compact footprint and an existing fit work better. Curvature and mounting method are separate choices: a curved rod is not necessarily drill-free.

Research-based buying guide. Information checked October 16, 2026. We have not tested these products hands-on; published specifications and our buying judgments are identified separately.

curved shower rods

straight shower rods

White shower curtain inside a tiled bathroom
Illustrative bathroom; no Moen rod model is identified. Photo: Pexels.

A curved rod can move the curtain away from your body inside the tub, but that space comes from somewhere. In a narrow bathroom, the curtain may project farther toward the toilet, sink or doorway. Evaluate both sides of the curtain before buying an upgrade.

Compare shape and installation separately

Decision Curved rod Straight rod
Curtain position Projects outward along the curve Follows a straighter path between supports
Room outside tub Check the added projection Often suits a compact layout
Mounting Check tension or fixed model Check tension or fixed model

When a curved rod solves a problem

If your current curtain crowds the bathing area, a suitable curve may improve the usable space. Moen describes this as extra room in its curved-rod range. The benefit depends on the actual rod’s projection and the tub layout, not merely the word “curved.”

Measure the outside clearance with the curtain closed. Consider a towel rail, furniture edge or toilet lid that could contact it. Also check that the curtain and liner can remain where they need to be to manage shower spray. A larger-looking space is not useful if the curtain no longer fits the tub properly.

Do not confuse shape with drill-free mounting

Moen lists both fixed and tension-based curved designs. The cited CSR2172 tension model has a specific adjustment range; other rods in the range use different mounting arrangements. Match the model number to its installation sheet rather than assuming one brand’s whole range works the same way.

For a rental, confirm permission where fixing is required. A tension product also needs appropriate opposing surfaces and the installation method the manufacturer specifies. It should not be treated as guaranteed damage-free on every paint, tile or panel finish.

Check the complete curtain setup

Measure the wall-to-wall distance at the intended mounting height. Then check rod range, ring compatibility, liner width and the curtain’s finished drop. Existing curtains may work with a new rod, but a general “standard curtain” statement does not replace checking your dimensions.

Include brackets, covers and any required fixings in the cost. Review how rings pass over joints and whether a double-rod design adds more space than you need. A finish that matches the taps can be attractive, but fit and installation are the features that make the purchase practical.

When should you keep the straight rod?

Keep it when the curtain hangs comfortably and the compact layout suits the room. Upgrade to a verified curved model when curtain crowding is a recurring issue and outside clearance allows it. If the real problem is a poorly sized liner or loose installation, fix that cause before buying a different shape.

Compare listings in your country

These buttons open matching Amazon search results, rather than a guaranteed in-stock offer. Confirm the exact model, seller, included parts, delivered price and return terms. Prices and availability can differ between the United States and Canada.

curved shower rods

straight shower rods

Related guides on My Indoor Space

Sources and research

Scroll to Top